


Designing Wall Treatments With Metrie
Our tips on designing with wall treatments!
30 June 2020 -
Designing a home with wall treatments isn’t easy, and with so many options to choose from and so many things to consider, it can be challenging to know where to start.
After years of designing with wall treatments, we’ve learned a few tips and tricks that have helped us streamline the process, and today, we’re partnering with our sponsors at Metrie, to share them with you!


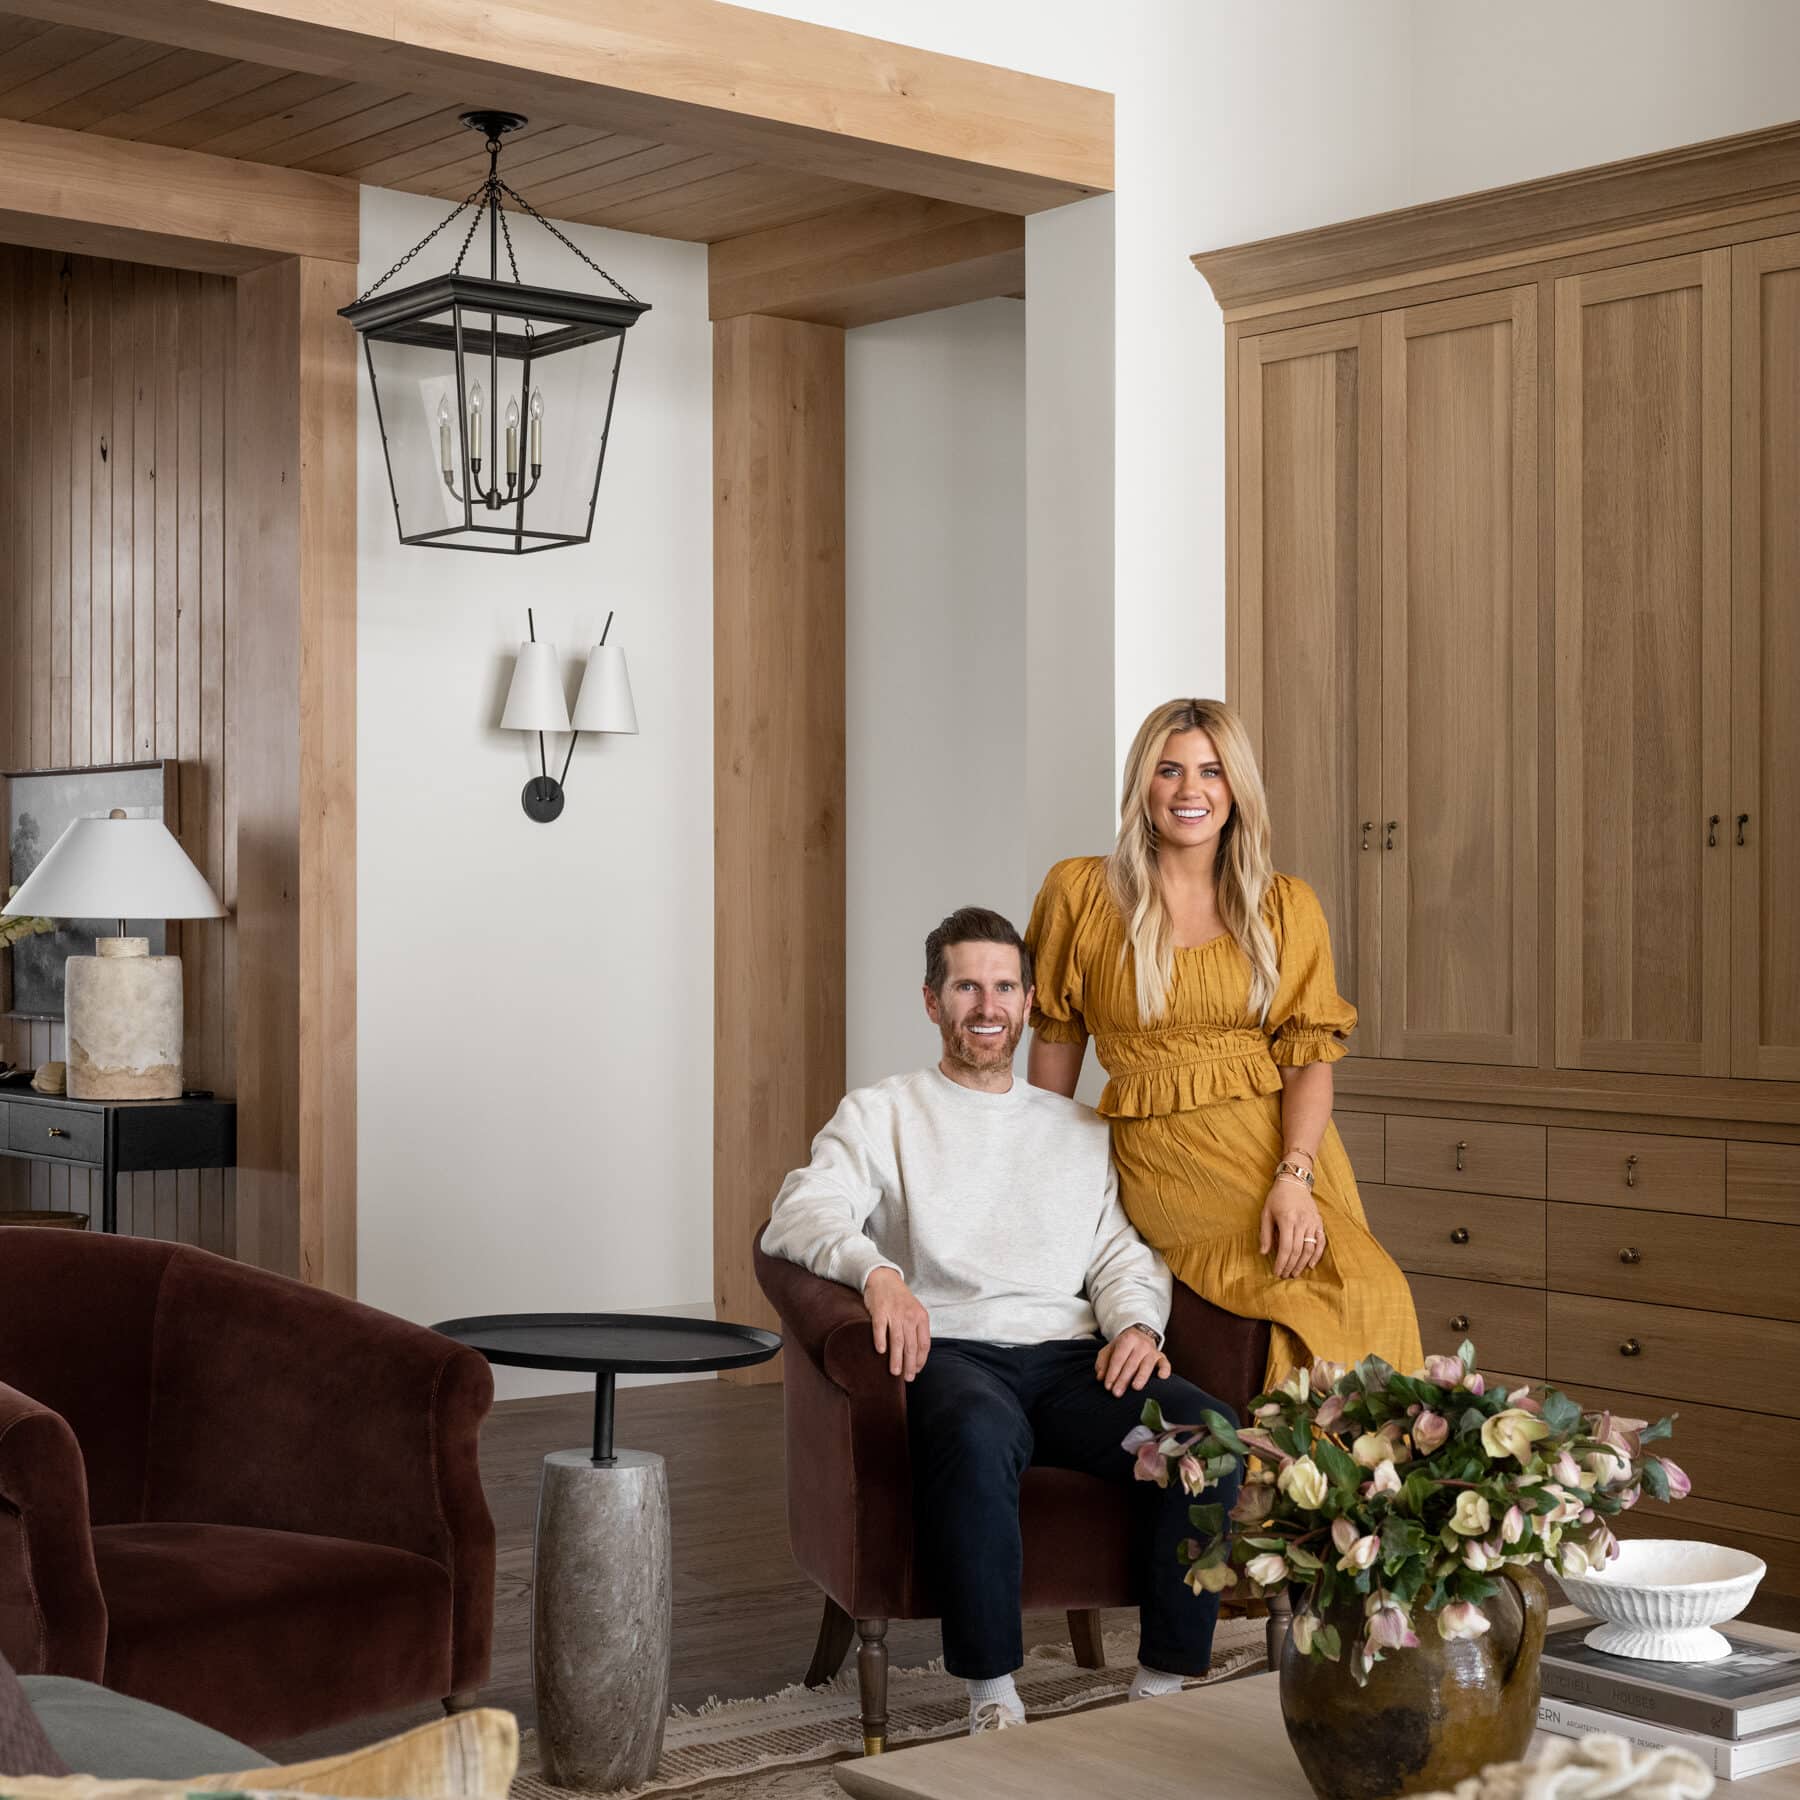
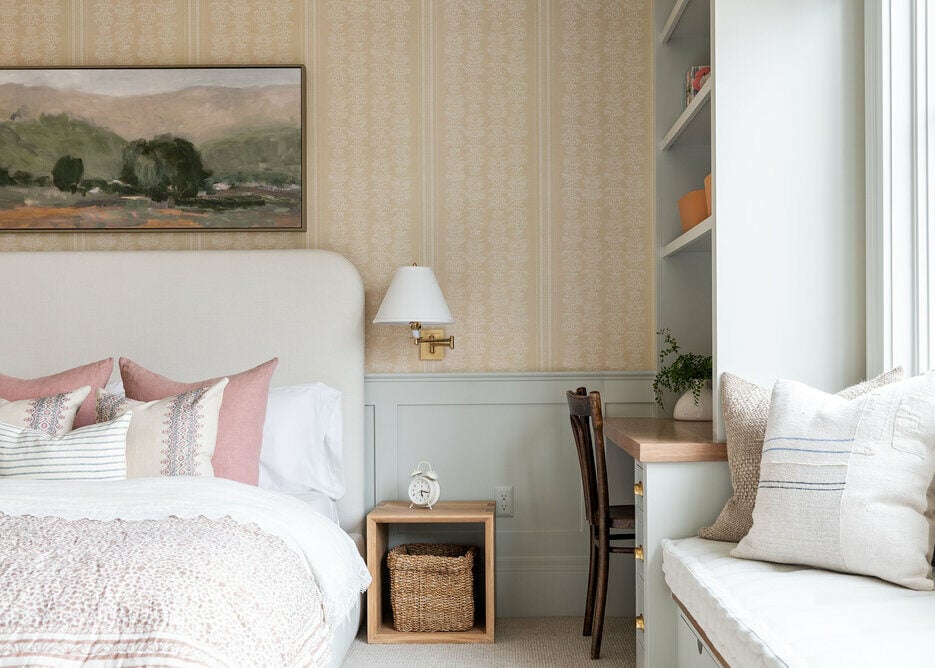
We worked with Metrie on all of our wall treatments in The McGee Home to bring our ideas to life, and we couldn’t be happier with how everything came together!
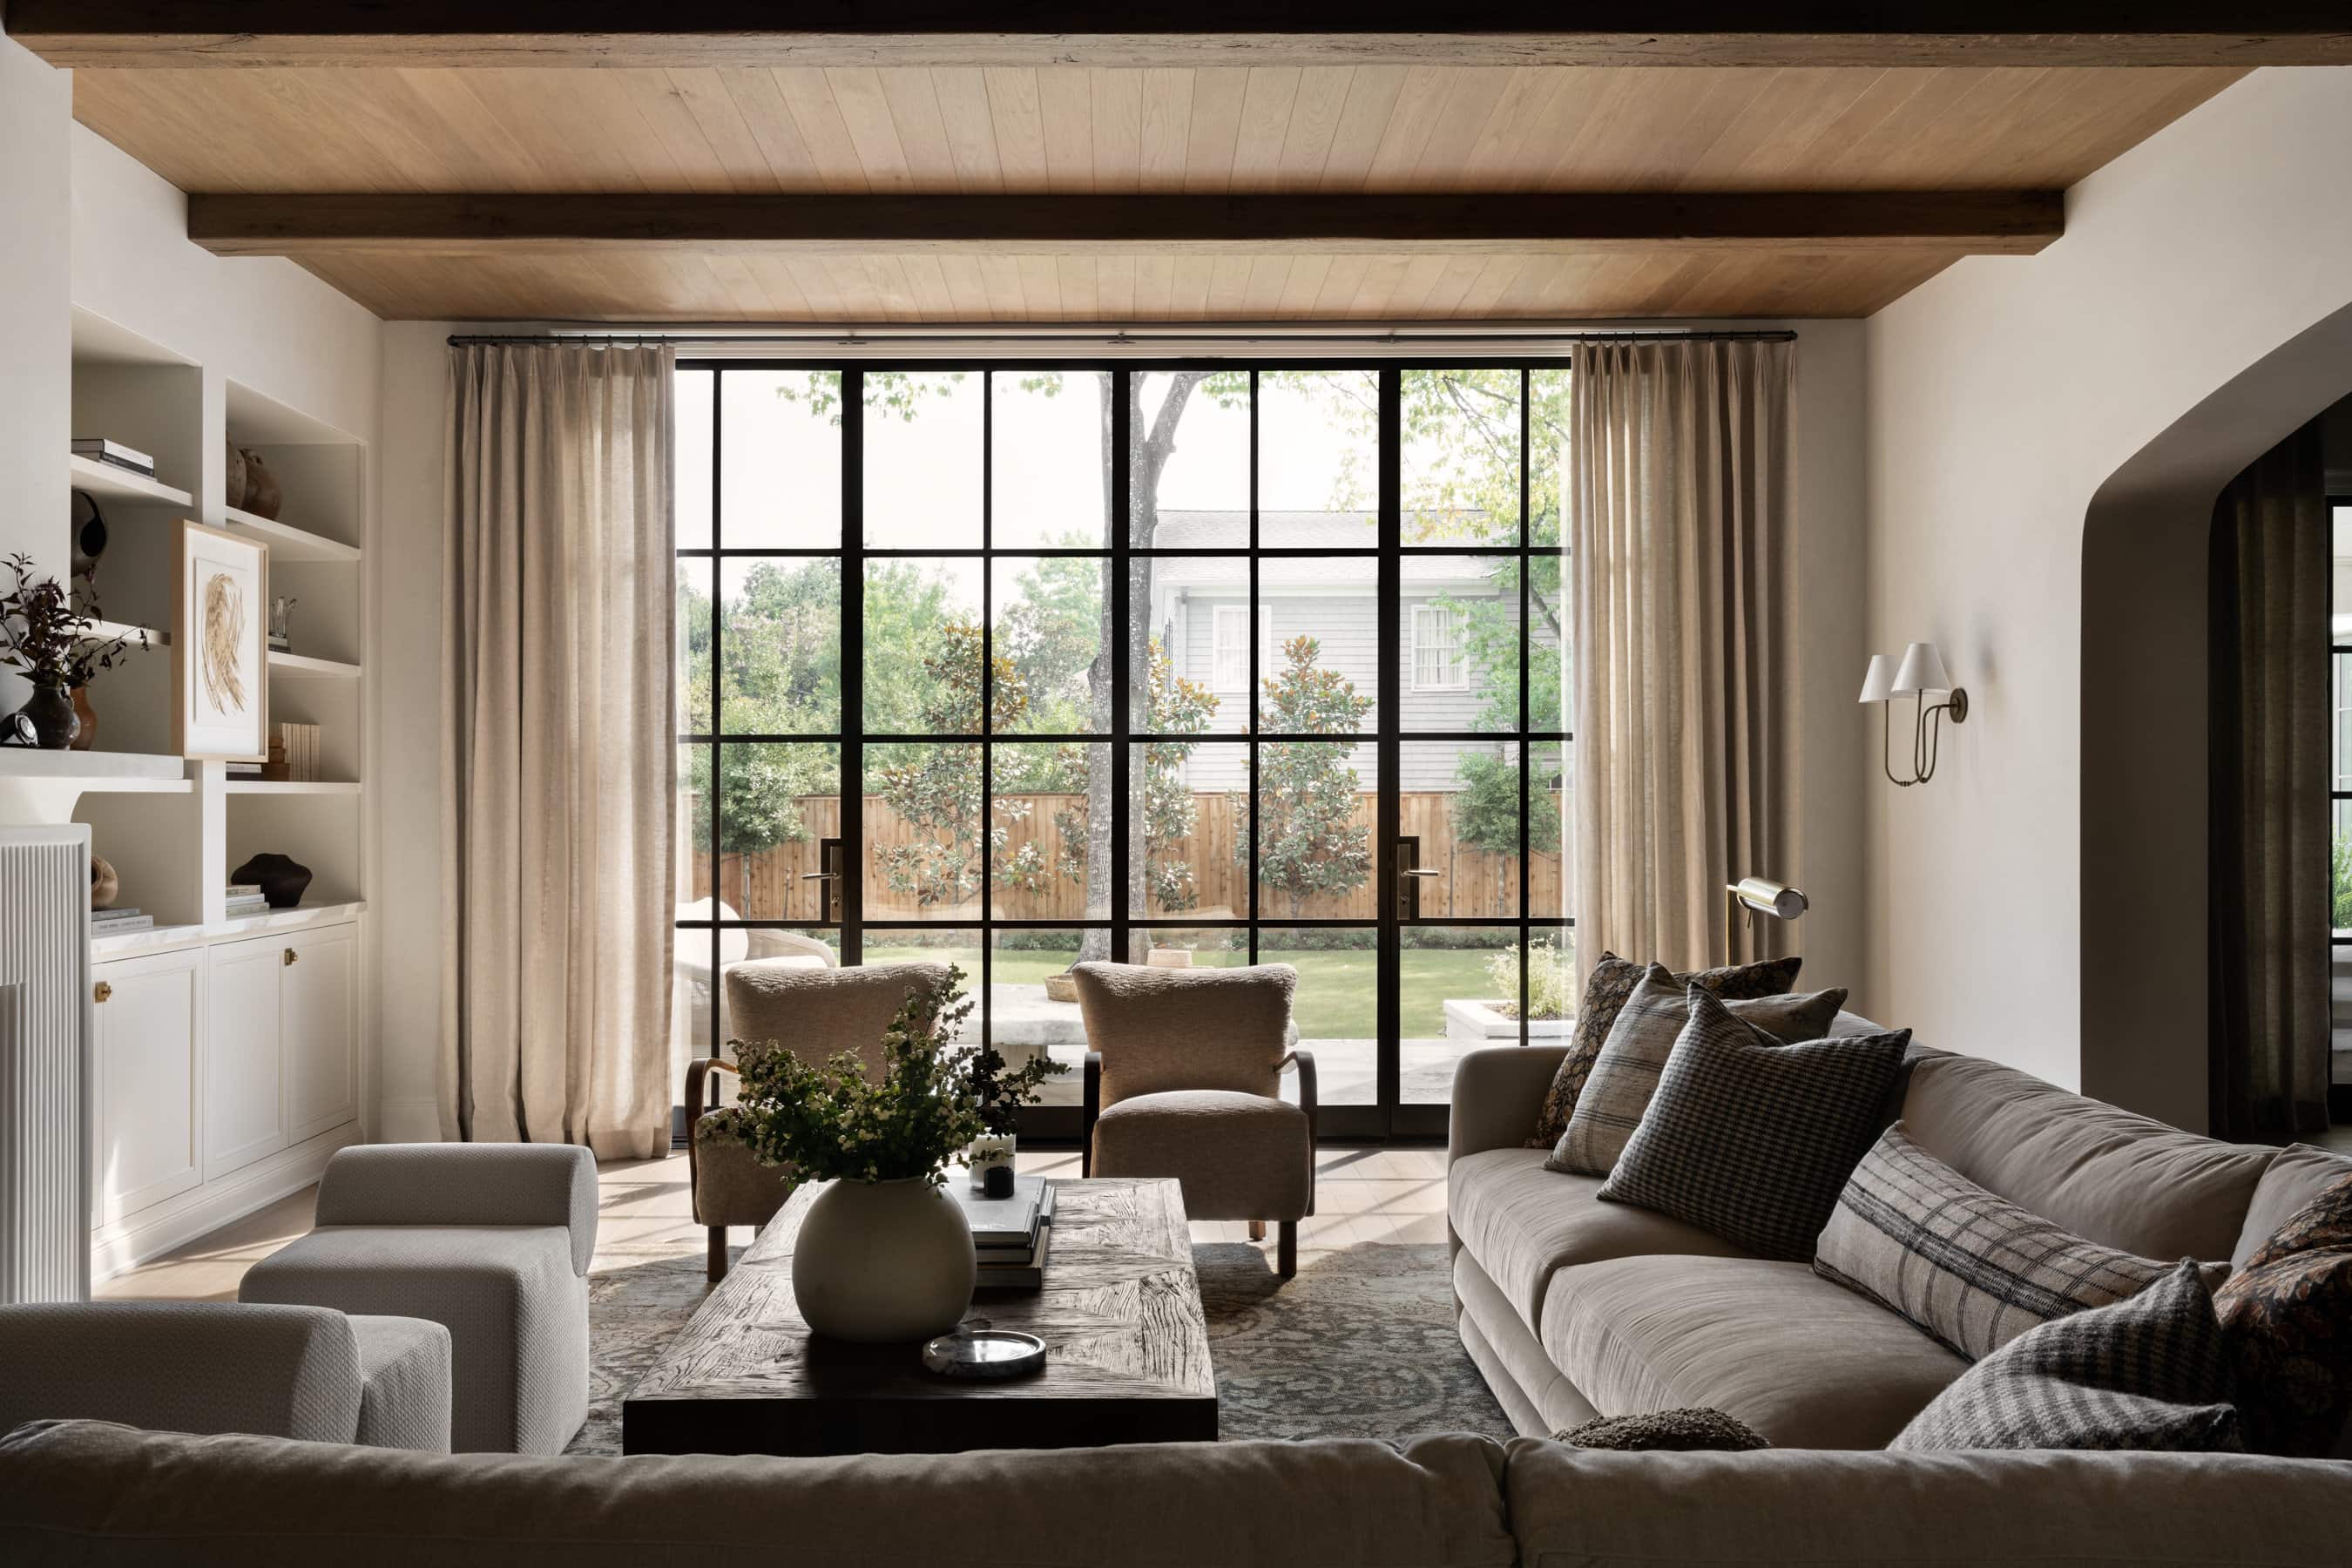
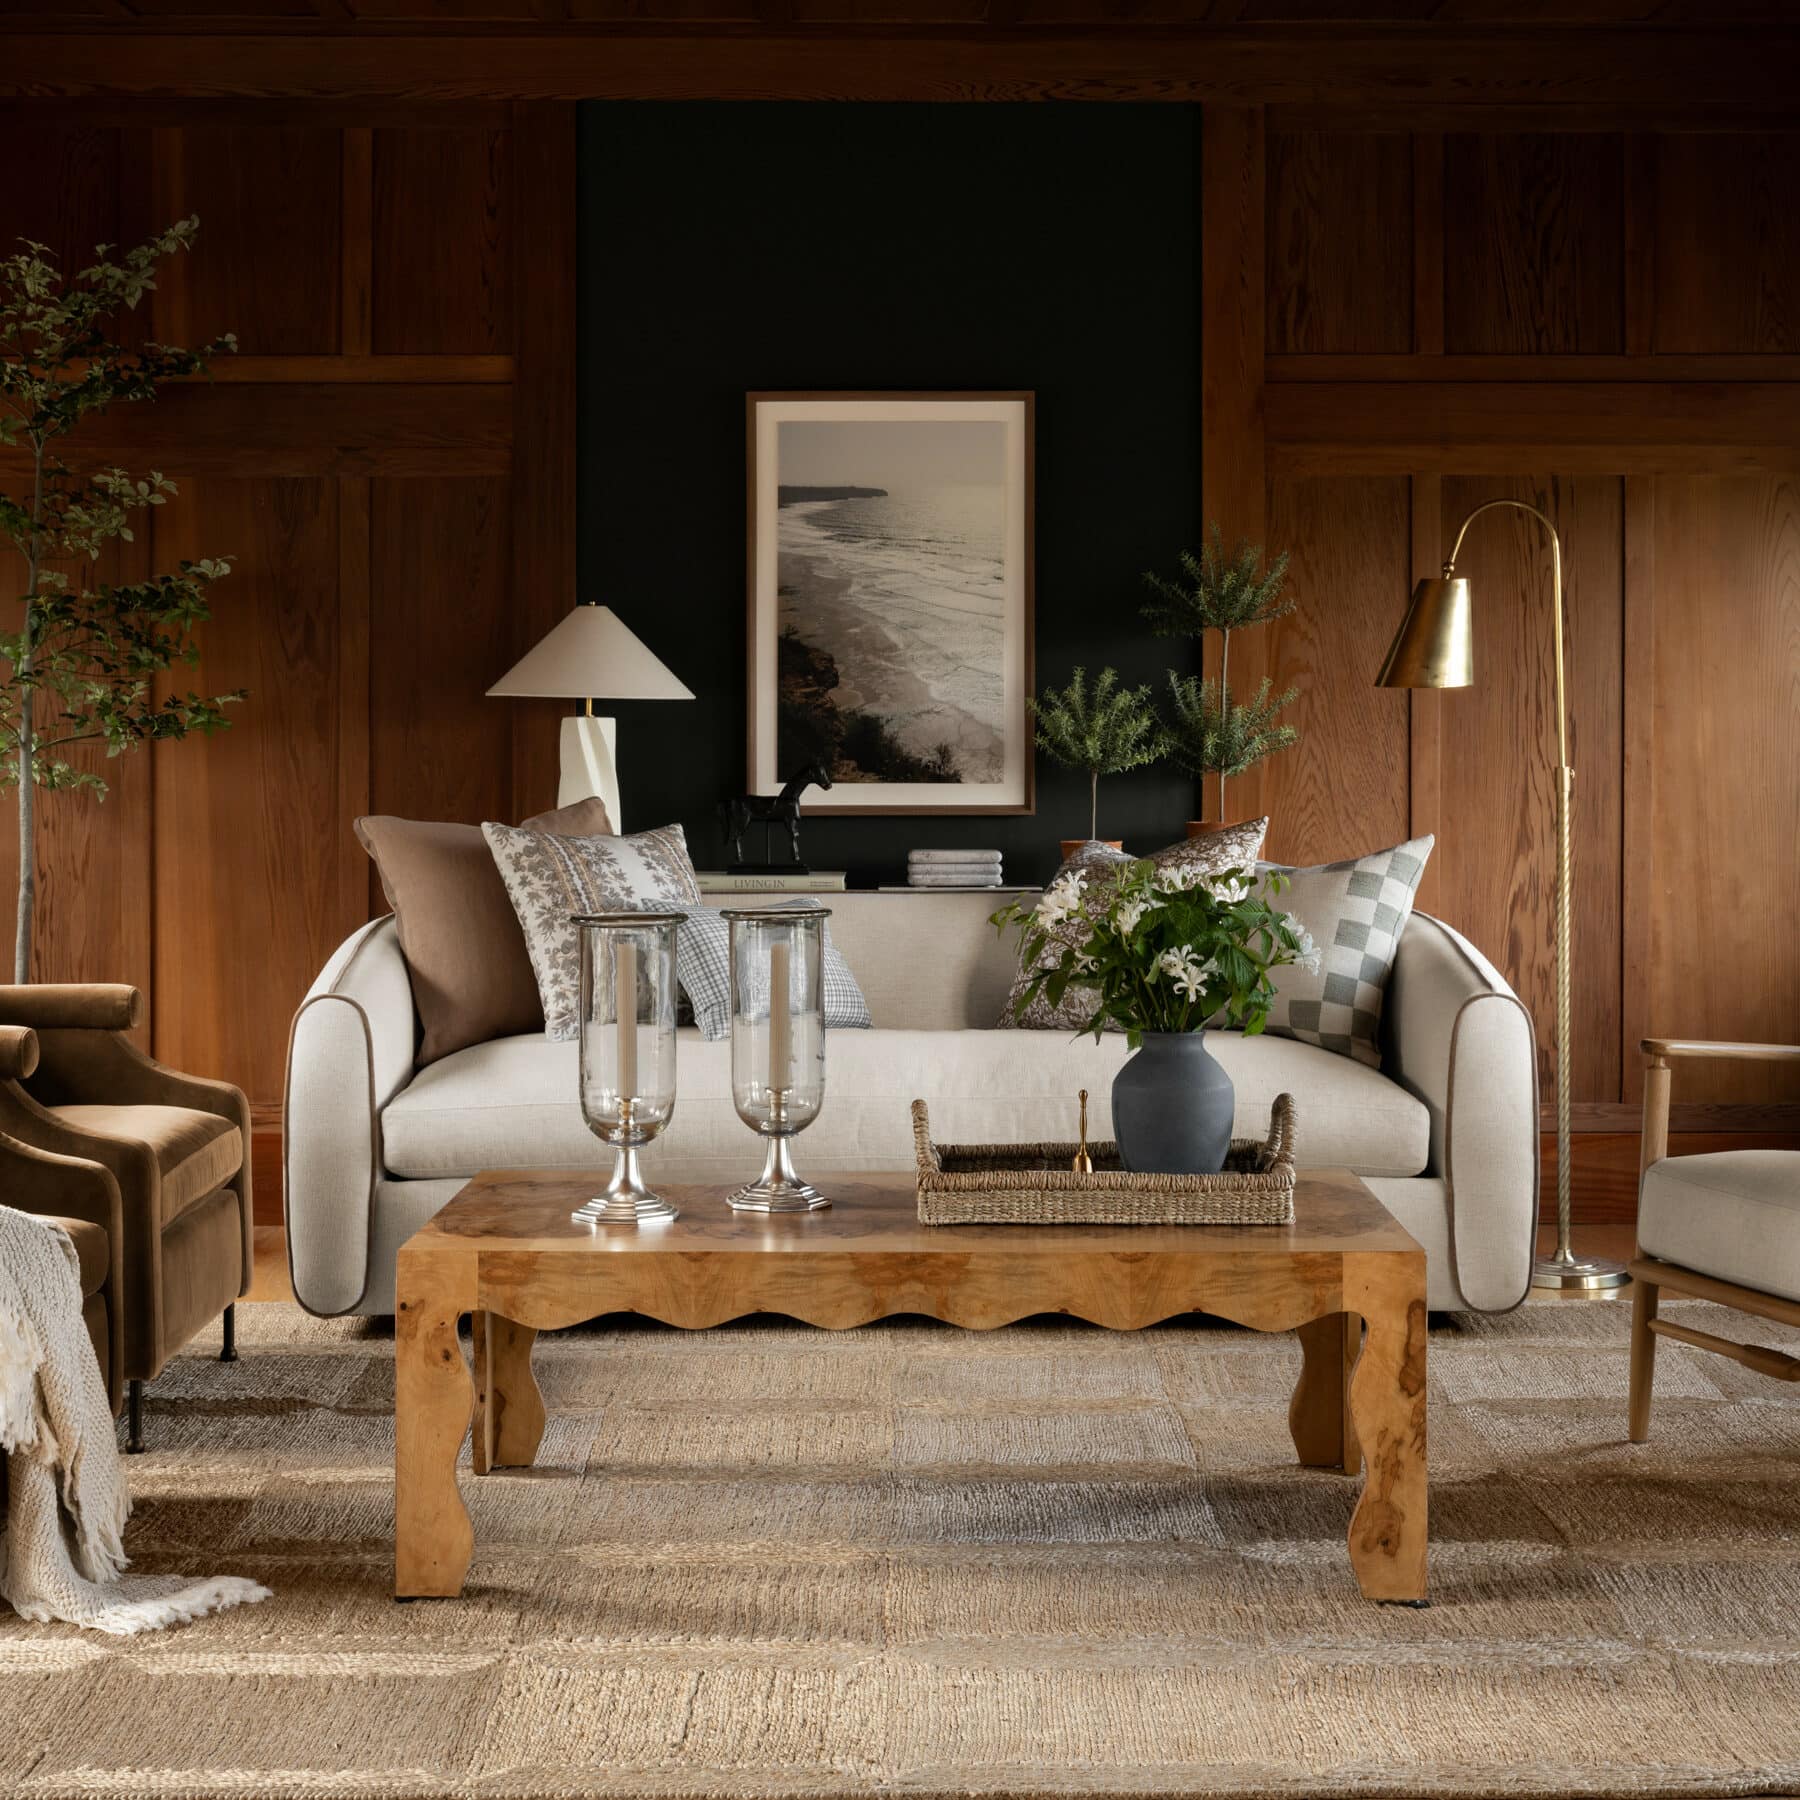
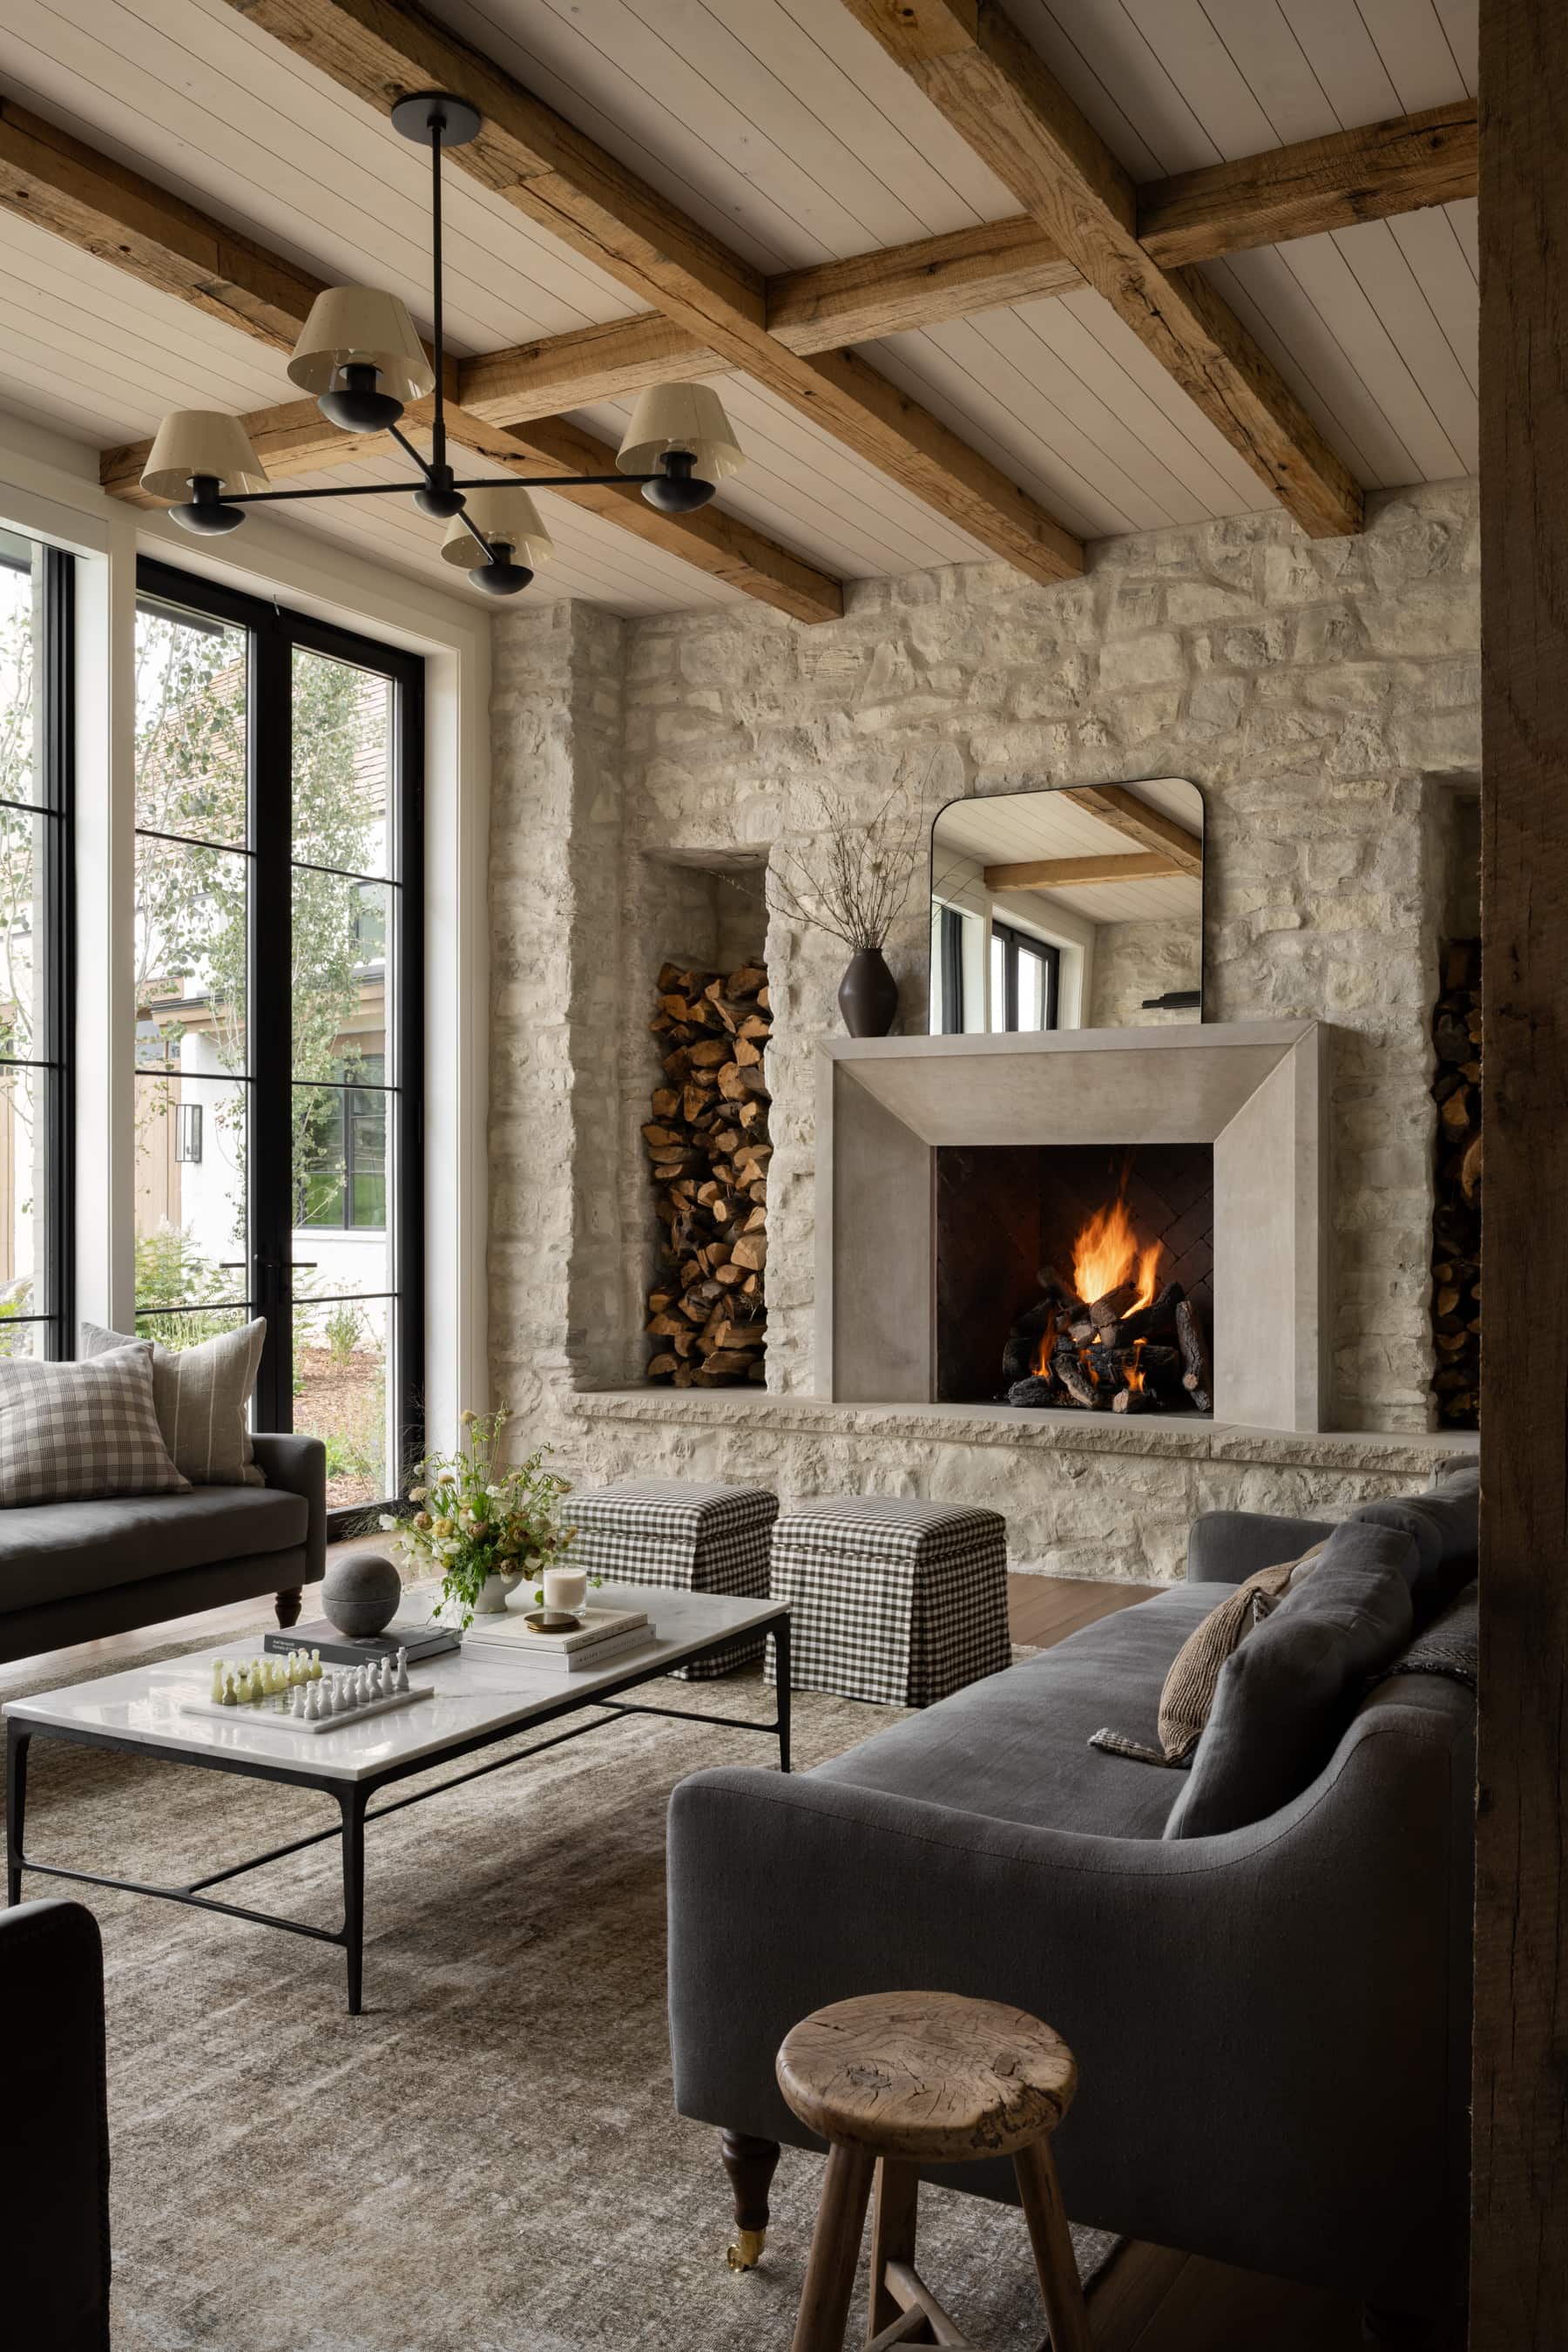
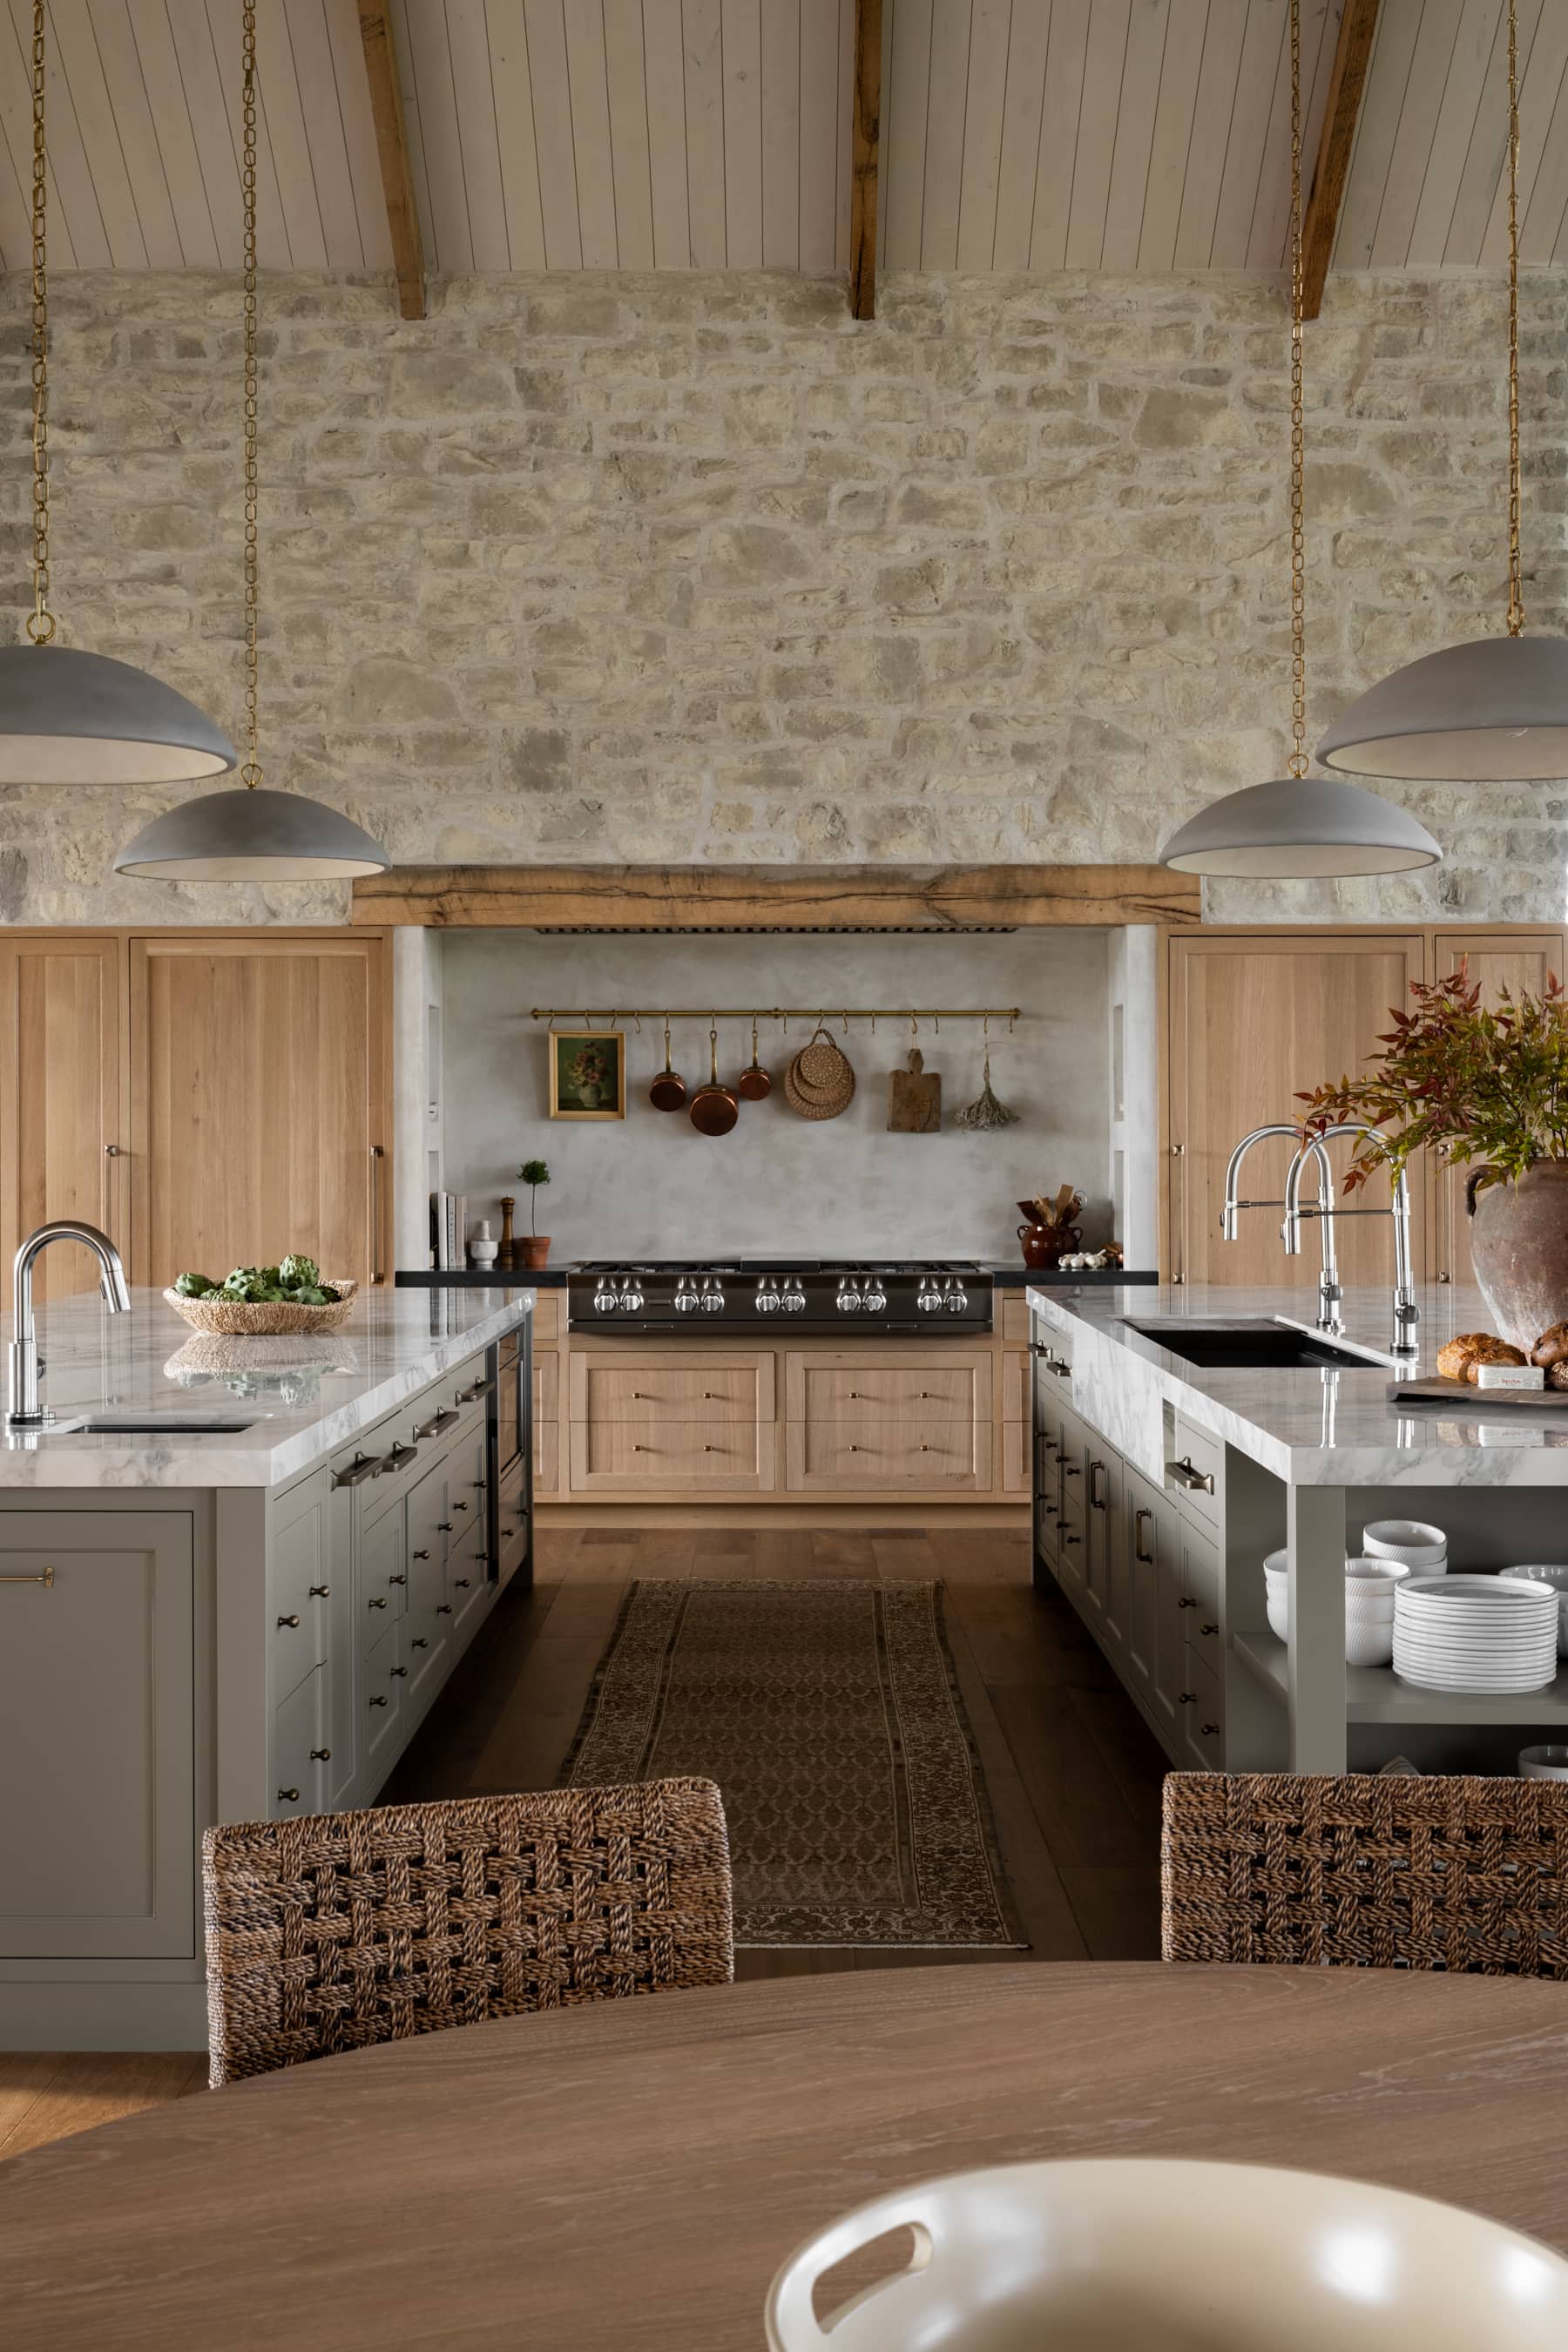
In a new build, wall treatments are key for adding layers of character and thoughtful detail, and in The McGee home, we paid close attention to our wall treatments in every room.
Here are some tips that helped us along the way:
Plan ahead
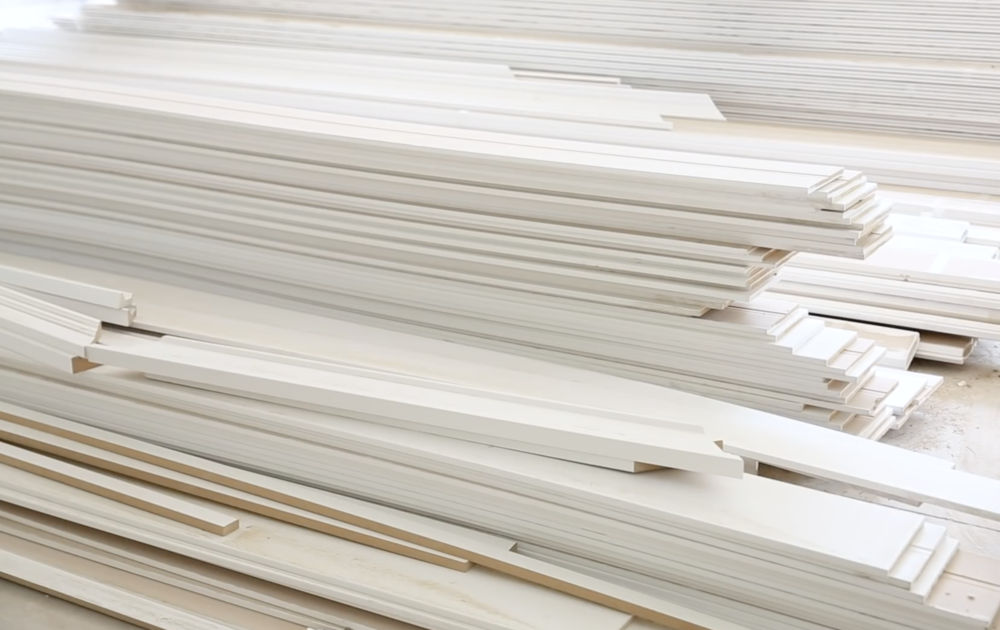
When designing with wall treatments, planning ahead is essential. While working with clients, we’ve noticed that sometimes, wall treatments can be an after-thought, but it’s important to start considering, budgeting and ordering wall treatments before you walk into a room at the end of a project and think “this needs something more”.
Factoring in the cost of wall treatments can alter your budget drastically, which is one of the reasons why wall treatments are one of the first things we start talking about when beginning a new project.

Tip from our contractor at Killowen Construction: Before you start your drywall, you should know which trim you are using so that everything fits. One of my biggest pet peeves is when door openings are framed incorrectly, and it’s totally preventable by planning ahead.
A wall treatment budgeting tip: When budgeting for wall treatments, we start by taking it room by room and considering what we want to do in each room to get an estimate.
Another reason we start thinking about our wall treatments right away is that the style we choose really does dictate what we layer on top and informs our future decisions.
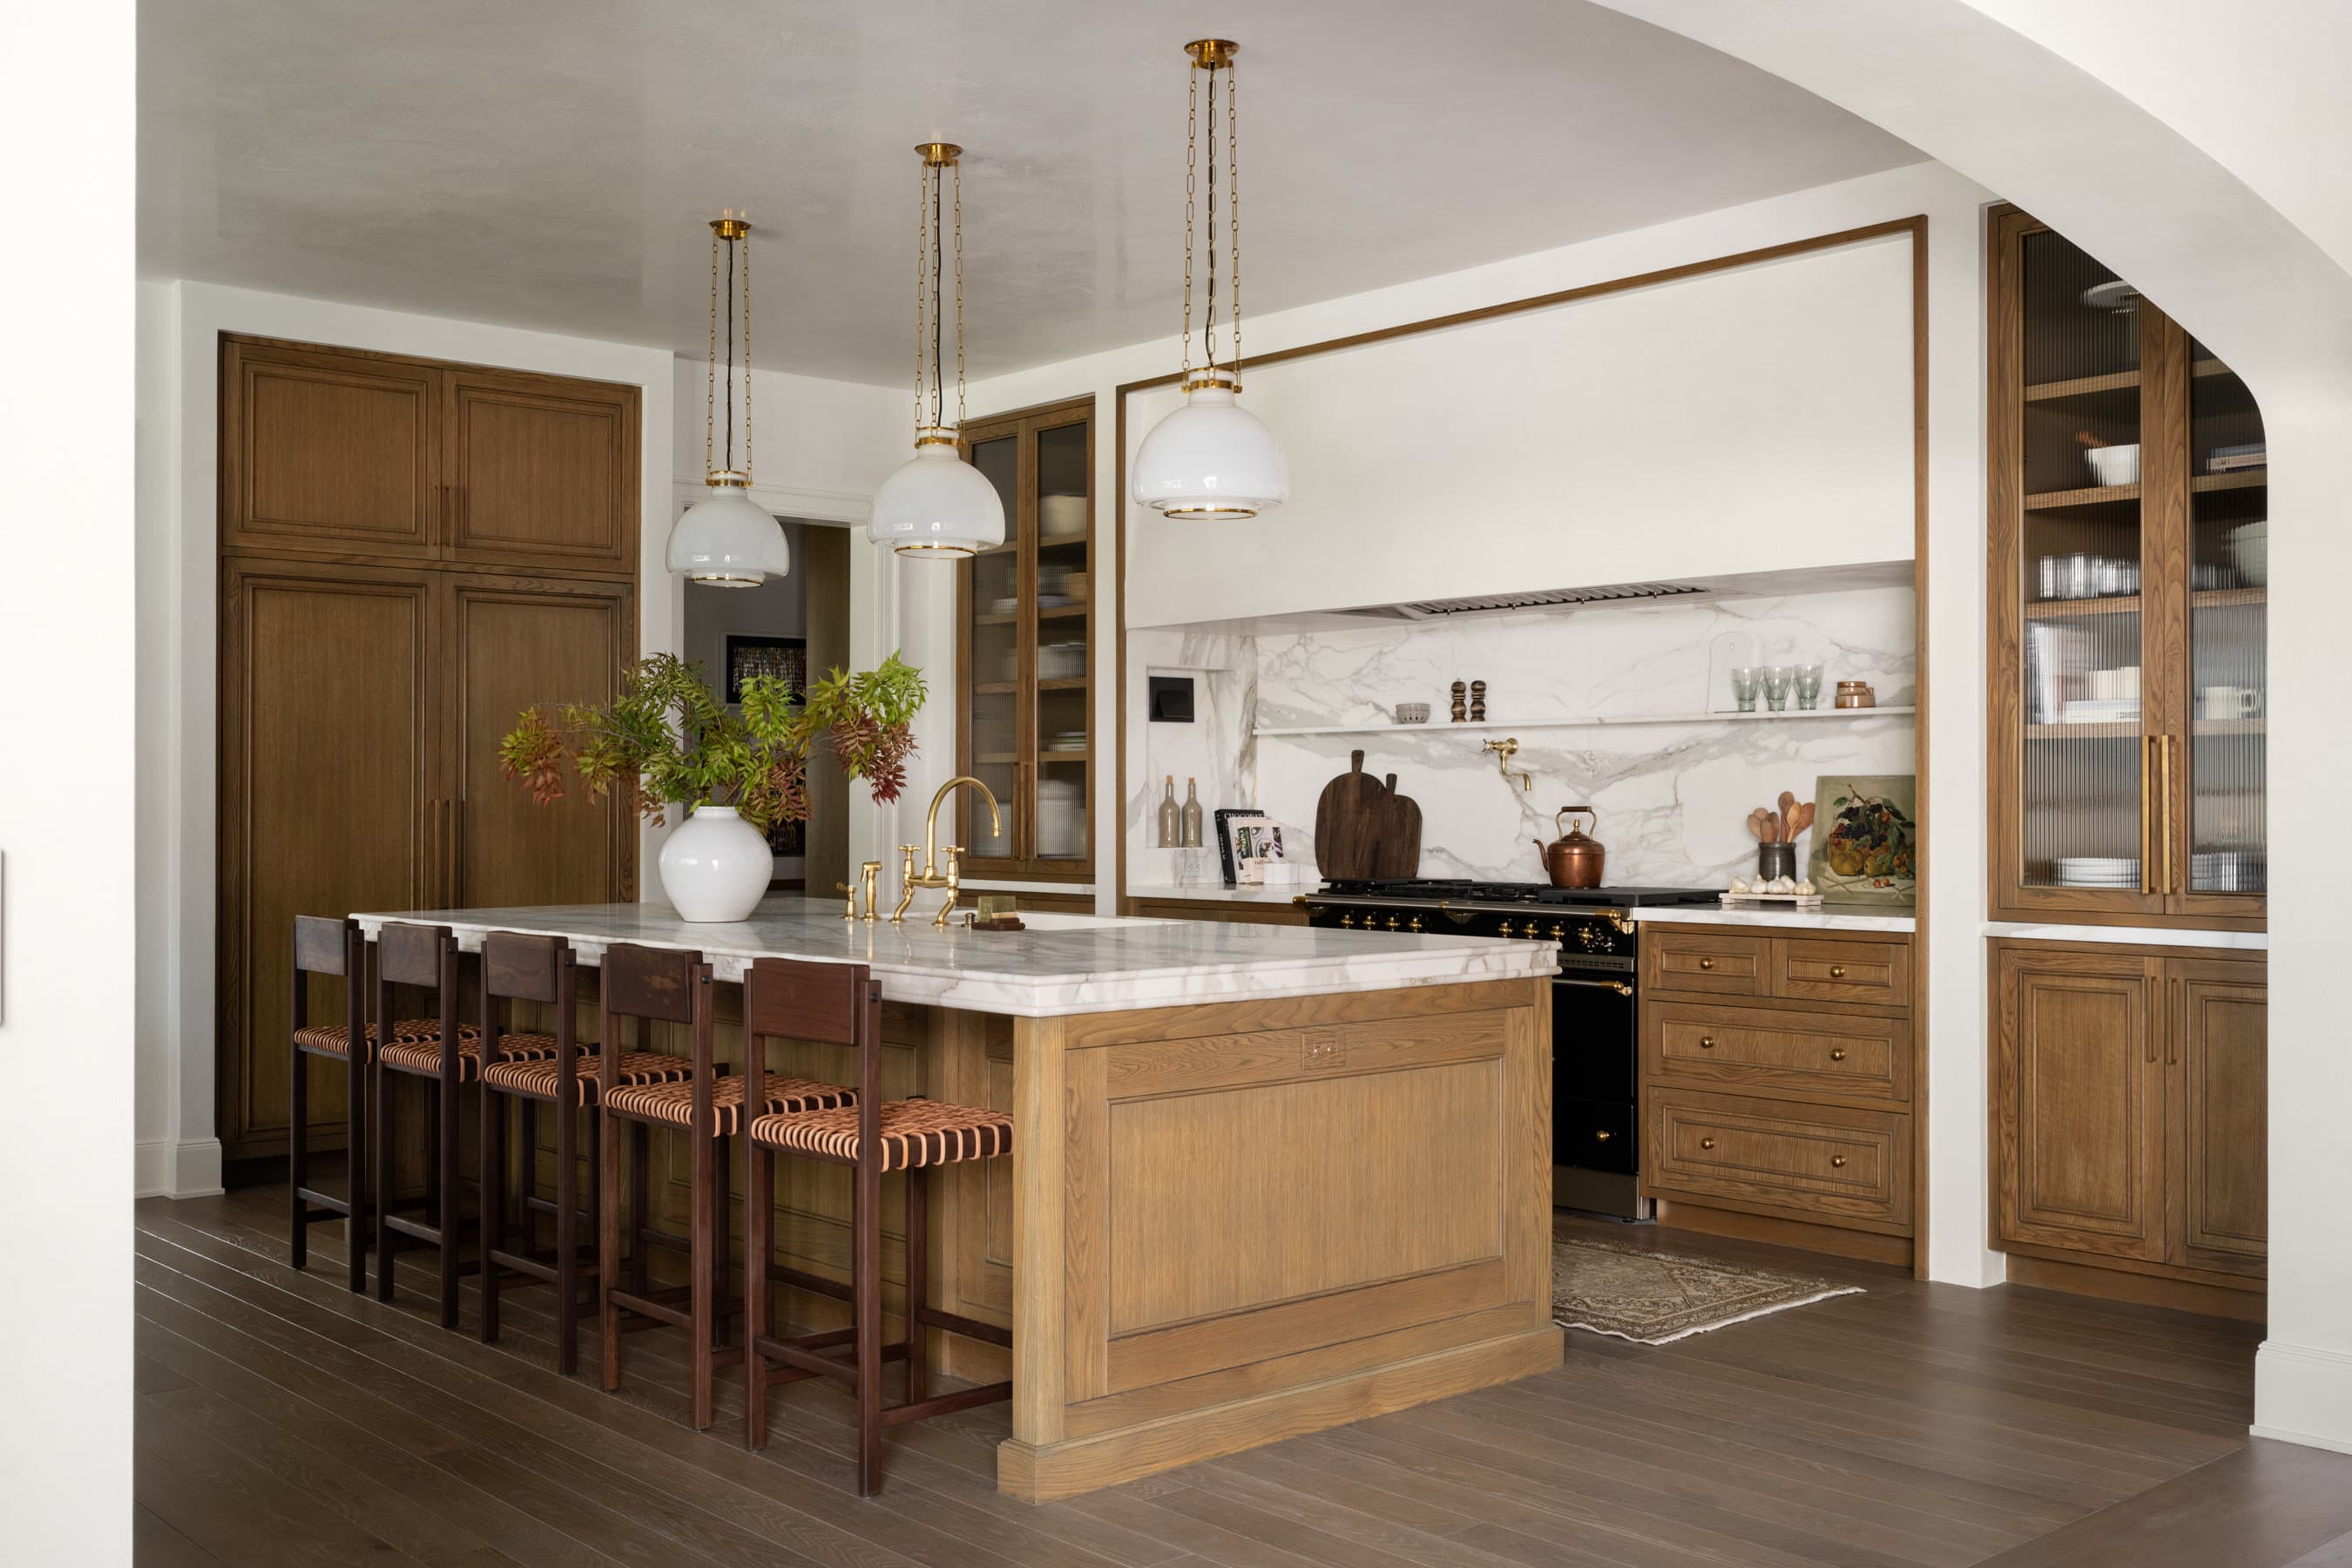
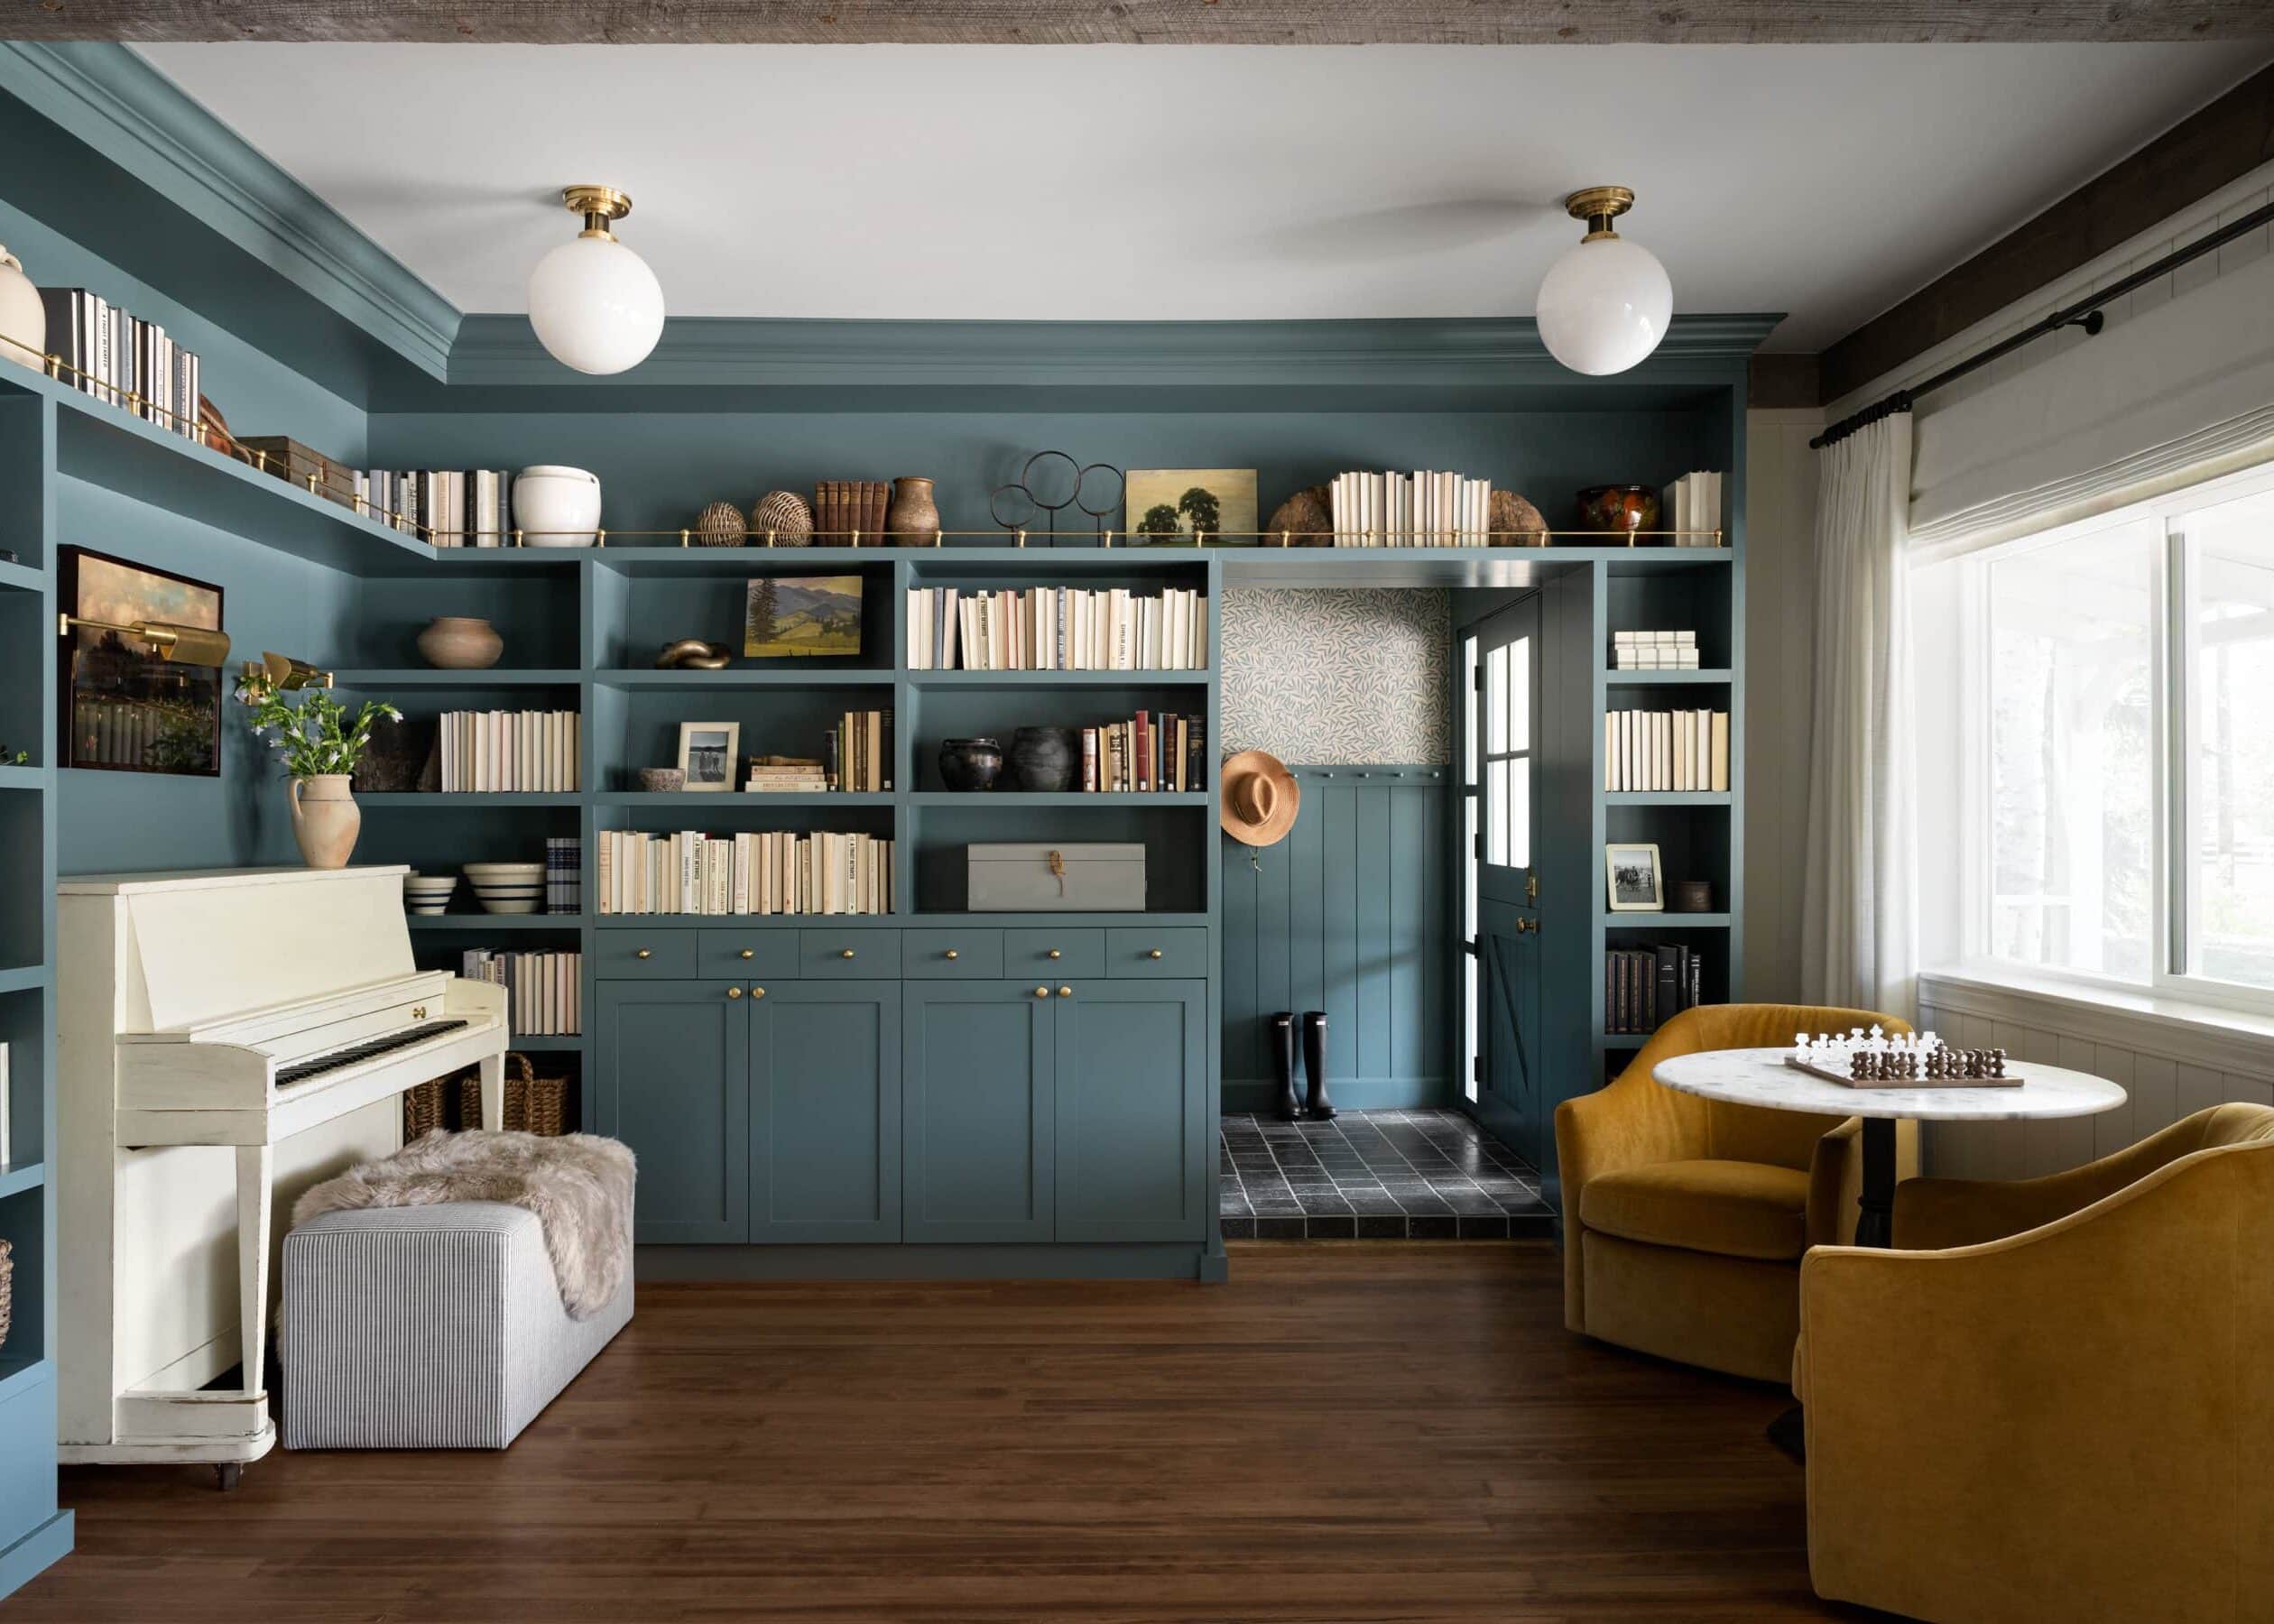
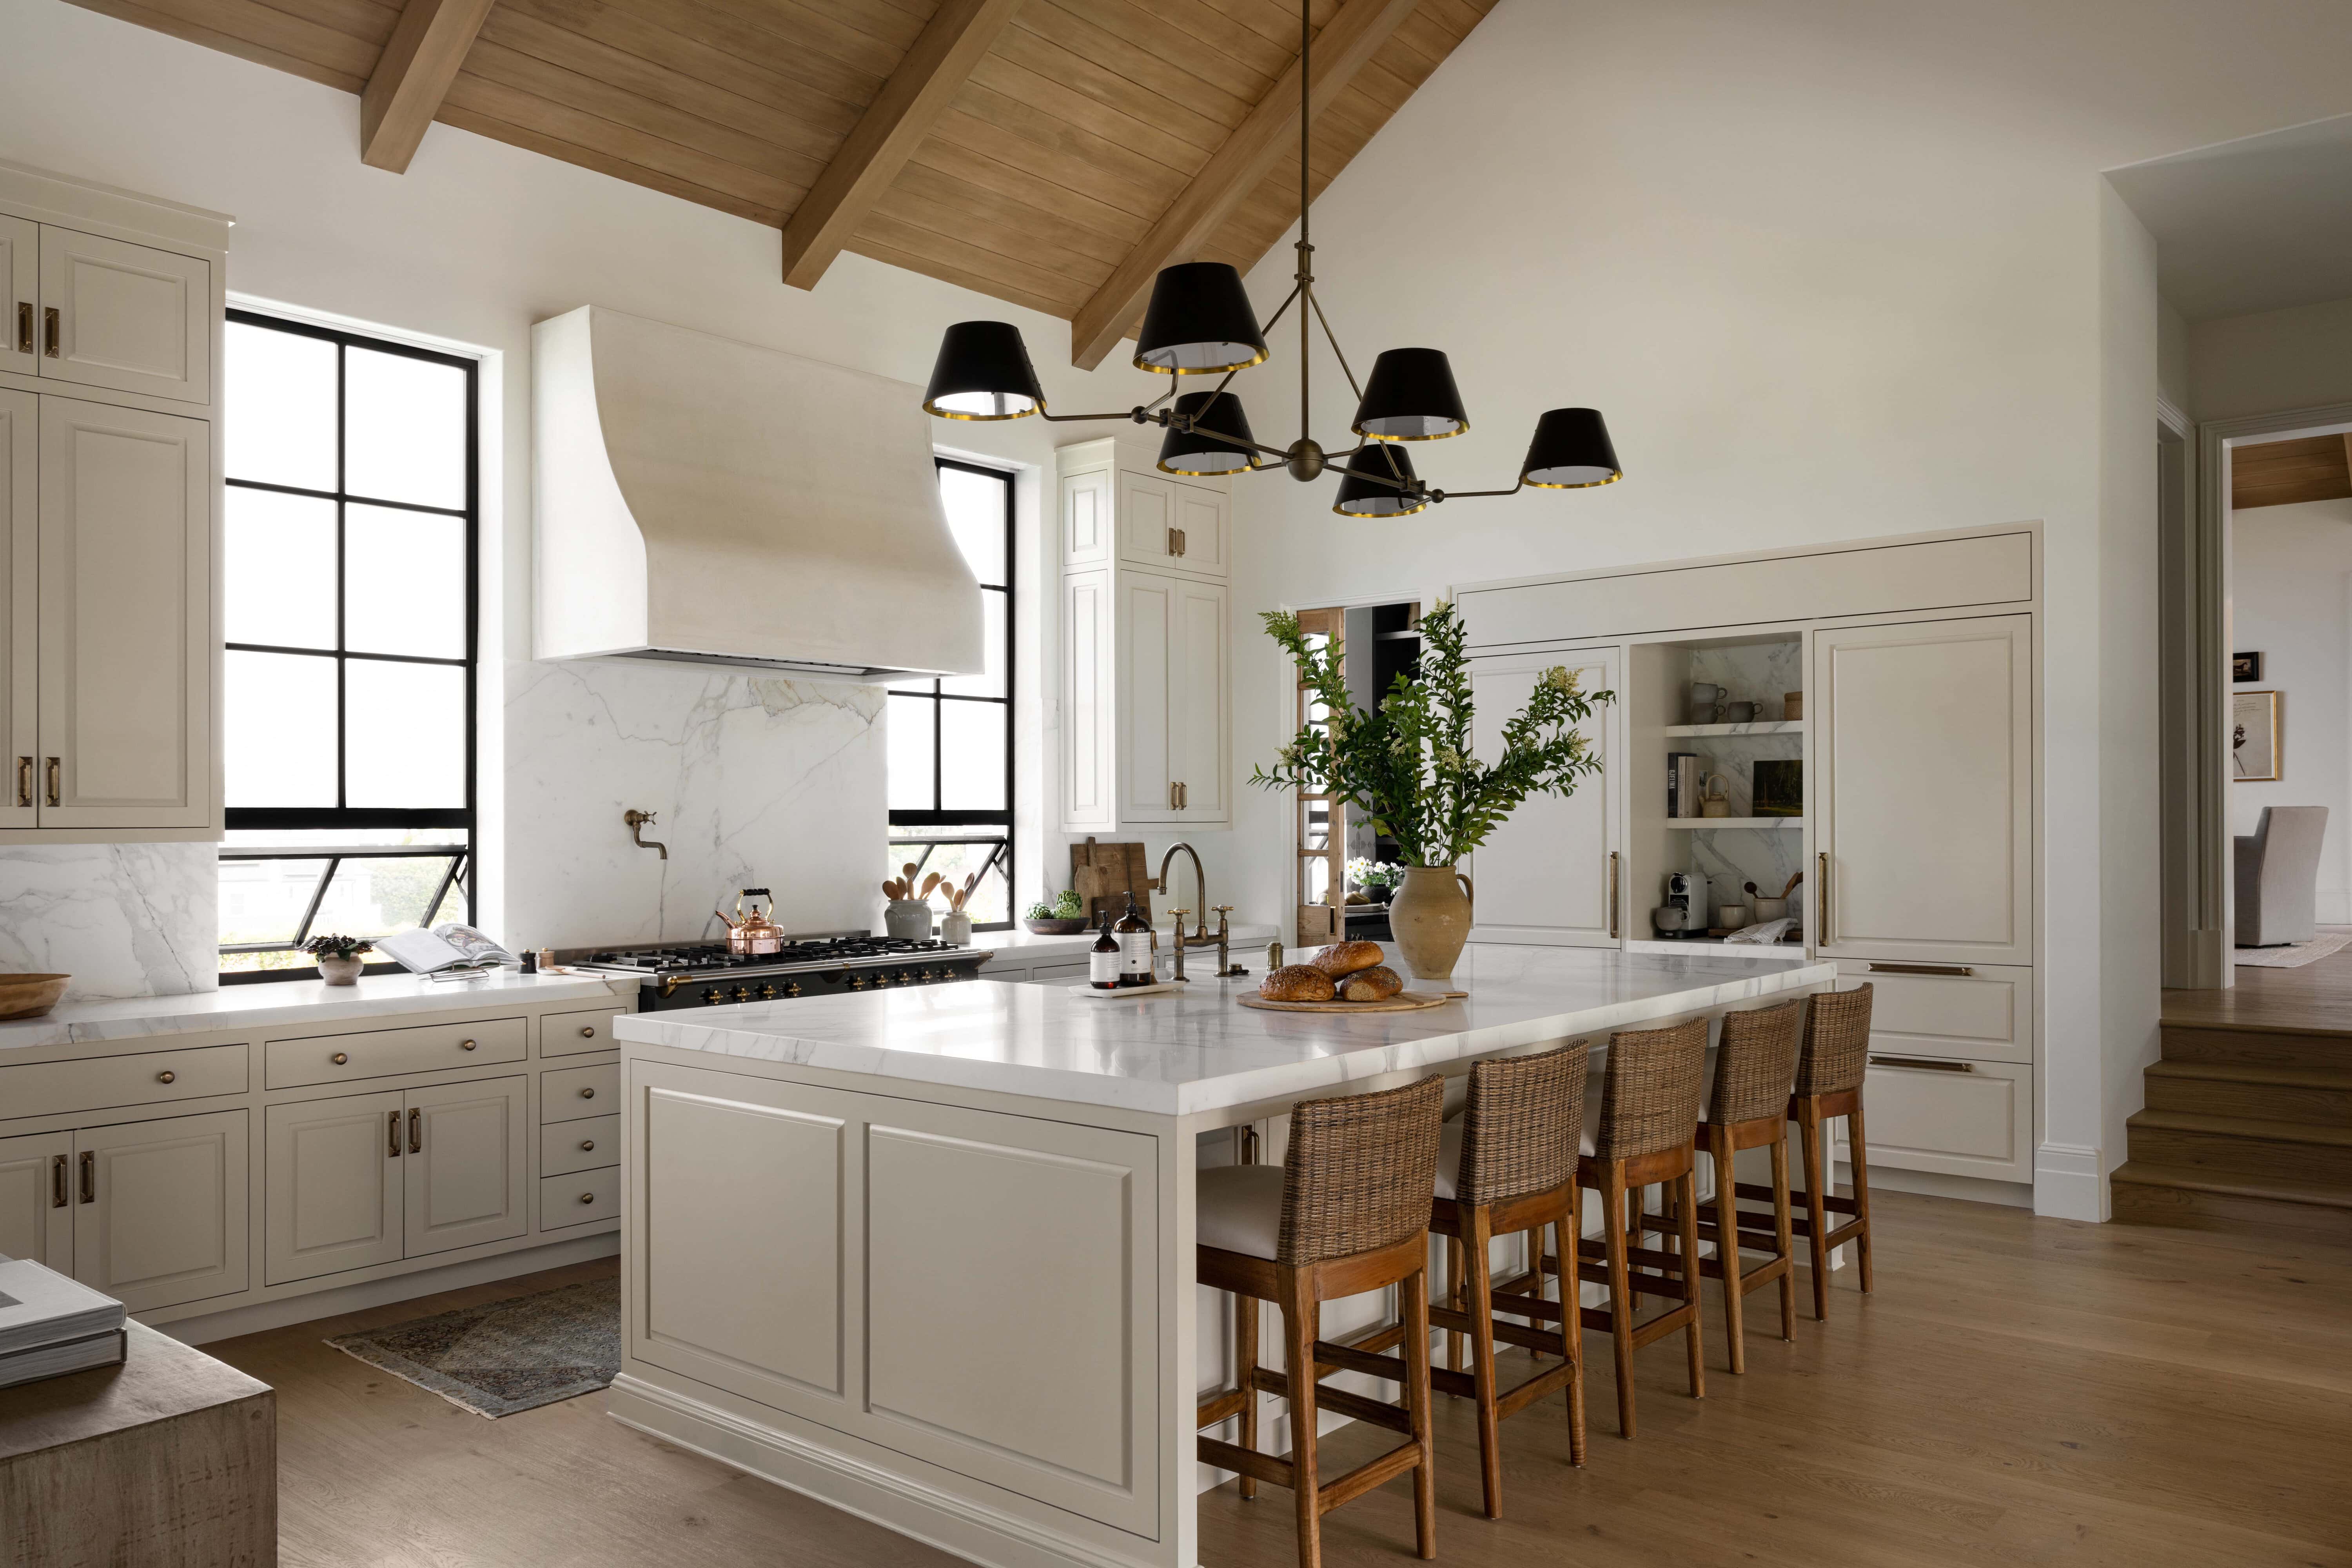
In The McGee Home, we went with a smooth, flat profile style on our baseboards, which brought an element of the streamlined-traditional look we implemented throughout the entire home in everything from furniture to decor.
Start with a vision
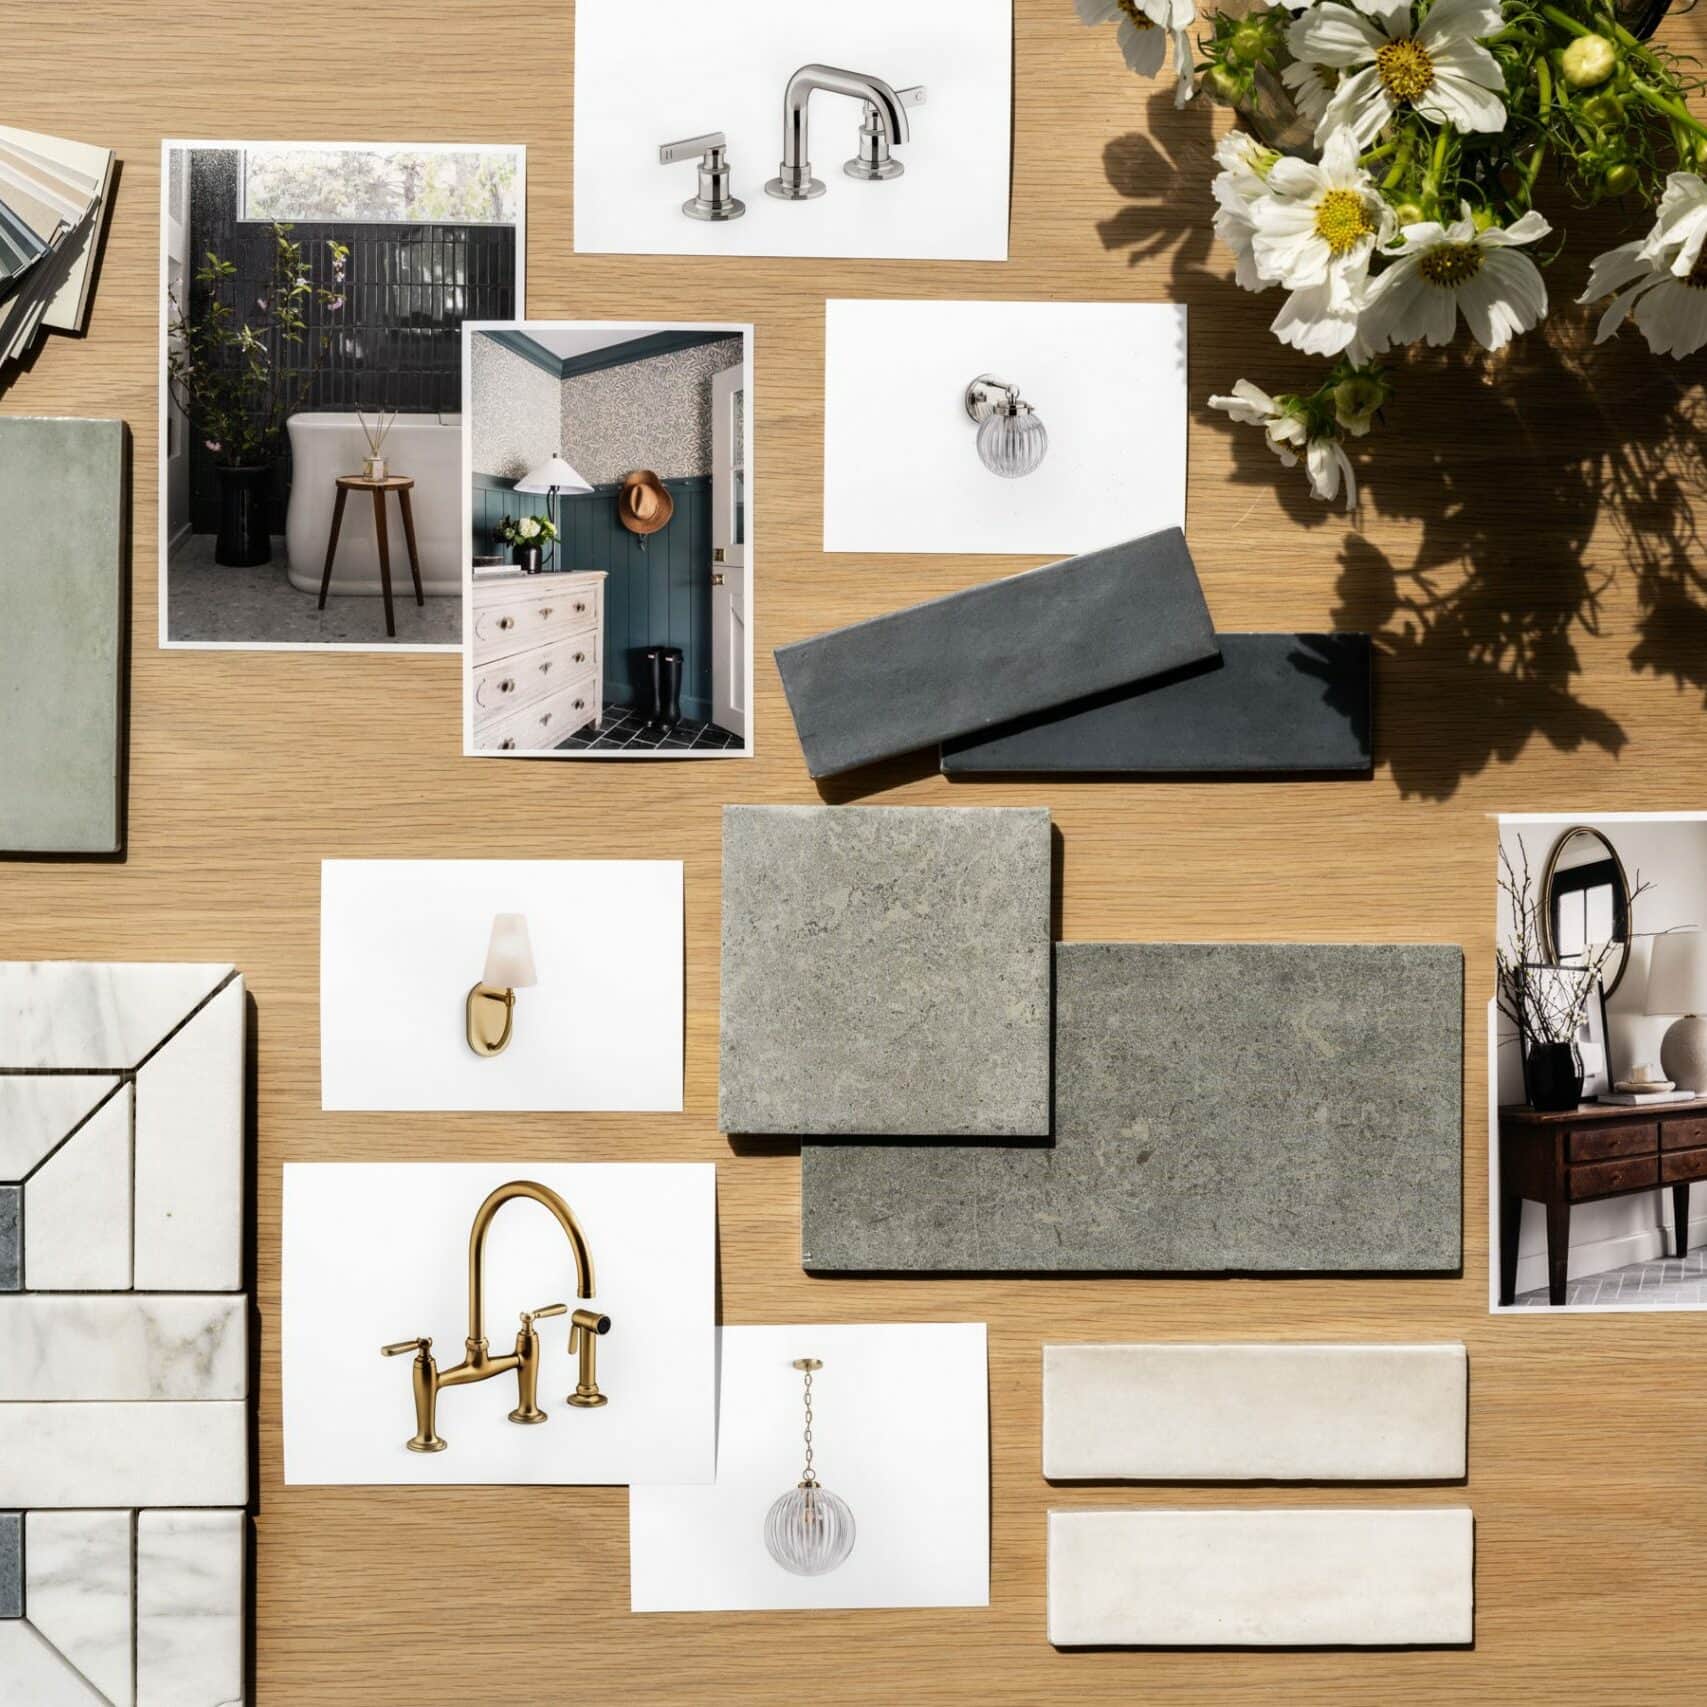
In every project, we begin with a vision for each element involved. We like to pull photos we are drawn to from catalogues, Pinterest, or even our camera rolls, and find similarities in them.
When working with clients to design wall treatments, the process of looking through inspiration photos with them helps us identify materials and styles they like, and even what they want they don’t like.
Once we identify the unifying features, we hit the drawing board and make sketches of our ideas to get started.
In The McGee home, we had an idea of what we wanted to do from the beginning after looking through our vision boards and the Metrie catalogue. Working with our contractor at Killowen Construction, we sketched each element to get it just right.
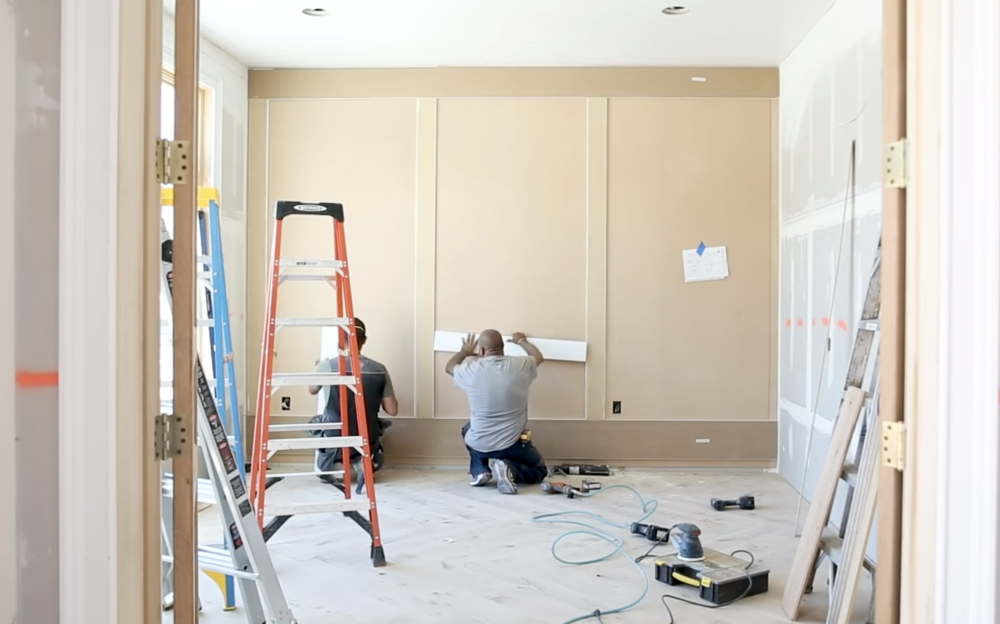
Tip from our contractor at Killowen Construction: When you’re doing big wainscoting panels on a wall, there are two ways you can tackle it. You can place the pieces on top of the drywall and paint them to match, or you can do the sheets underneath. The sheets you can put underneath only come eight feet tall, so you have to adjust the layout beforehand to avoid having a line in the middle when you’re finished!
Think outside the box
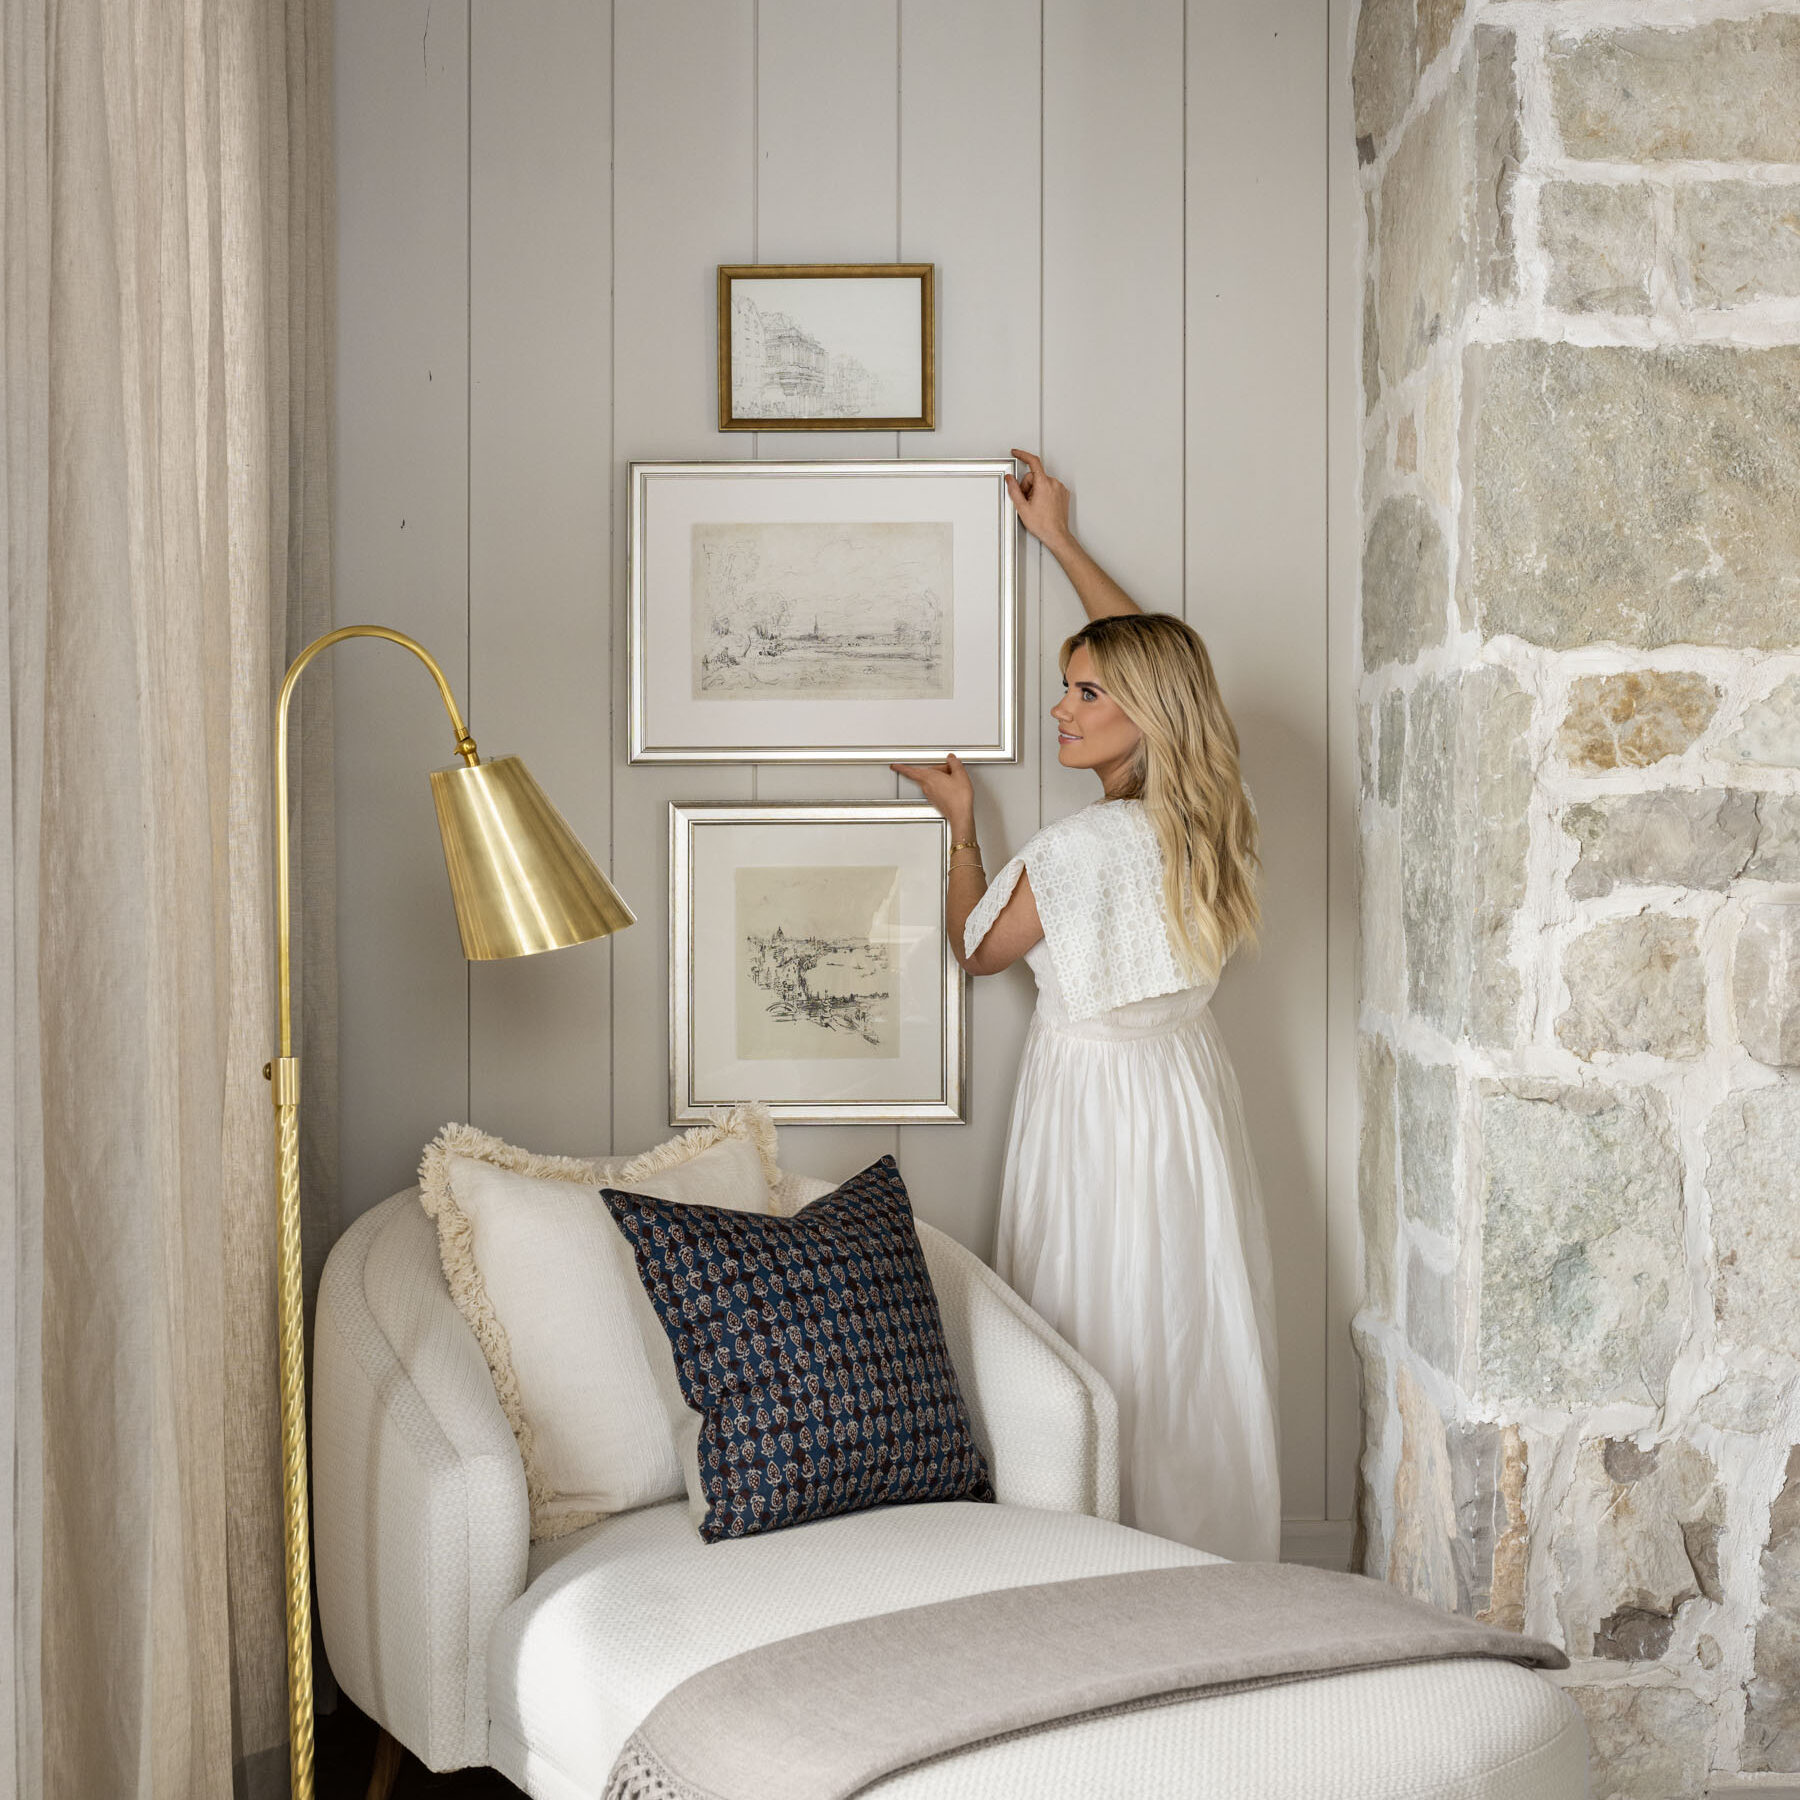
We are big believers that getting creative with your wall treatment pieces makes all the difference in a custom home. It’s all about looking at wall treatment pieces not for what they are, but for what they could be.
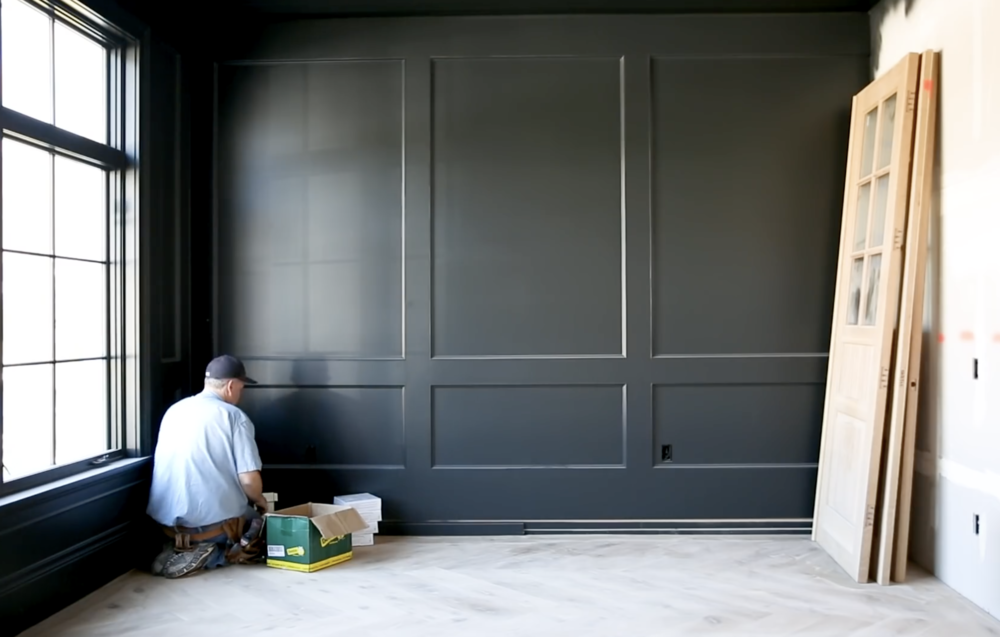
In The McGee Home, we customized a lot of our wall treatments by putting two or more pieces together, cutting things down, and creating something entirely new in the process.
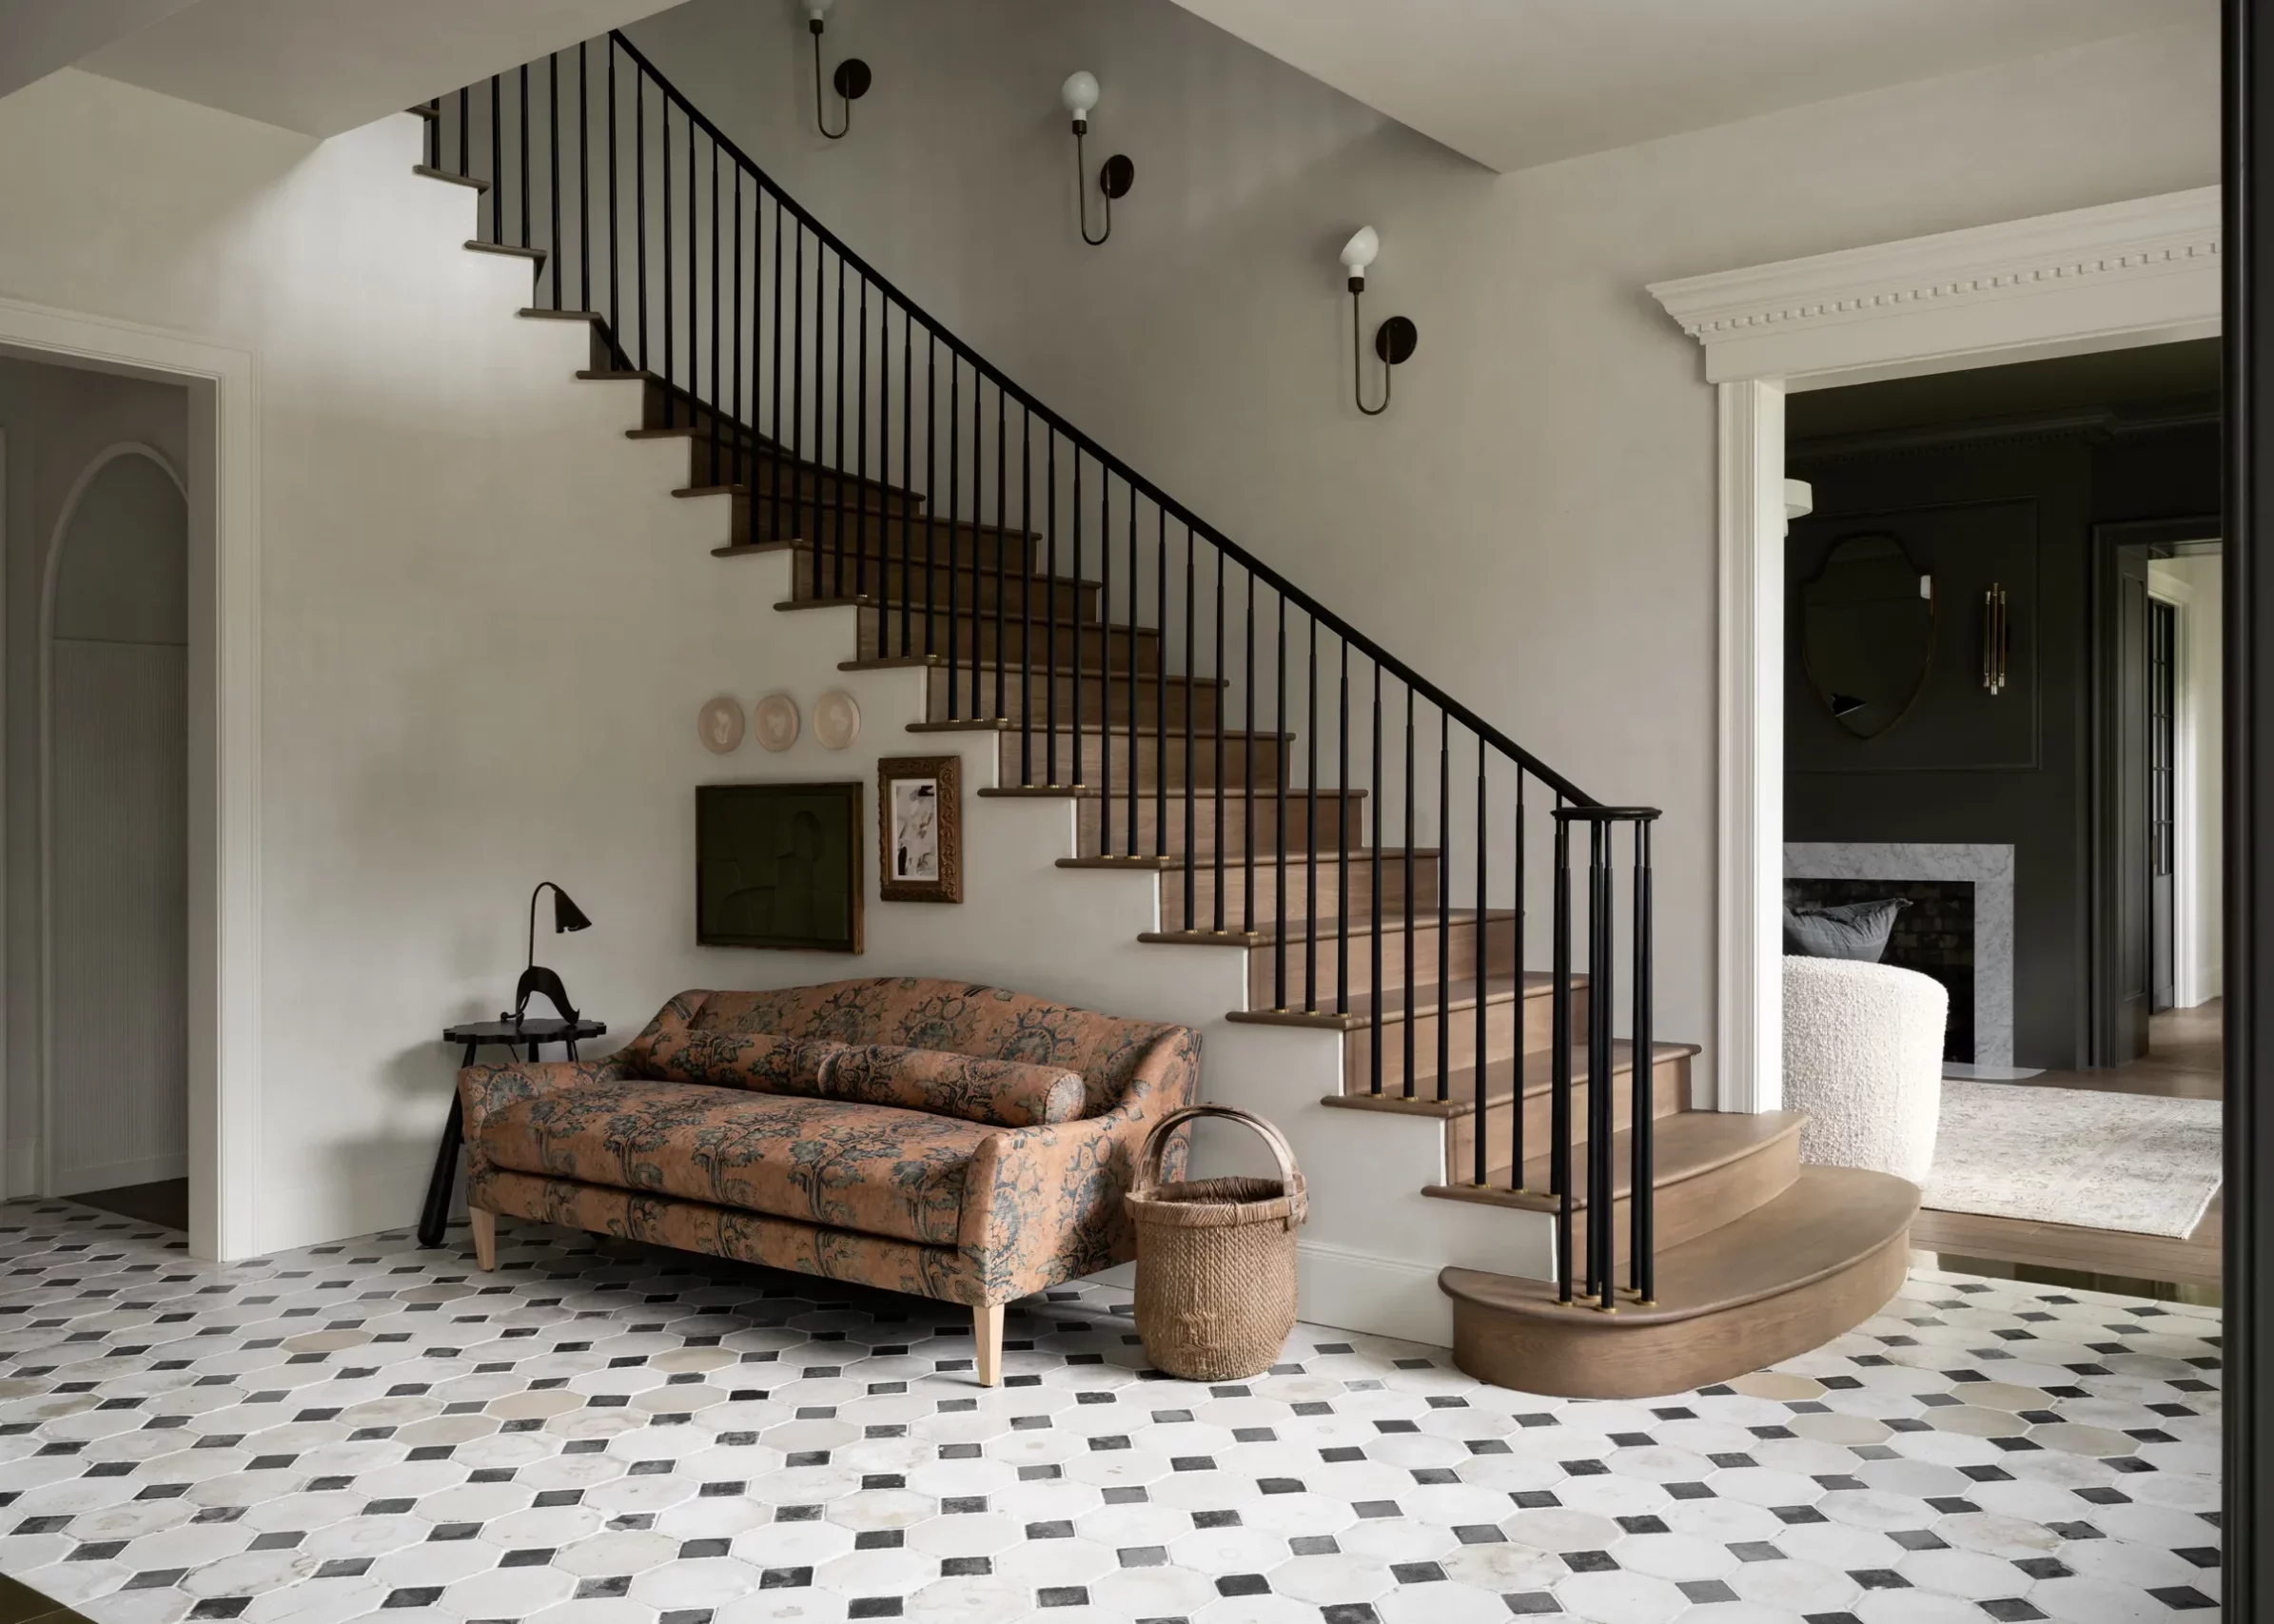
When we have tall ceilings, we love to do a tall baseboard, and in The McGee Home, we built them up by piercing one long stretch of baseboard with a smaller, more intricate piece on top.
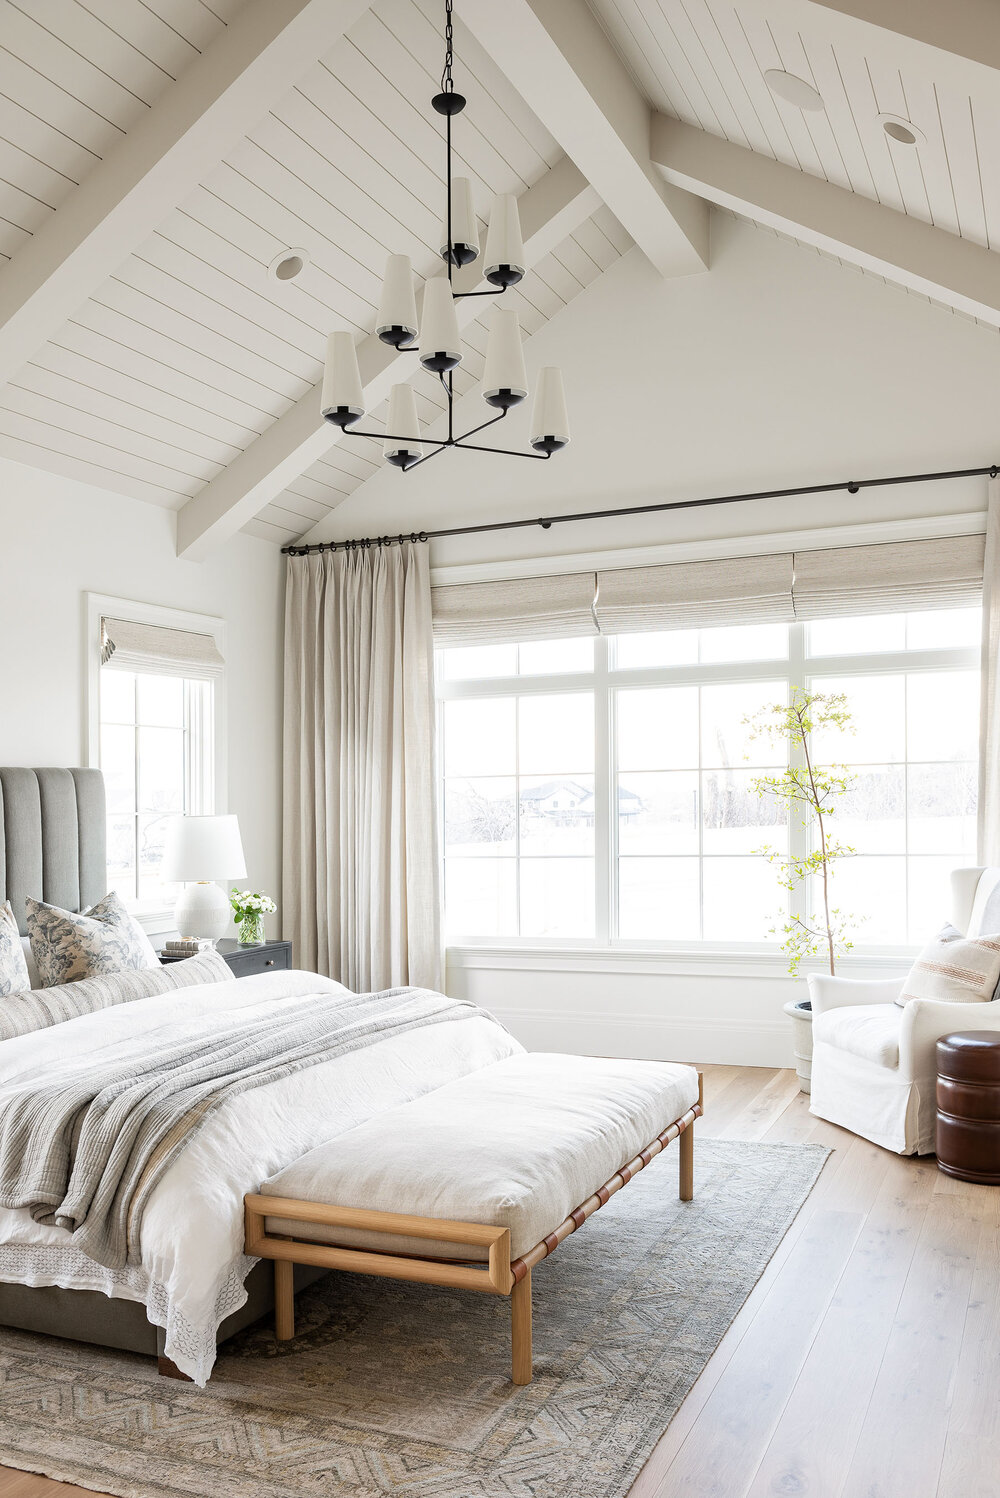
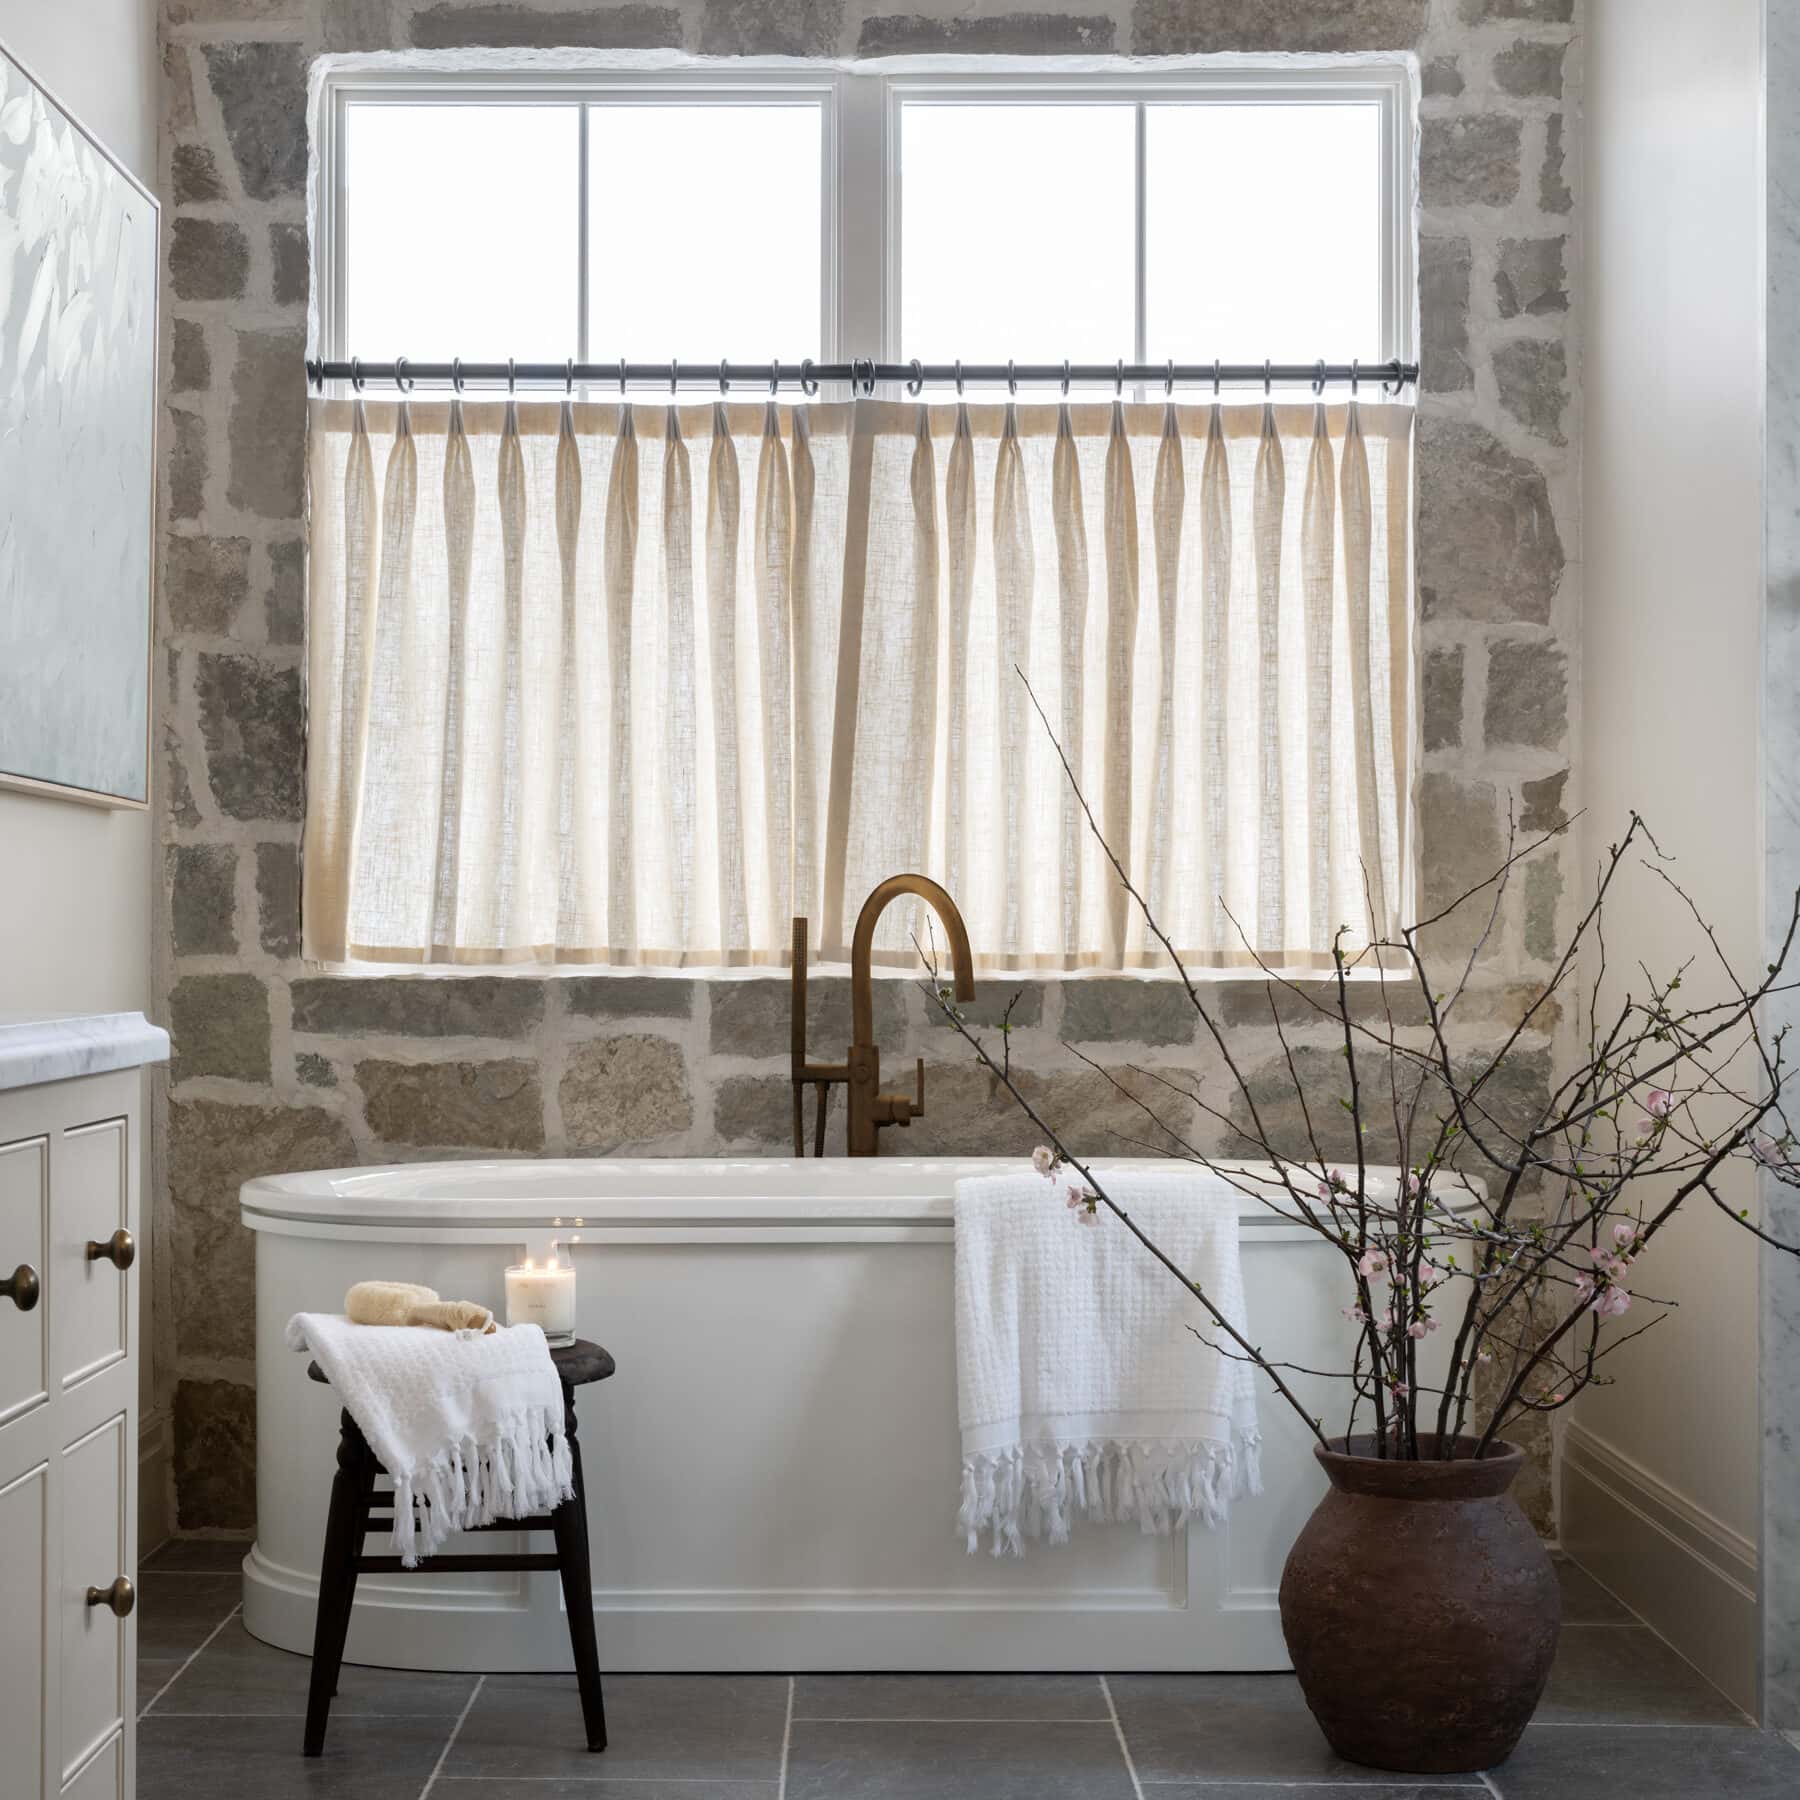
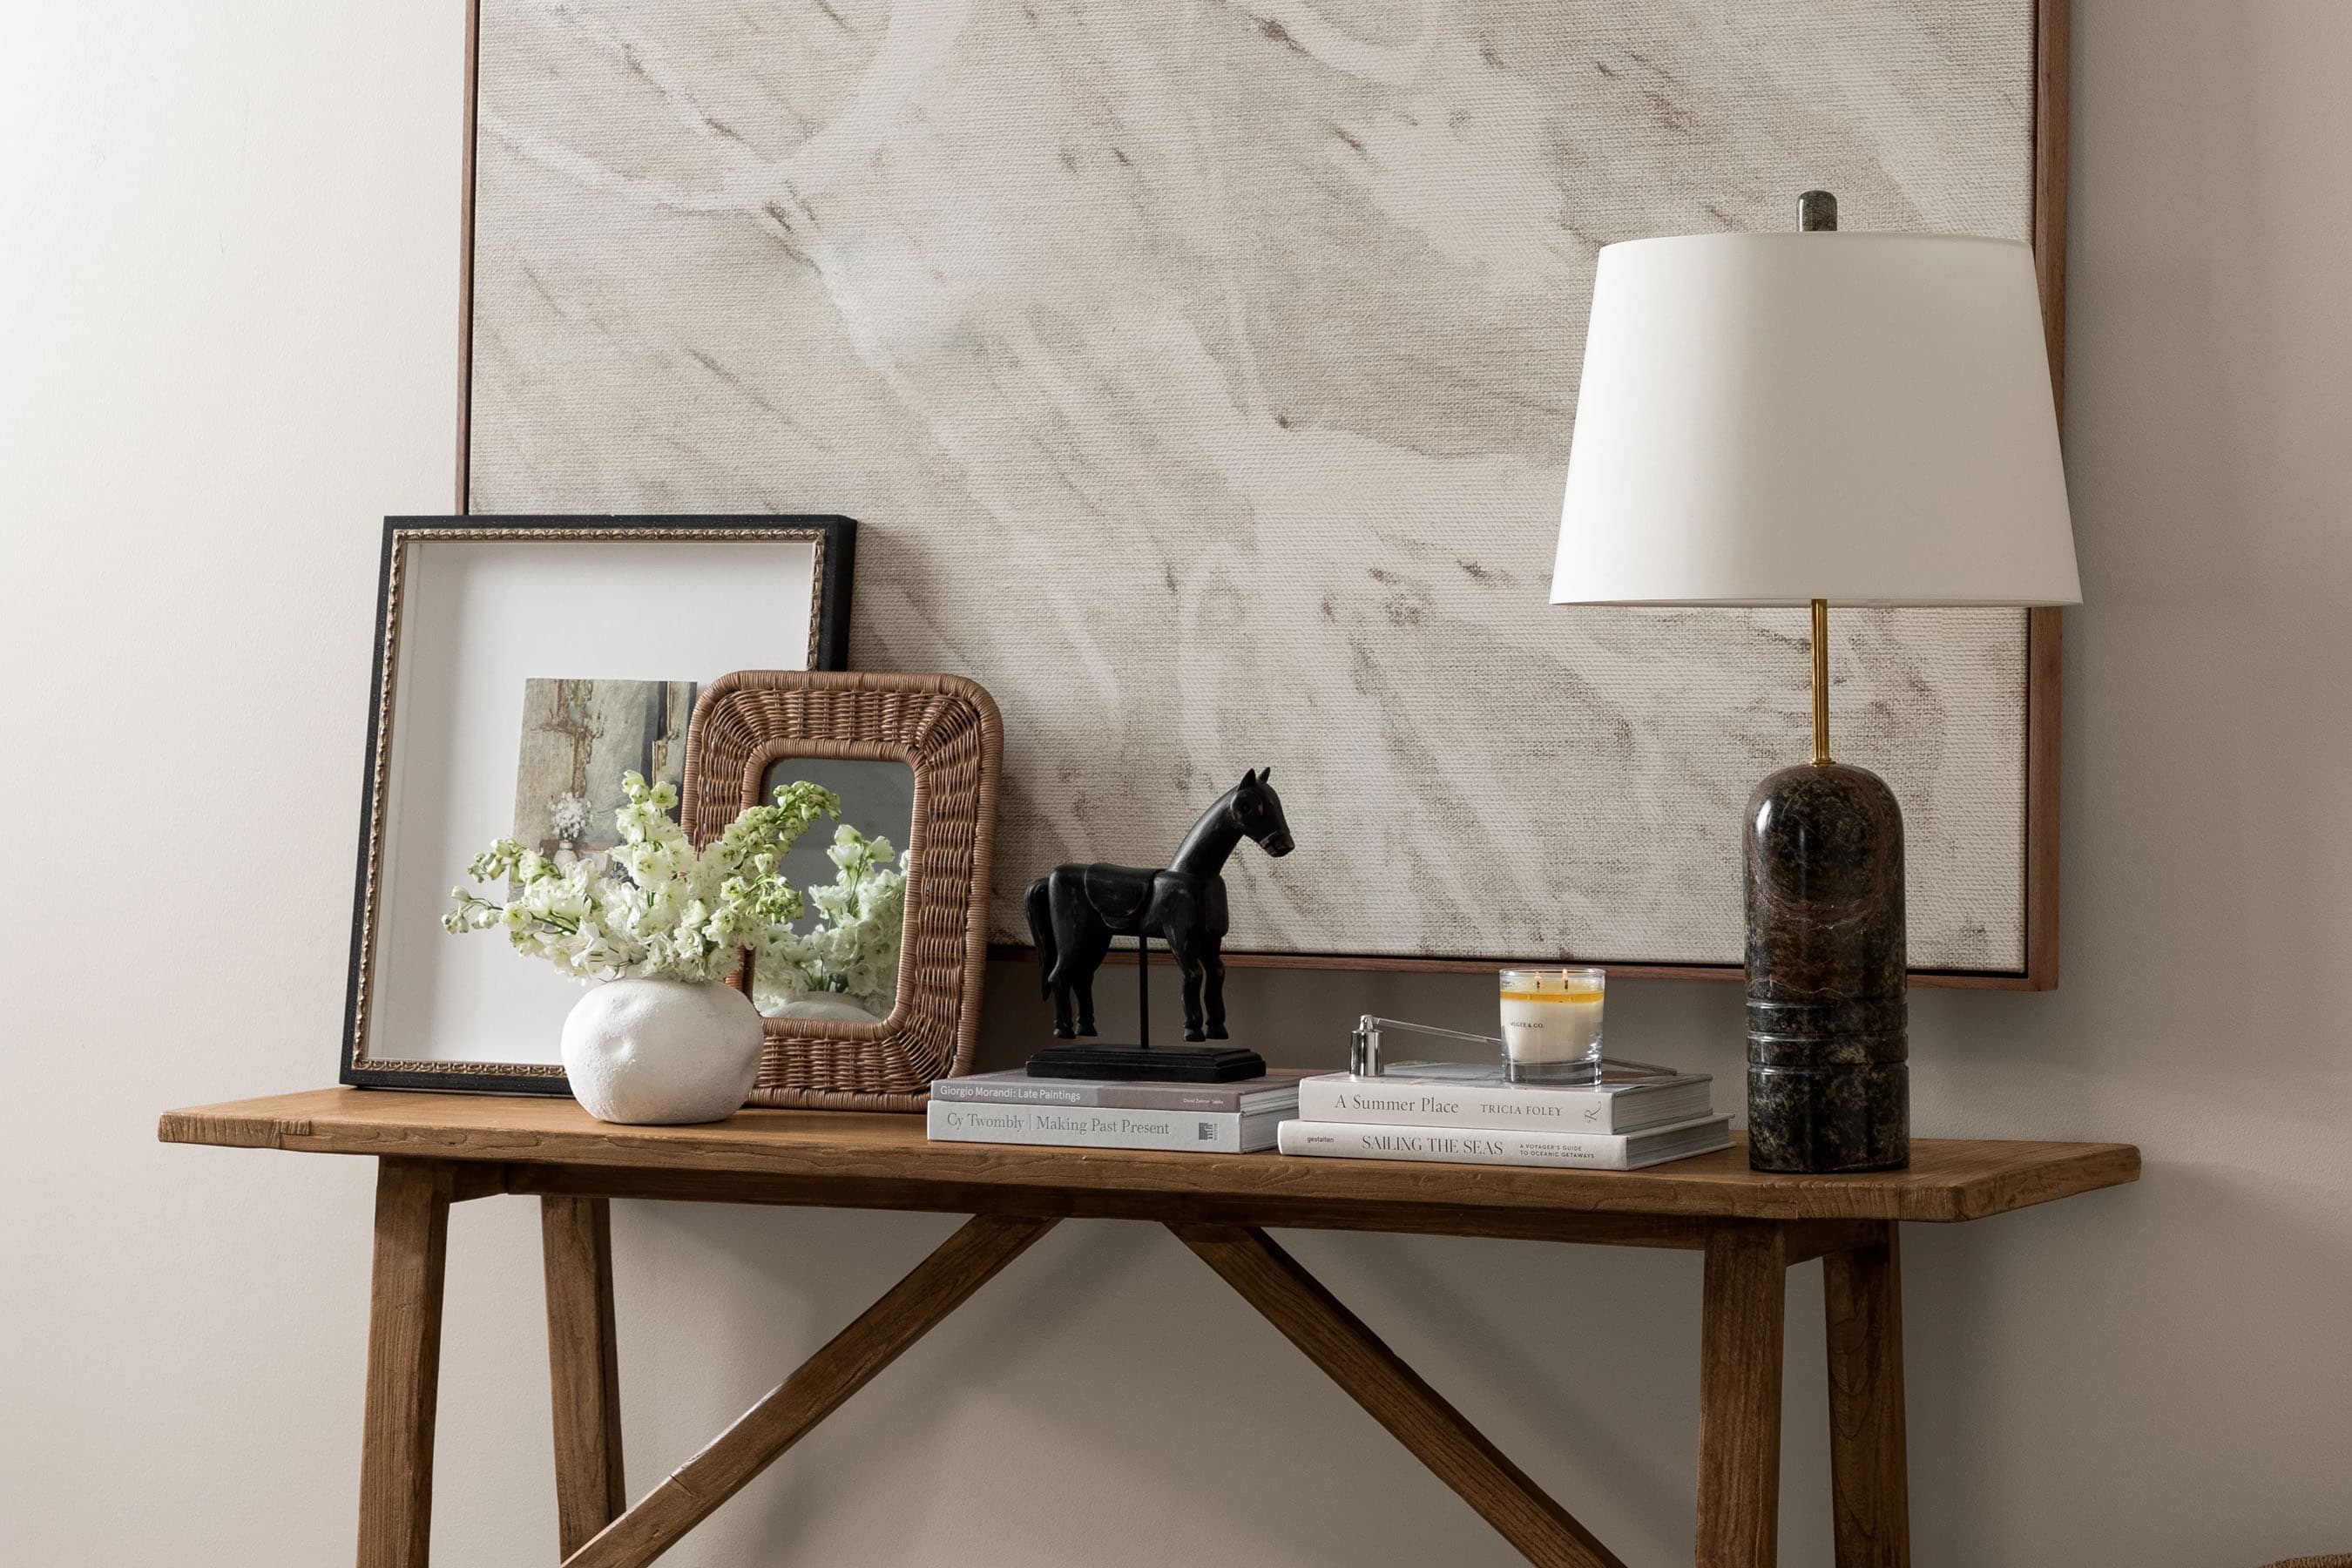
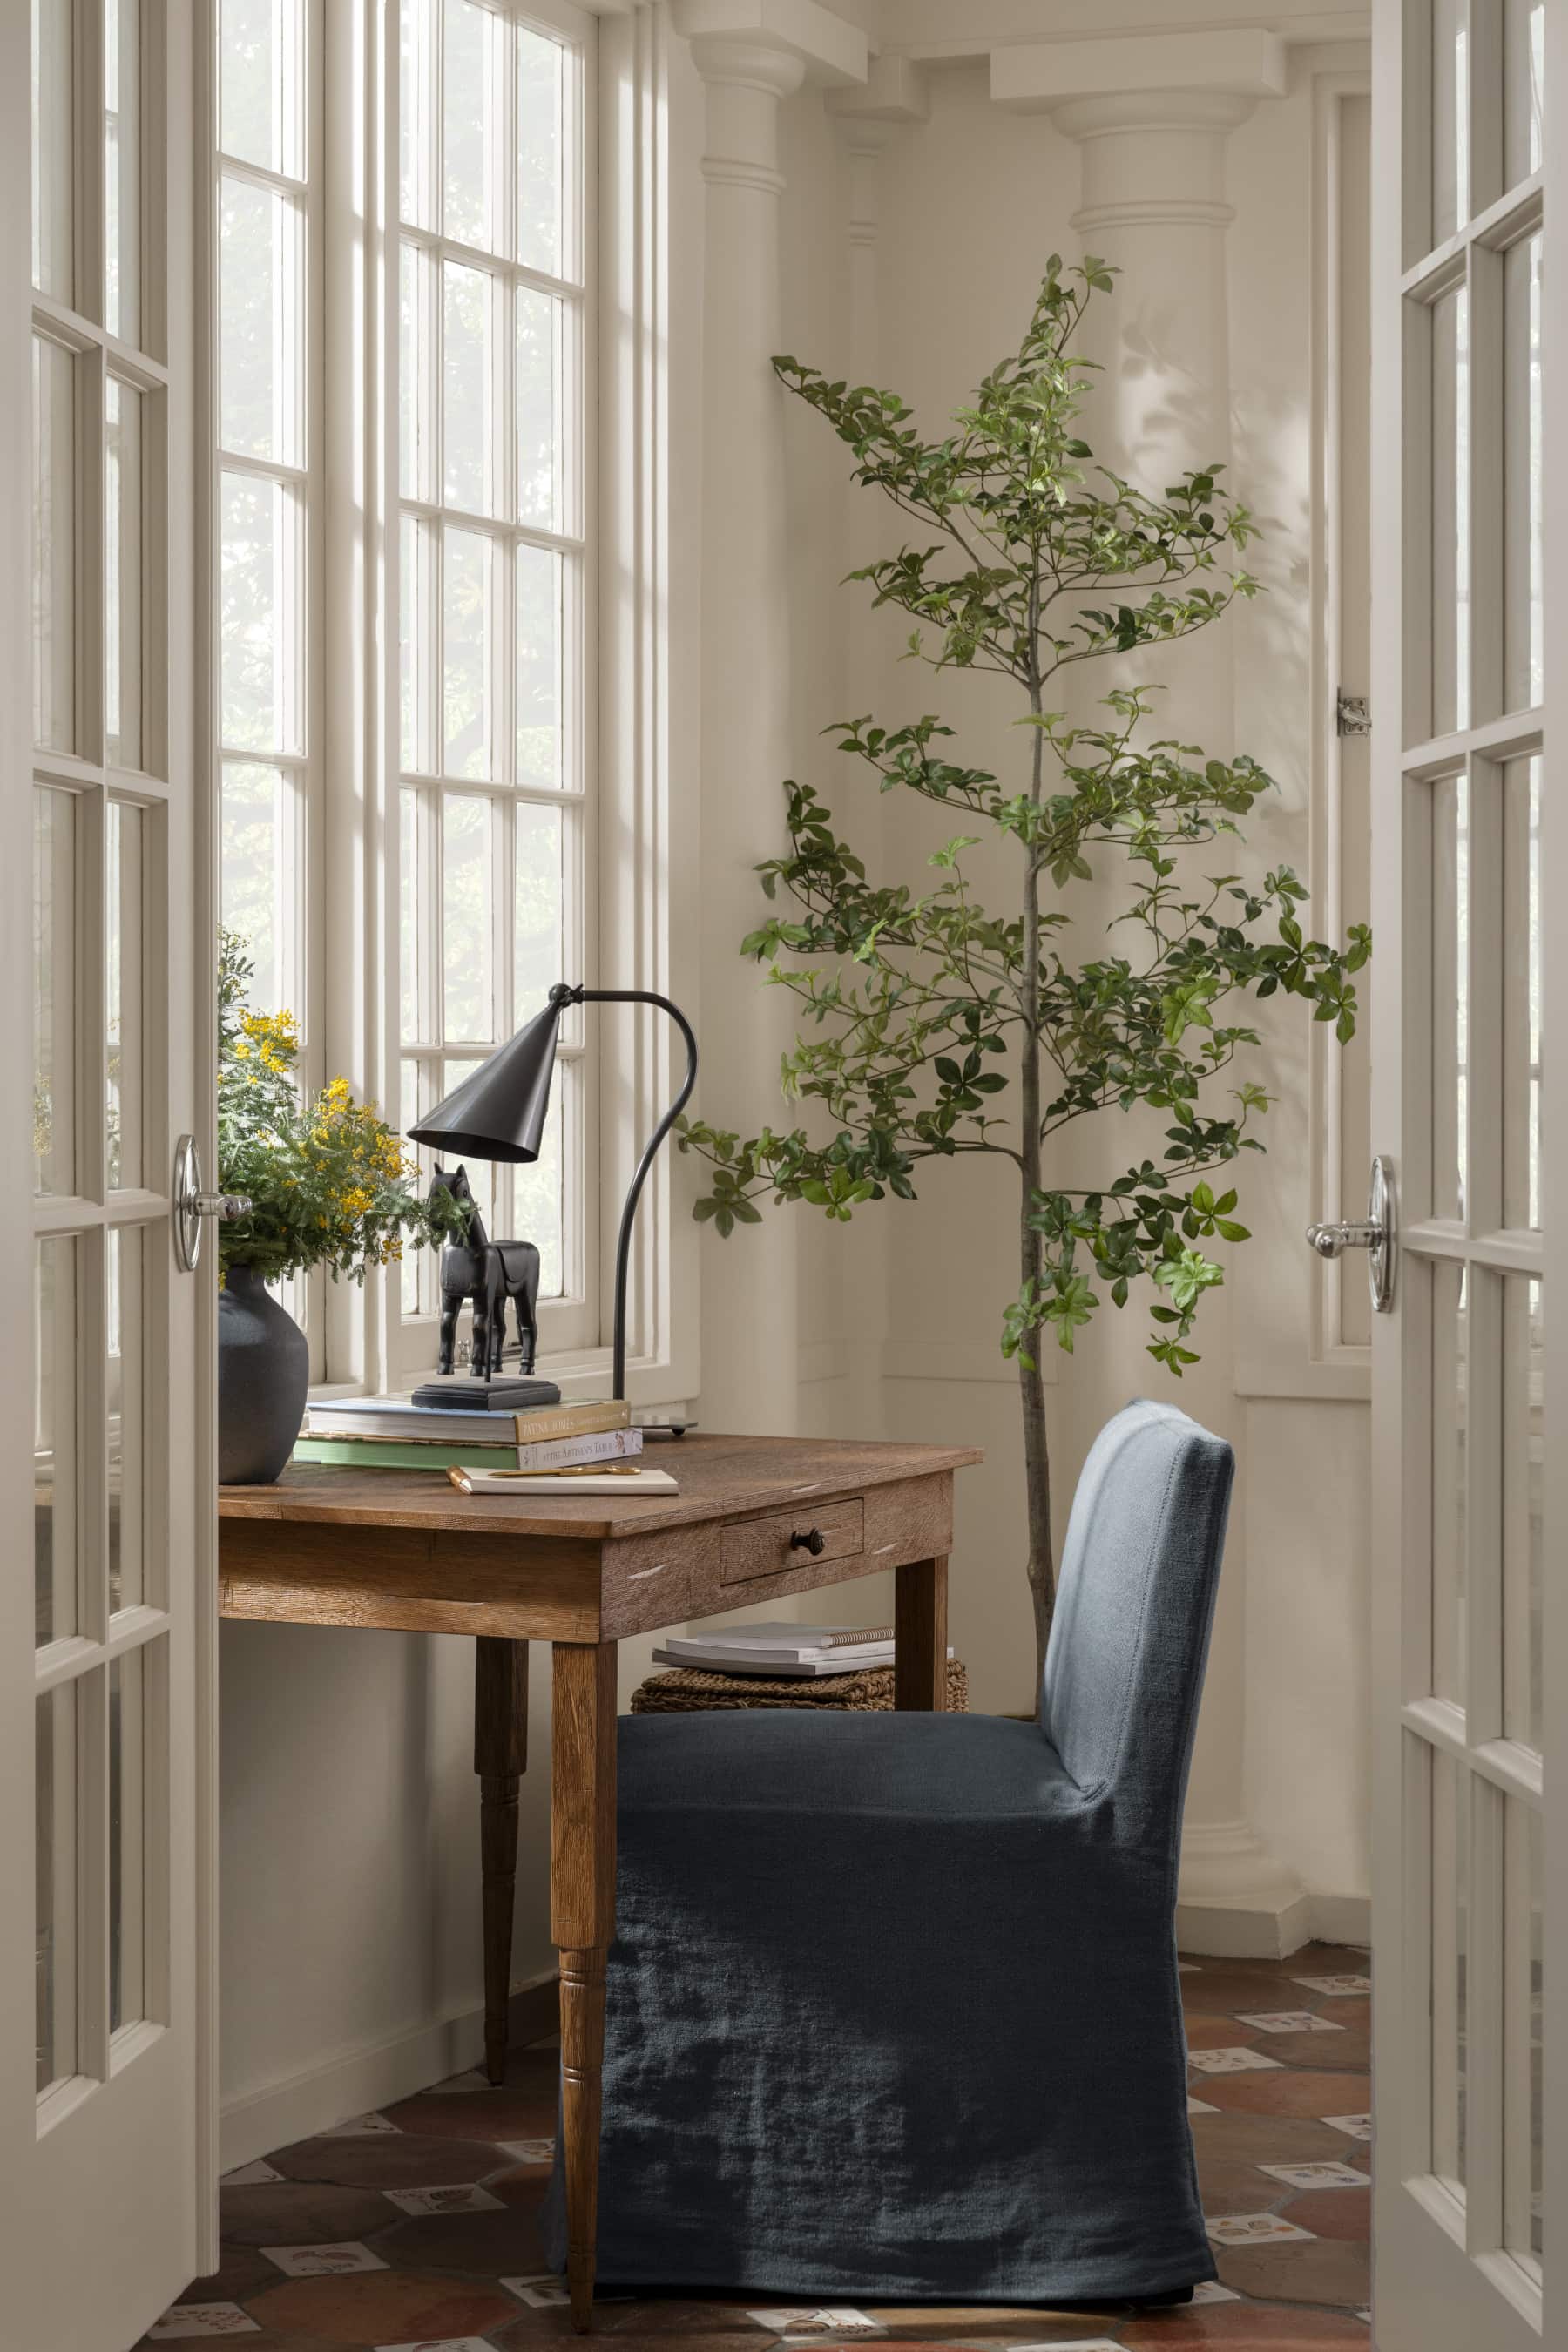
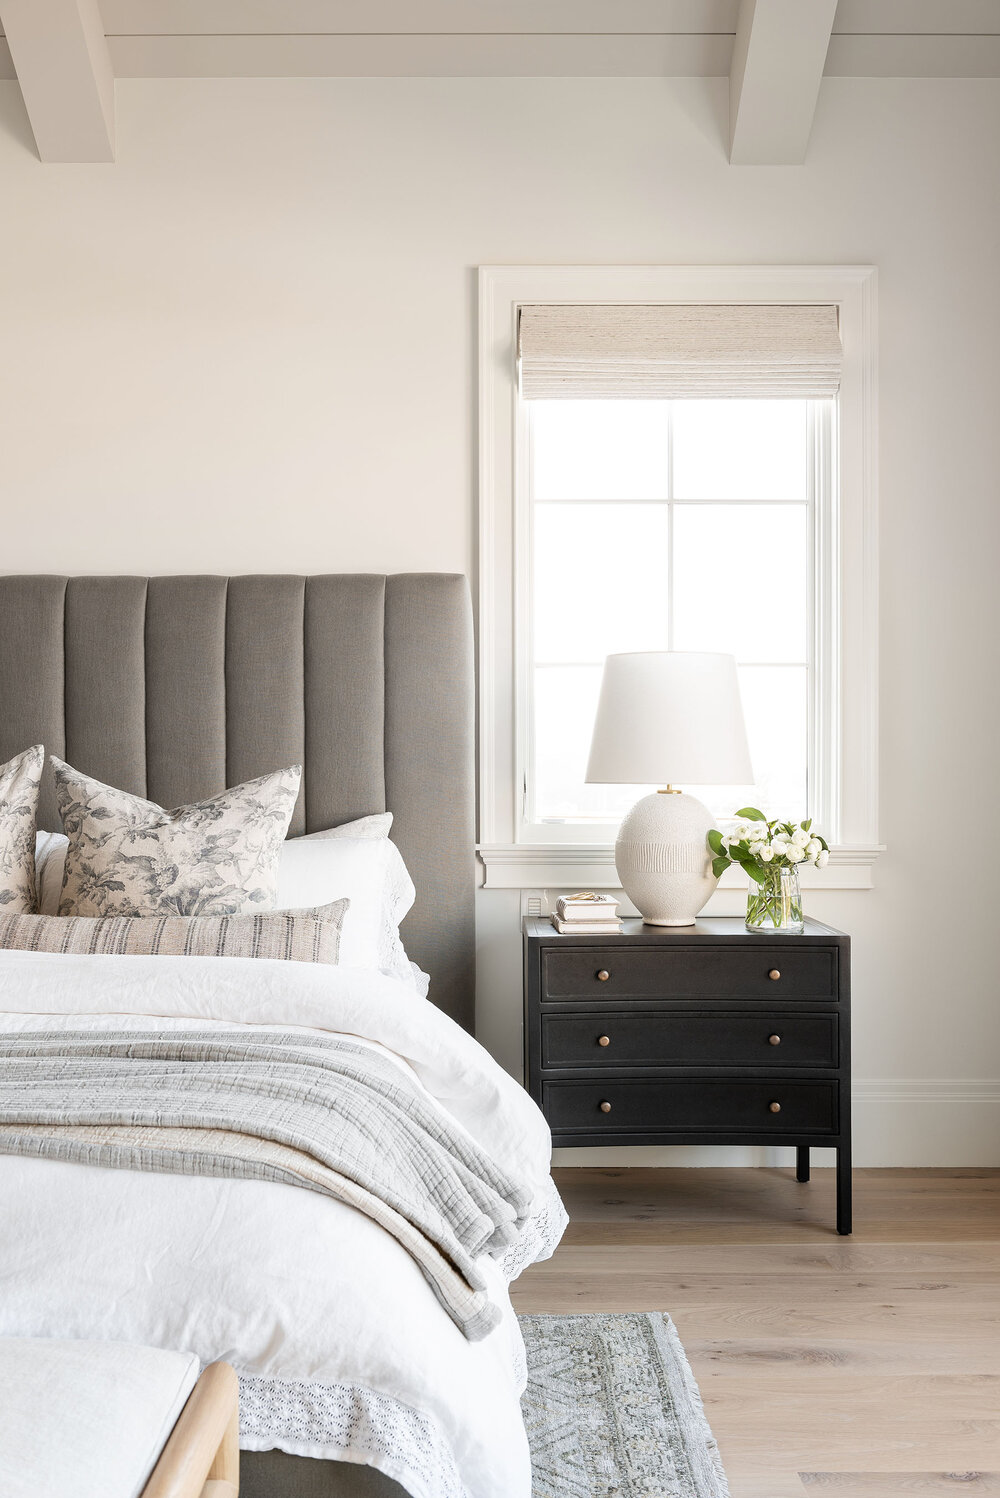
On our door and window casings, instead of doing a typical window trim that has a header and crown detail, we used a backband piece and mitred the corners on the top. Customizing those pieces created a beautiful contrast between the flat, modern-looking center, and the pretty beaded detail around the edge. Then, to add a more traditional element, we did an apron and a sill on the bottom of our windows.
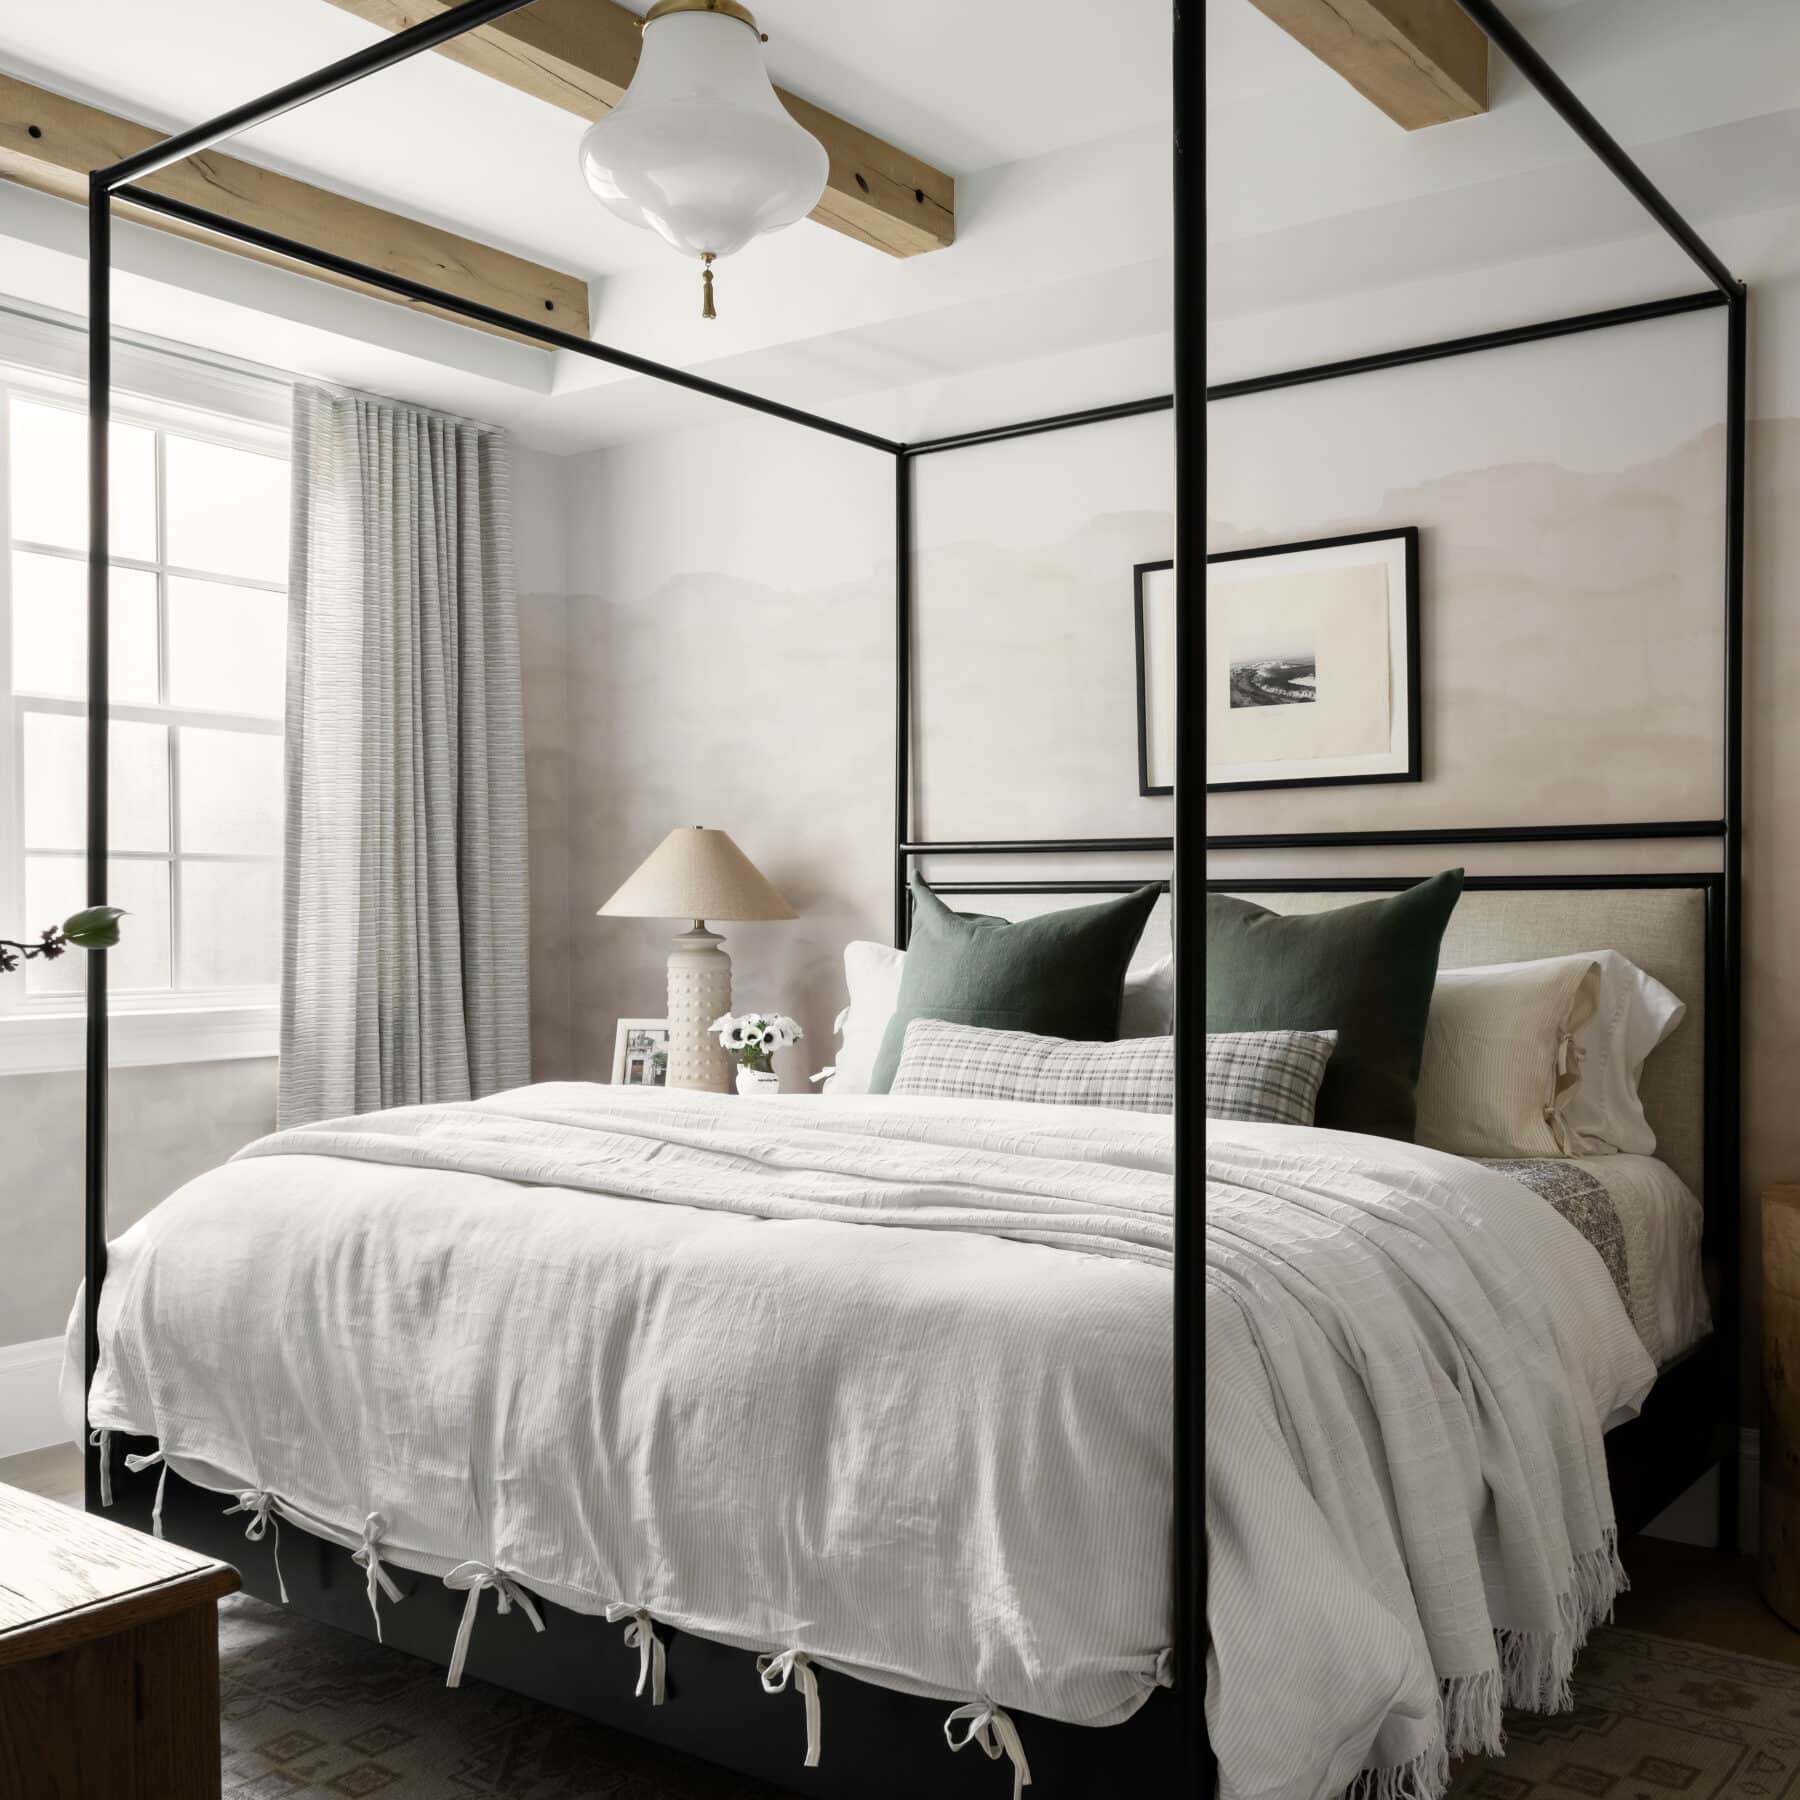
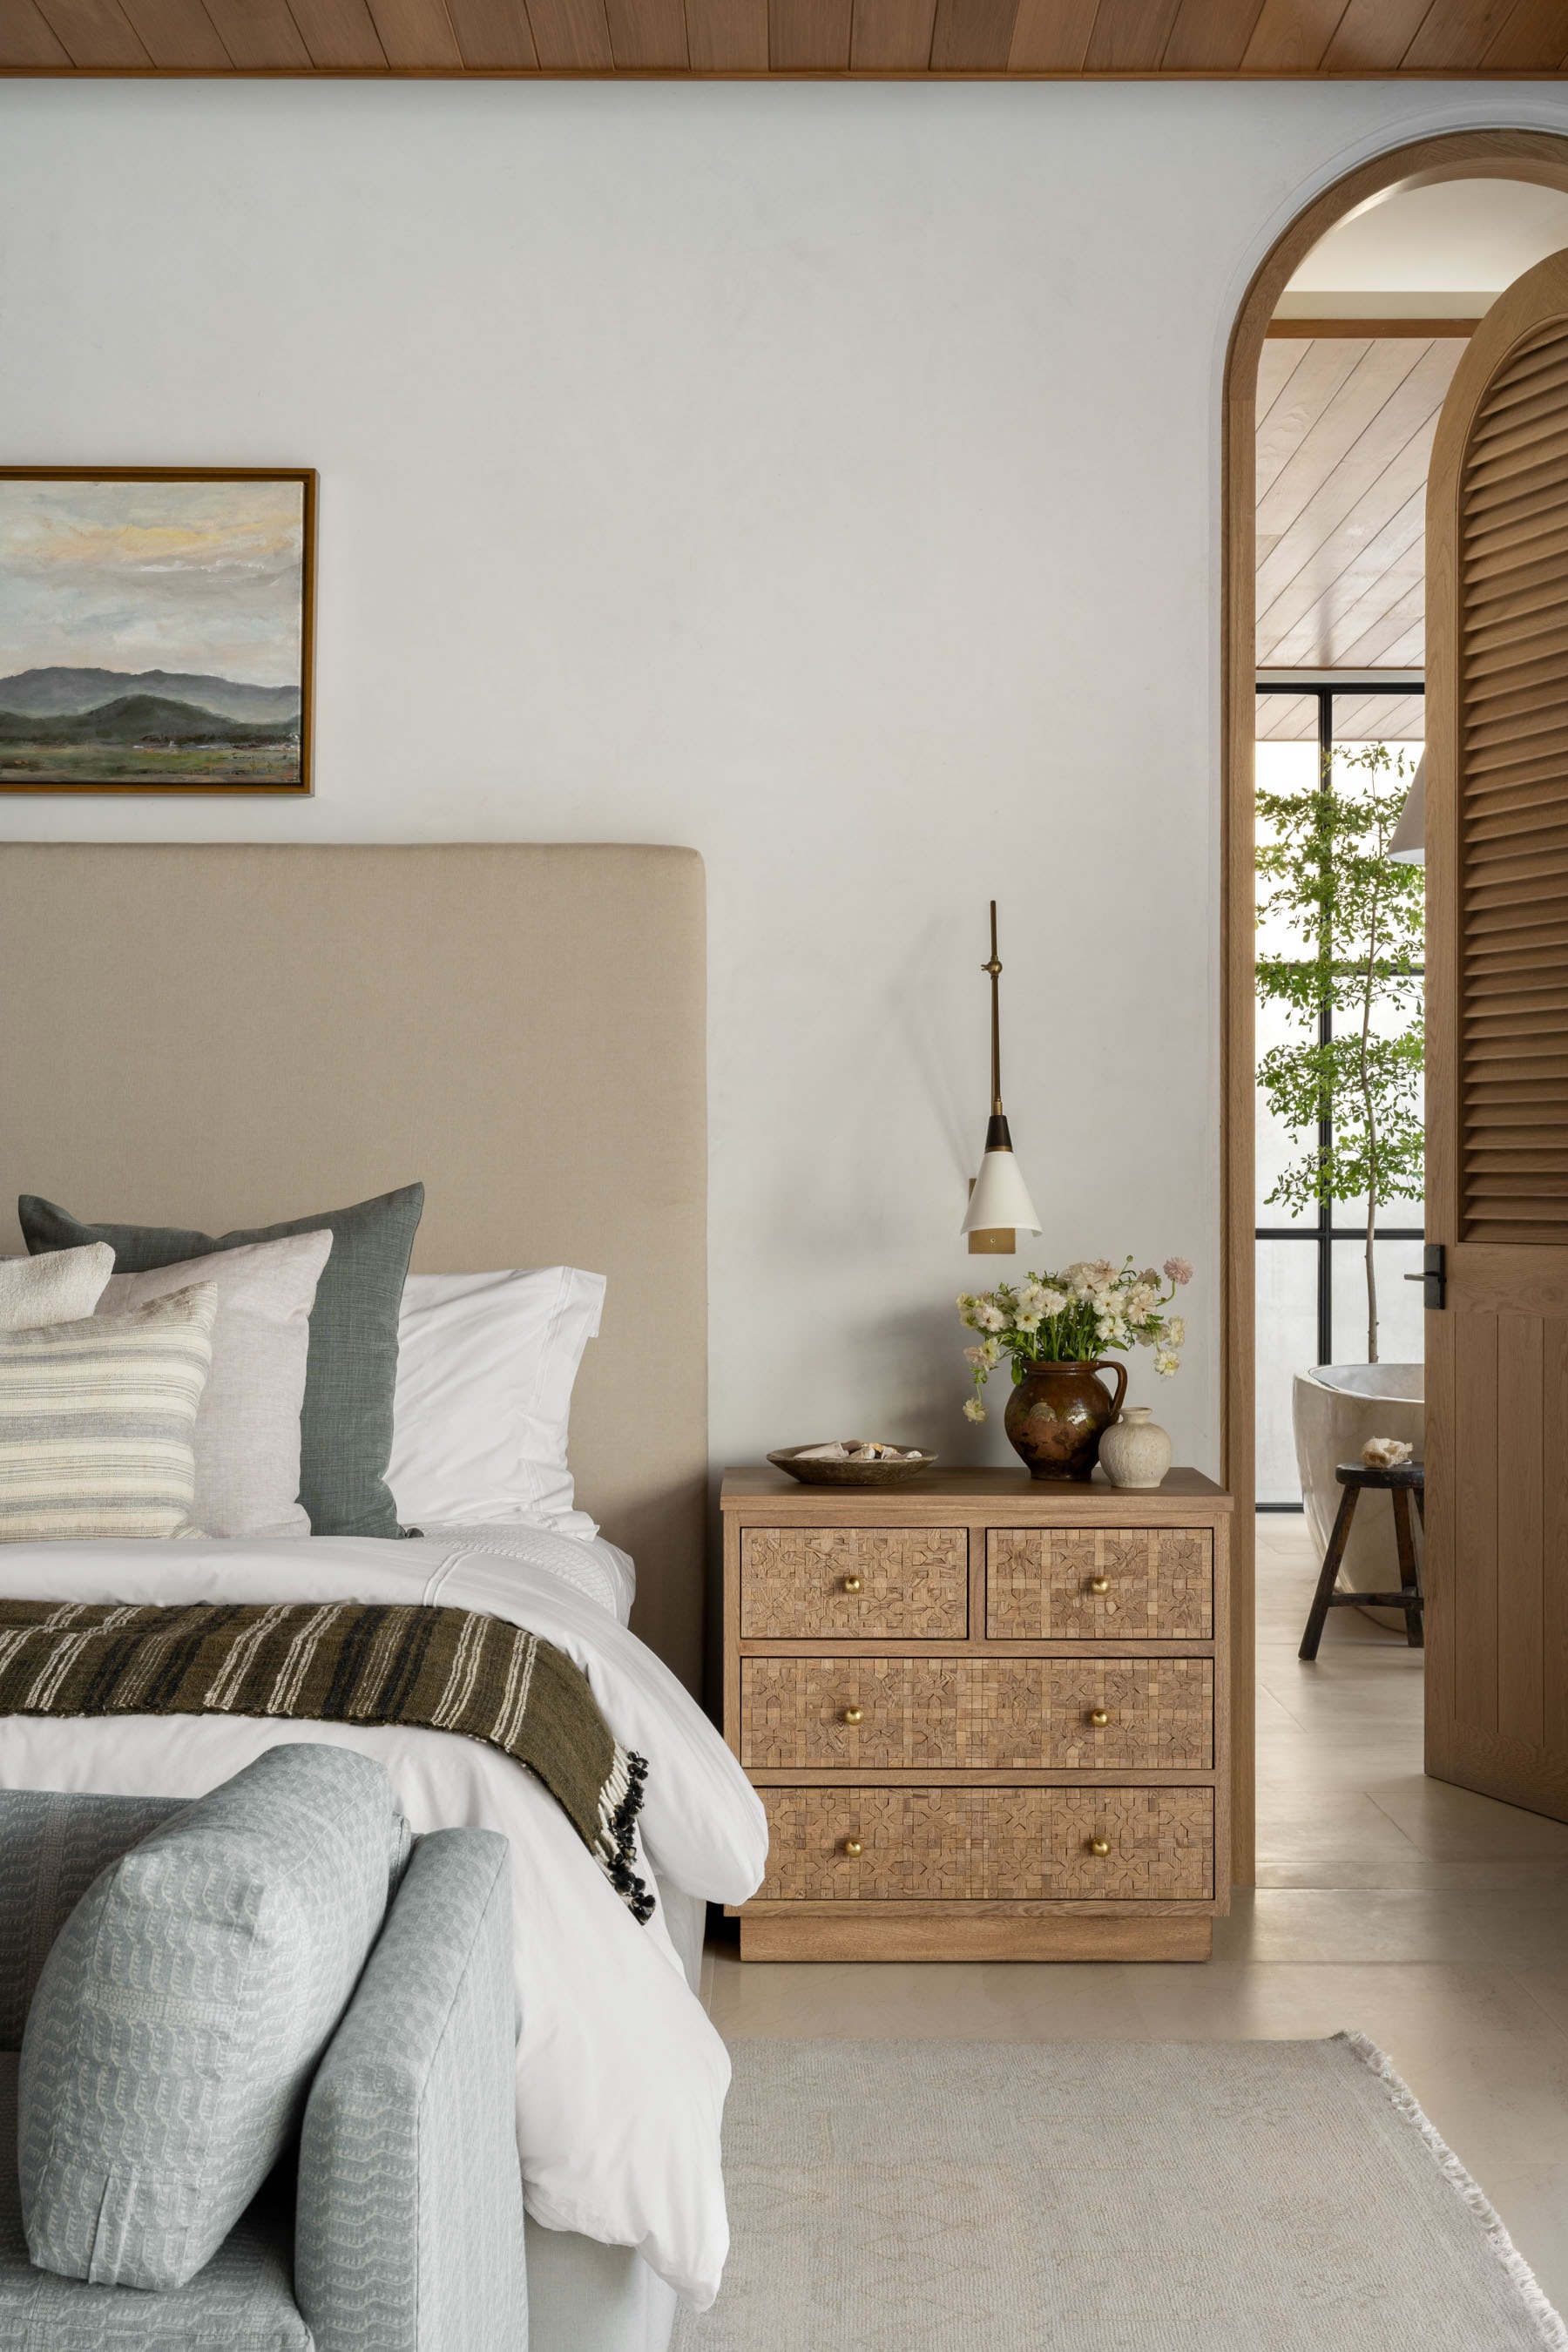
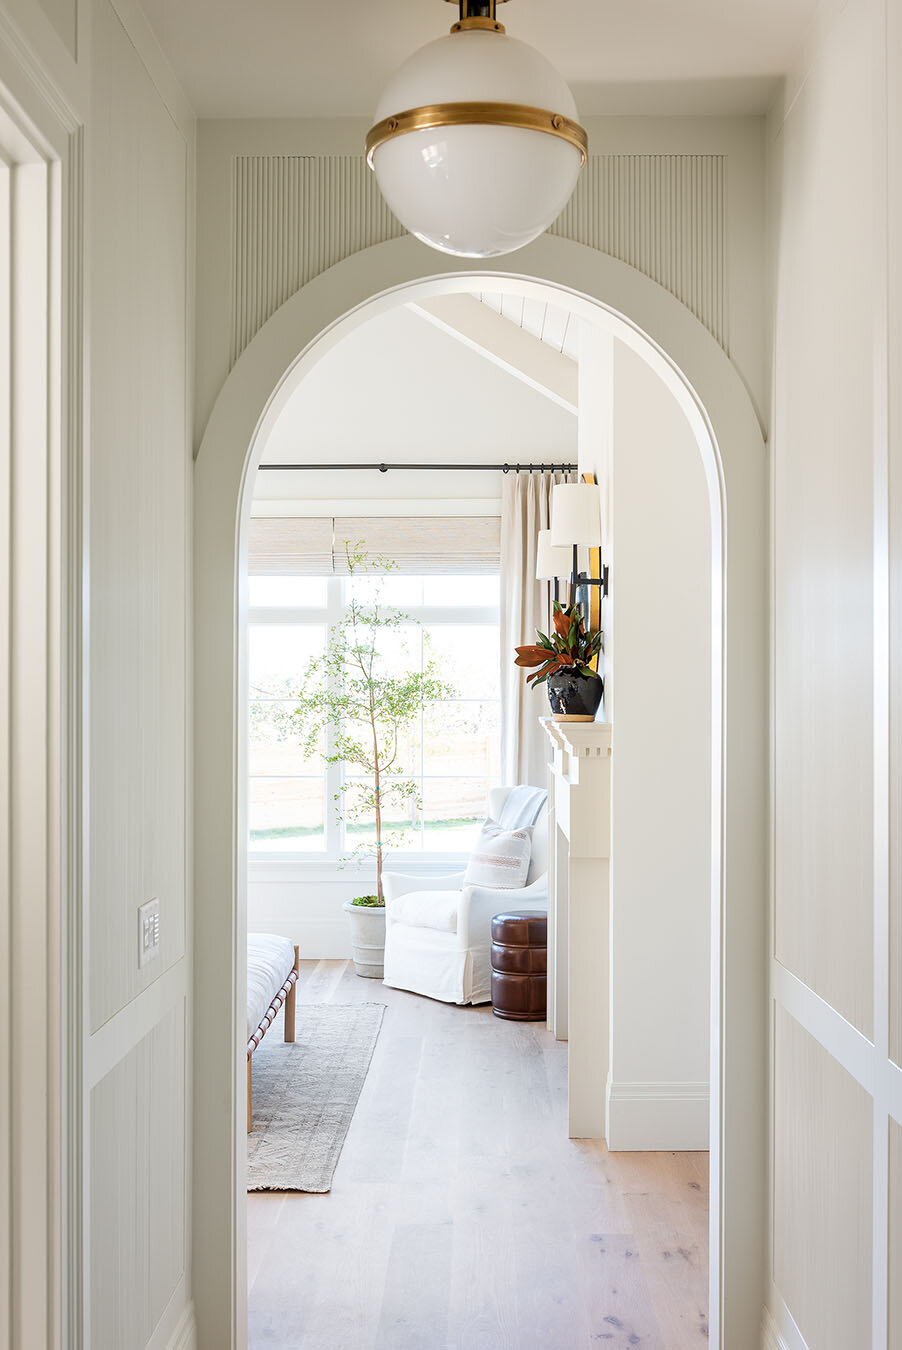
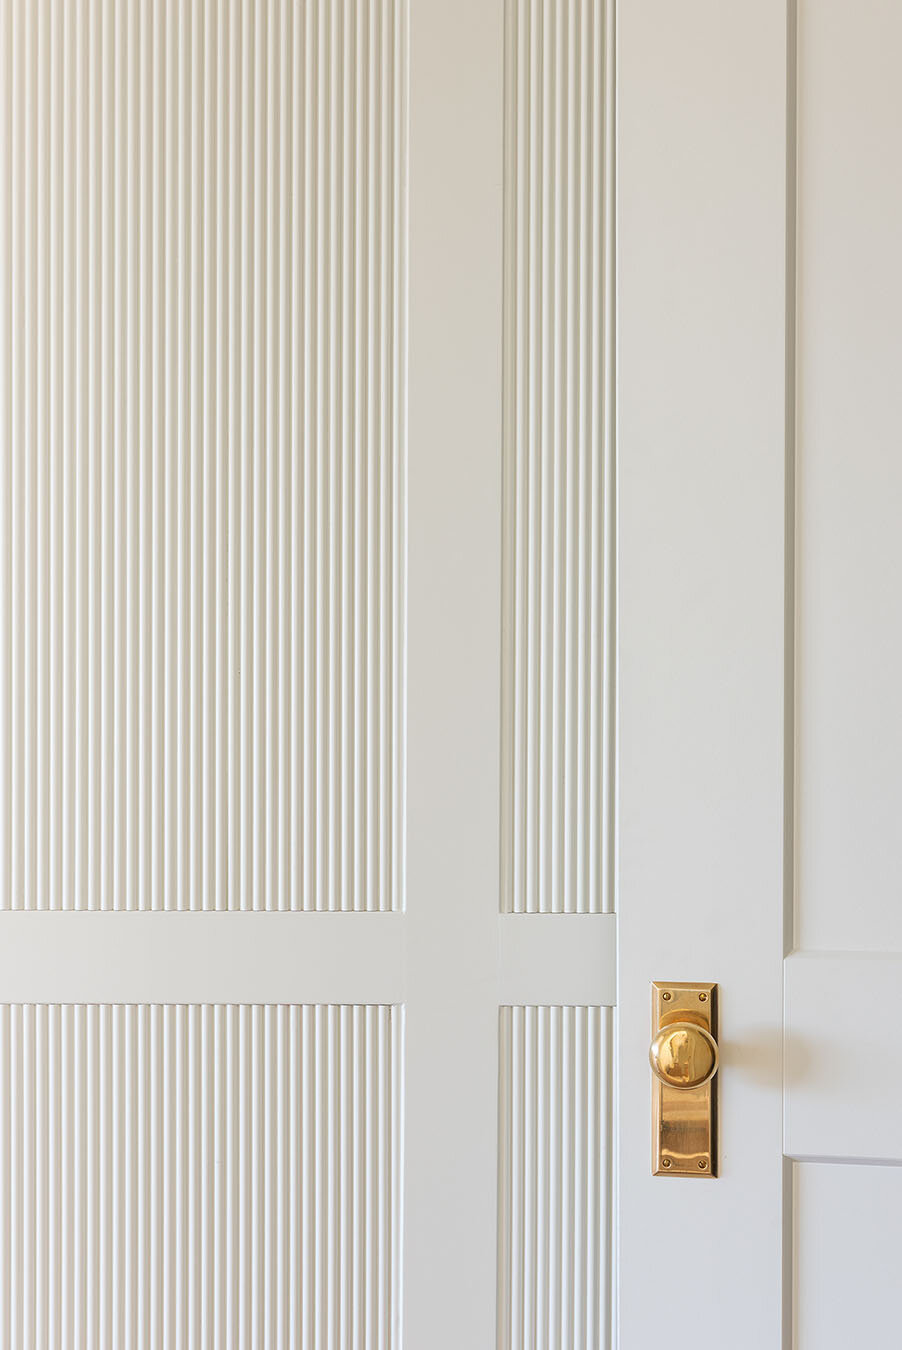
In our bedroom vestibule, we started out planning on doing simple panelling, but when we drew it out, we felt like it needed something more. We had an idea to do a reeded detail on each panel, and our contractor helped us order stock casing with fluted detailing, and individually cut each one into thinner pieces to lay them all out on the wall.
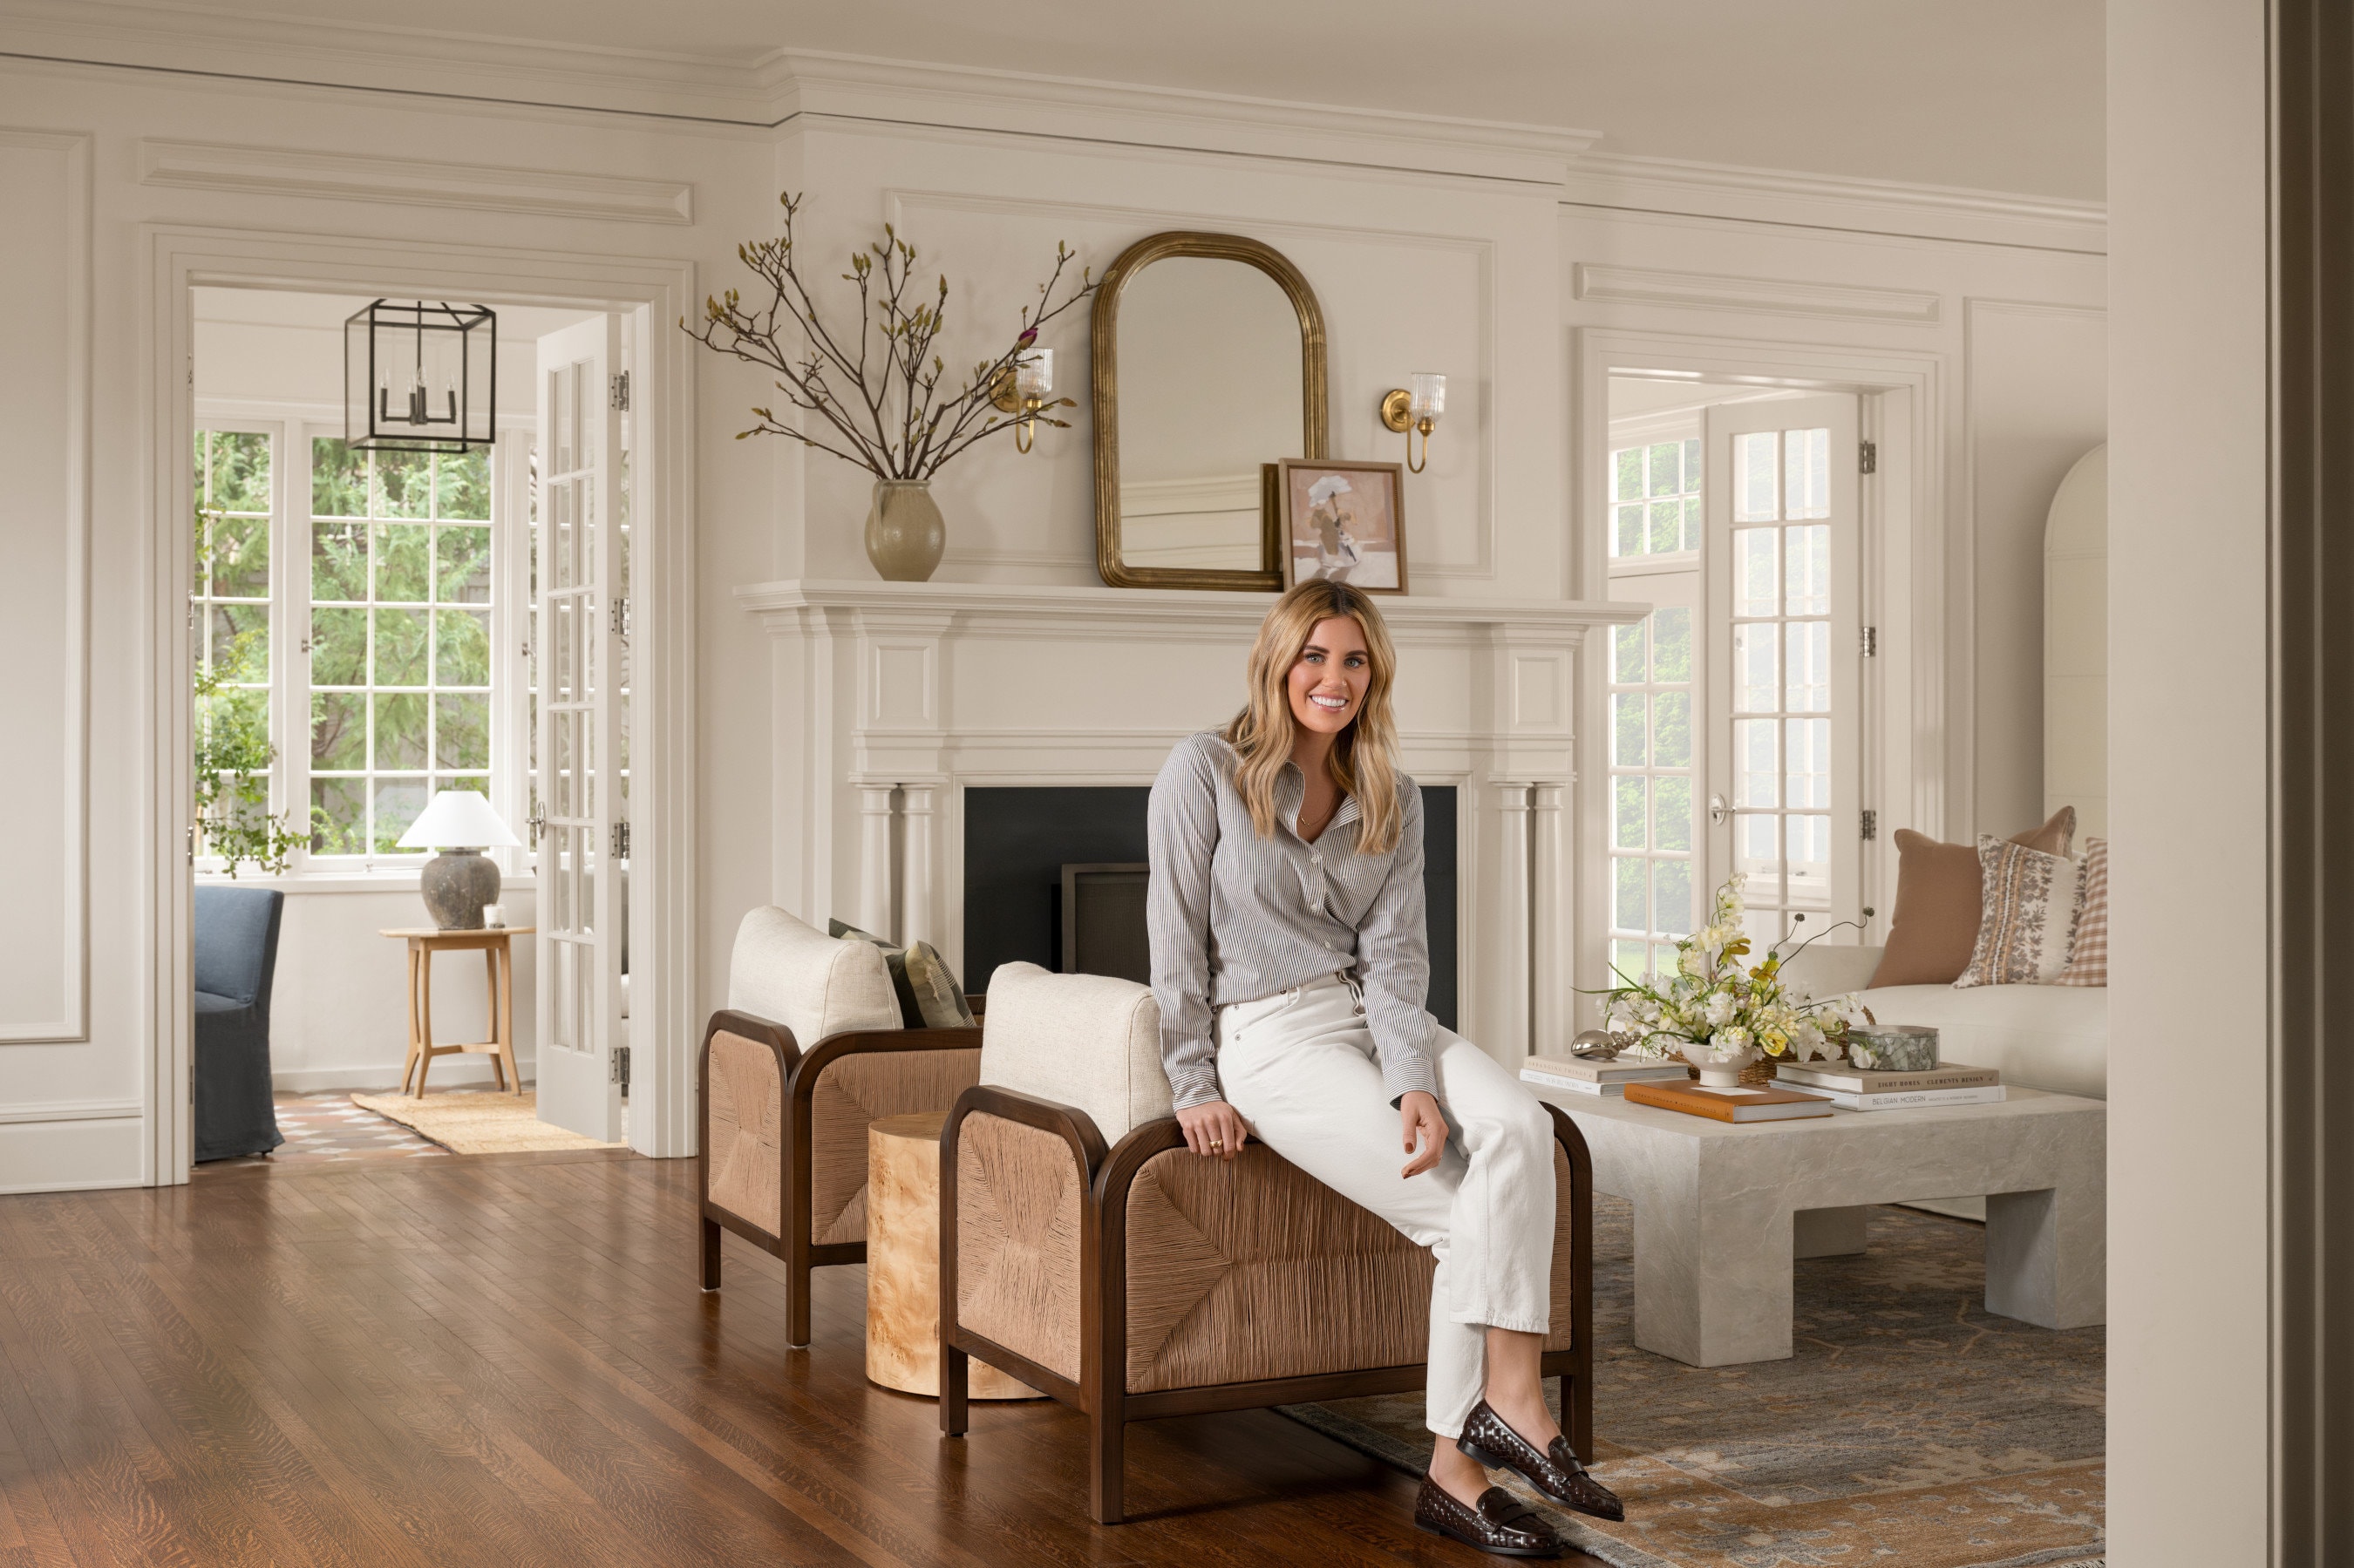
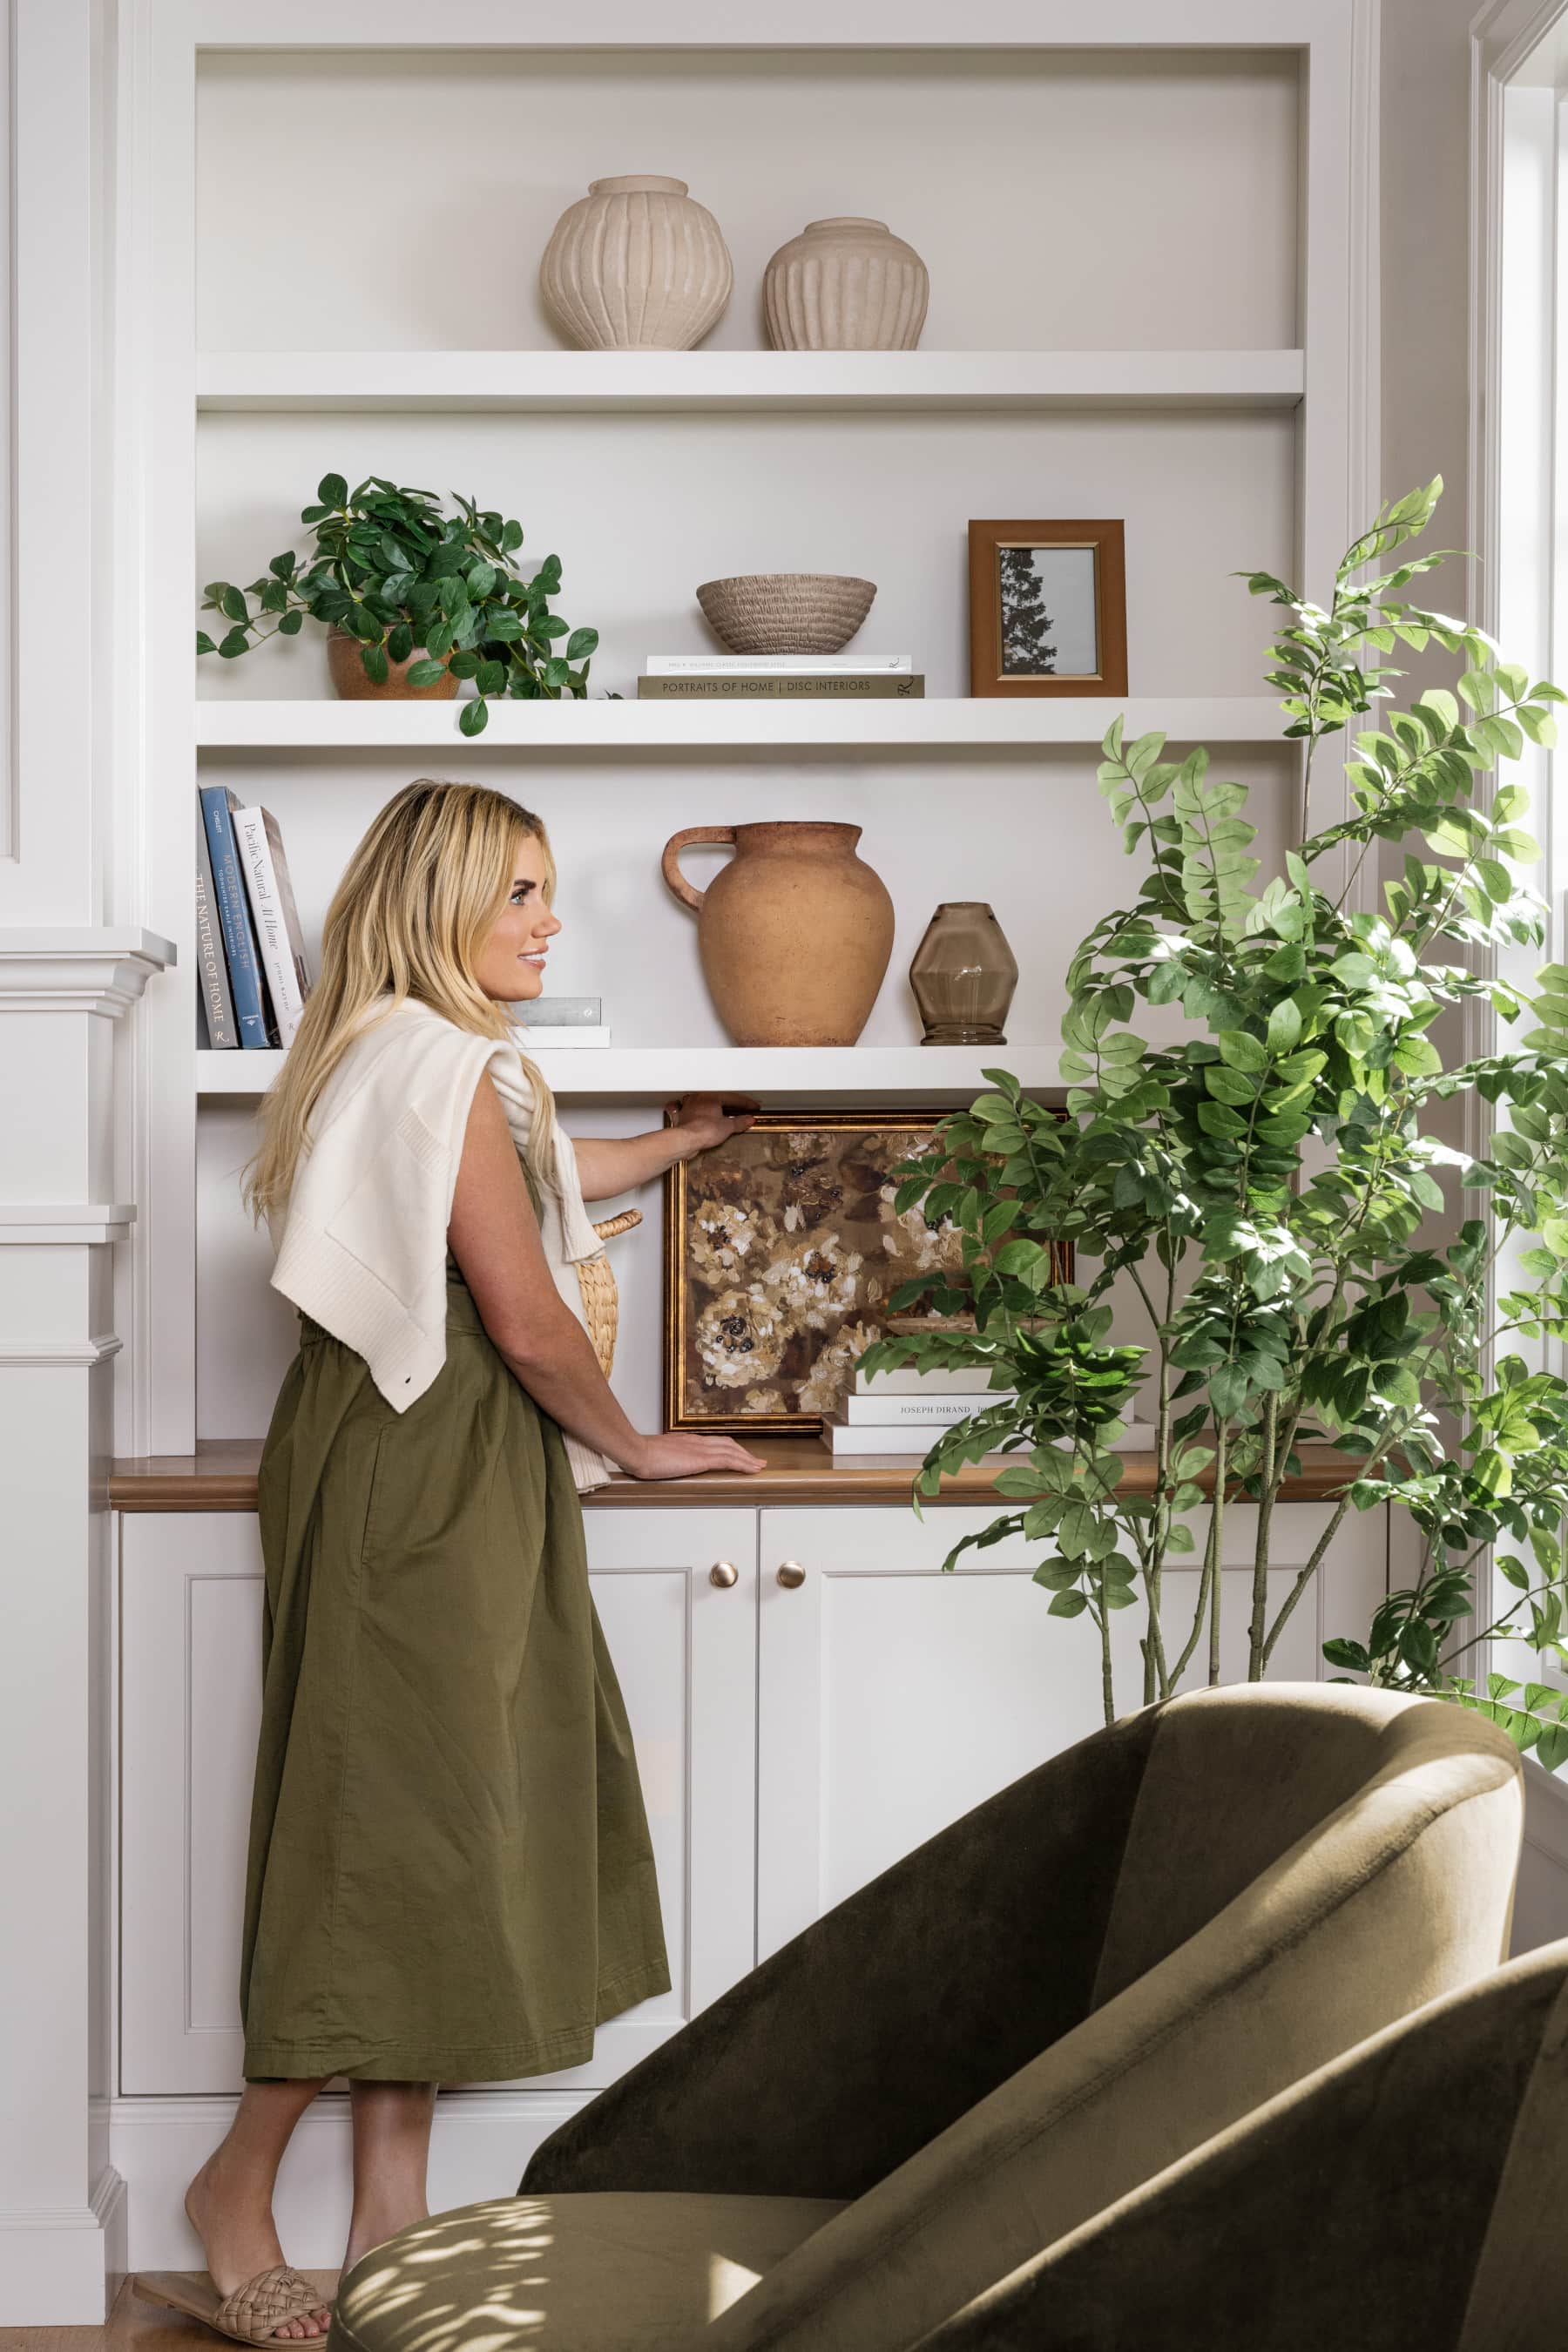
A word on painting your wall treatments: Typically, we like to match the paint color on our wall treatments to the paint color on our walls. There are times where we’ll switch up the ceiling color, but we always like to keep the baseboards in the same shade. When it comes to finishes, we prefer to switch it up on our walls, trim, and ceilings. In The McGee home, we used the shade Swiss Coffee by Benjamin Moore at 75% strength to paint our walls in a matte finish, our baseboards in a satin finish, and our ceilings in a flat finish.
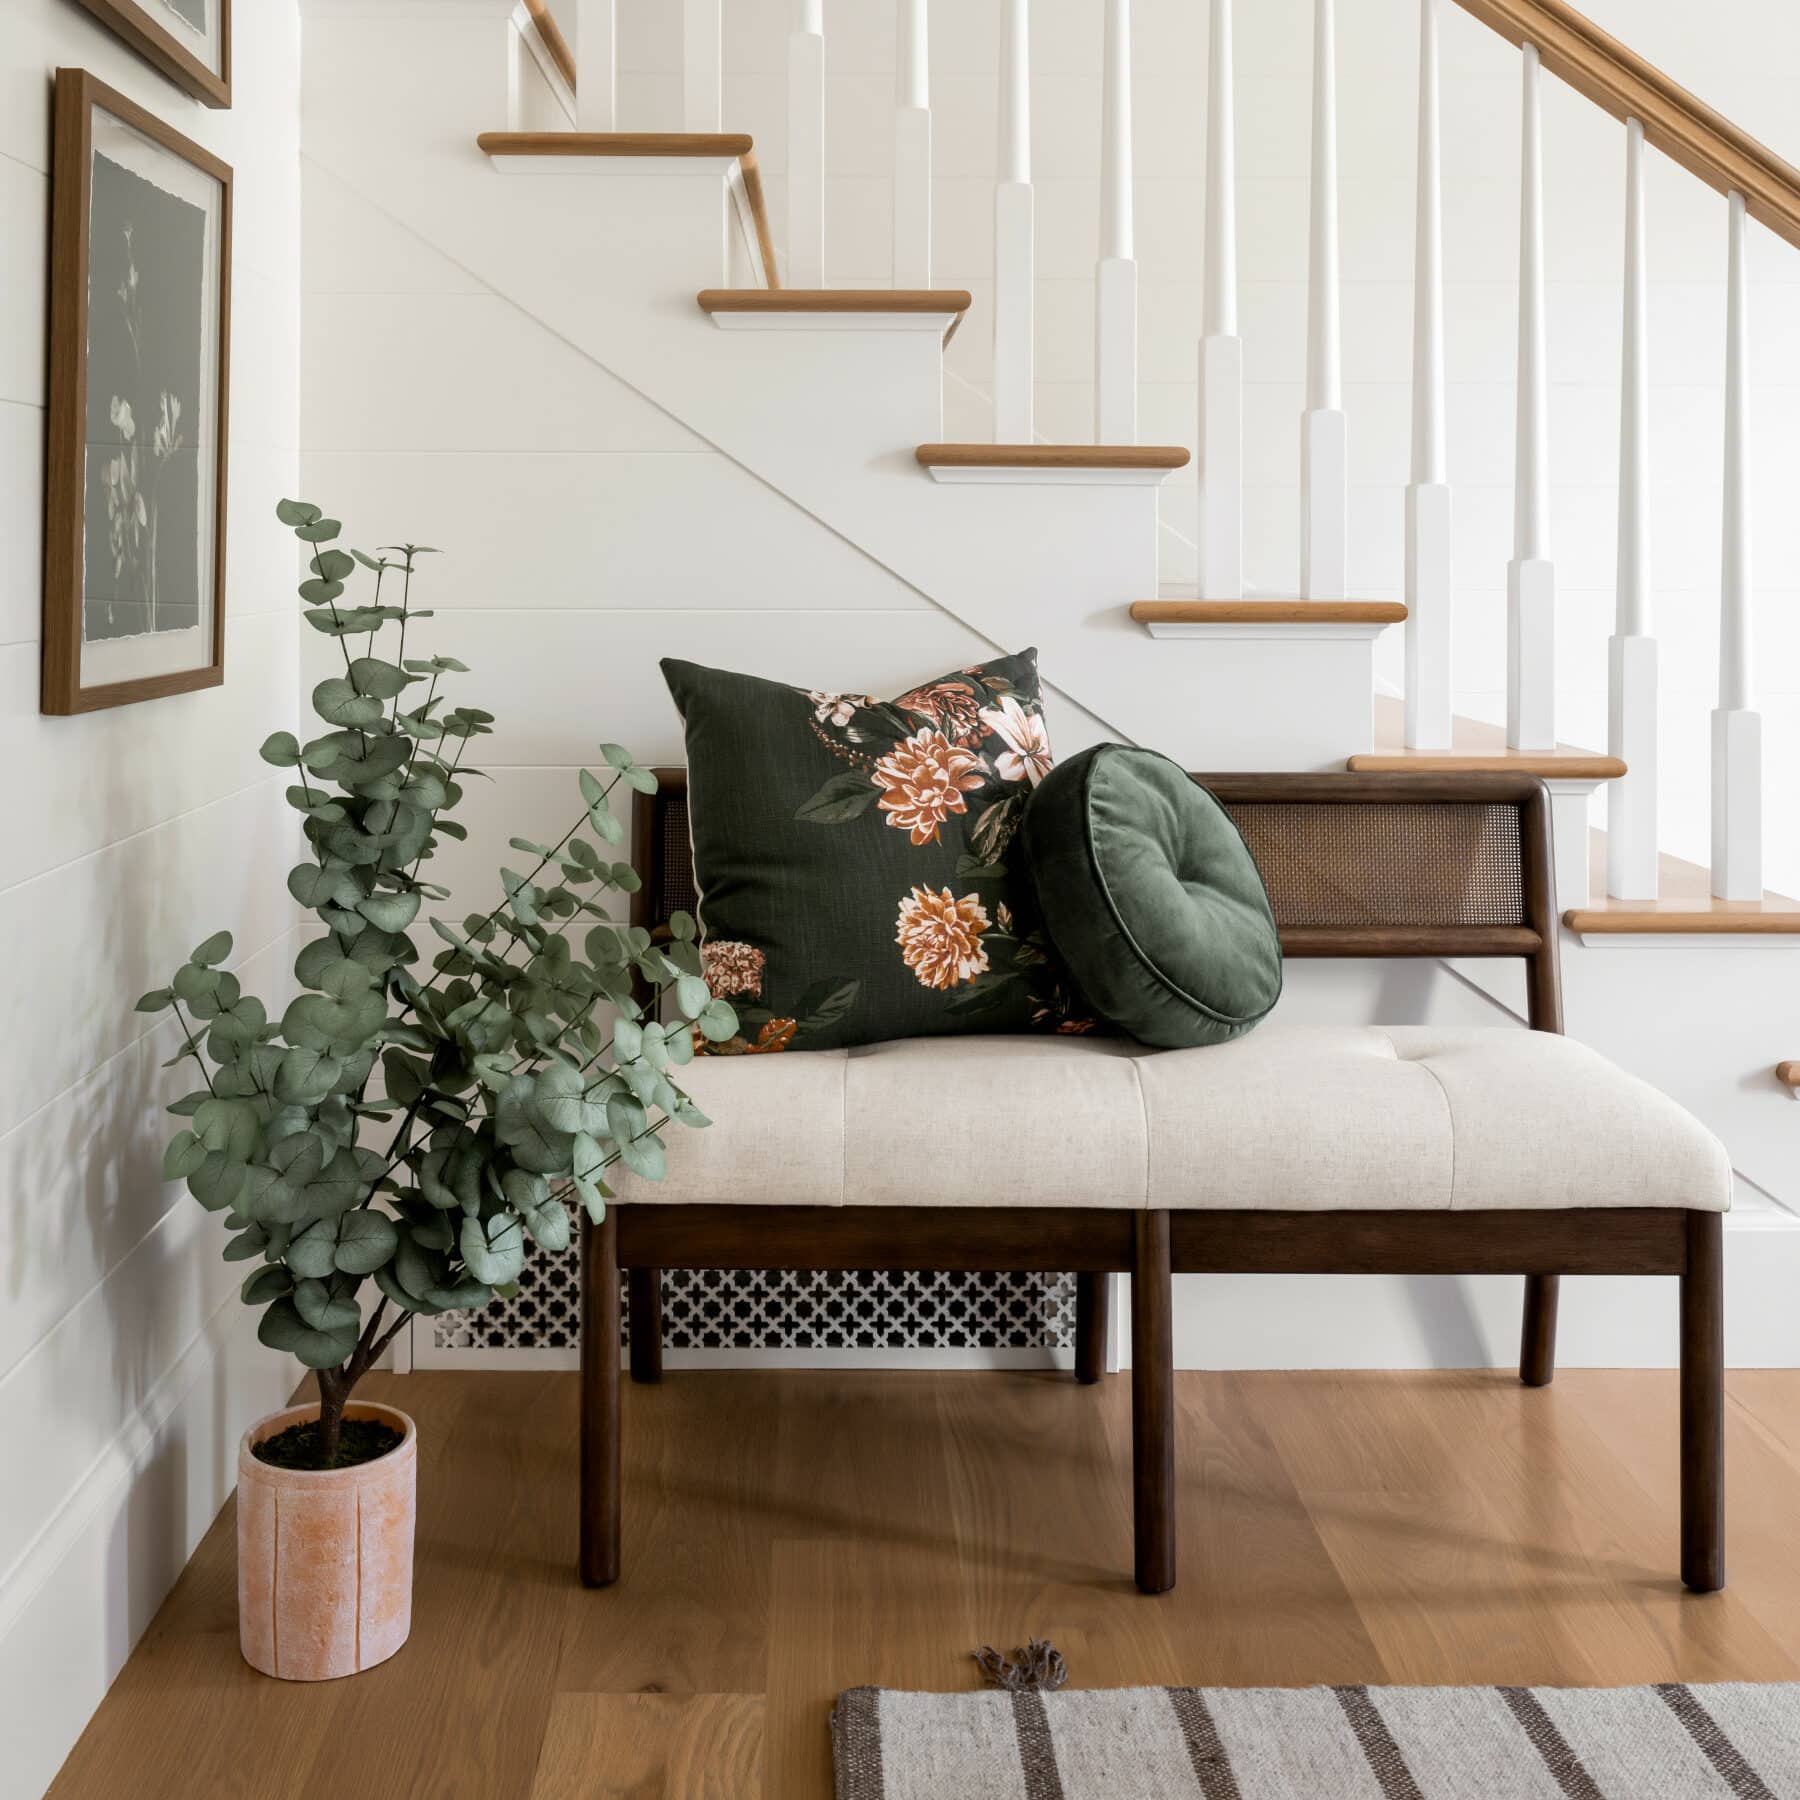
Prioritize Cohesivity
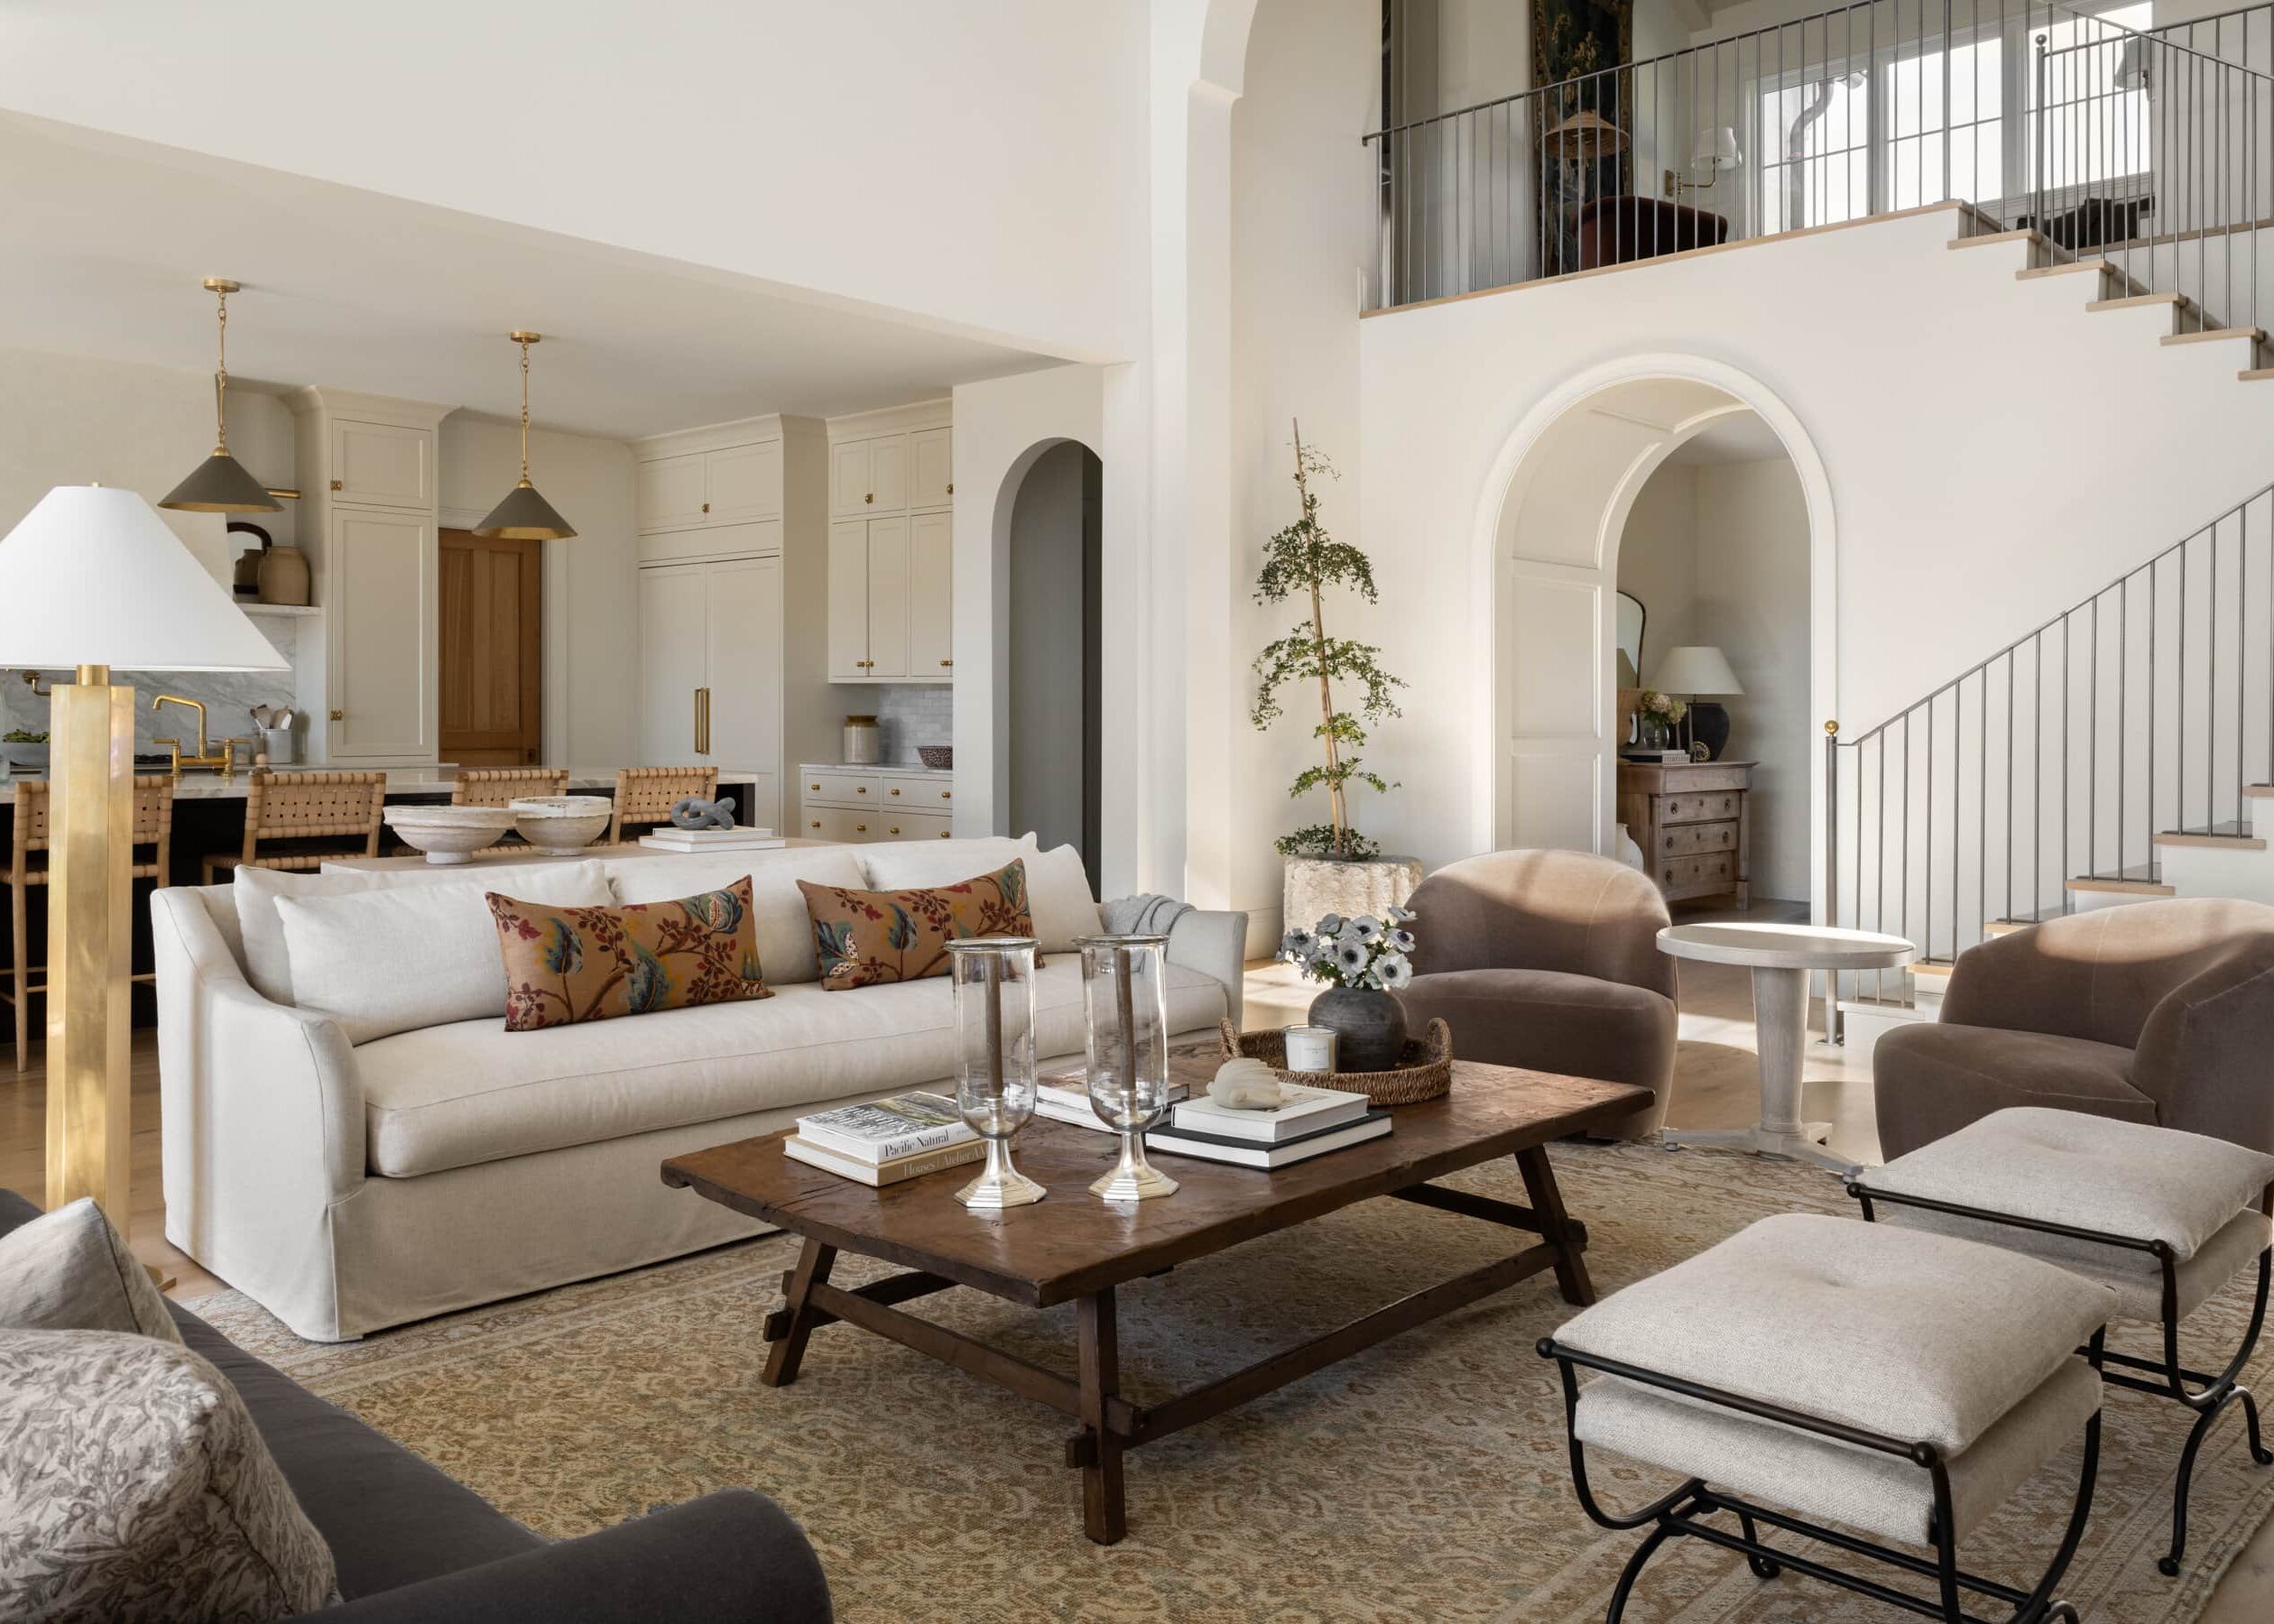
In all areas of design, we like to keep things somewhat cohesive so that everything flows together.
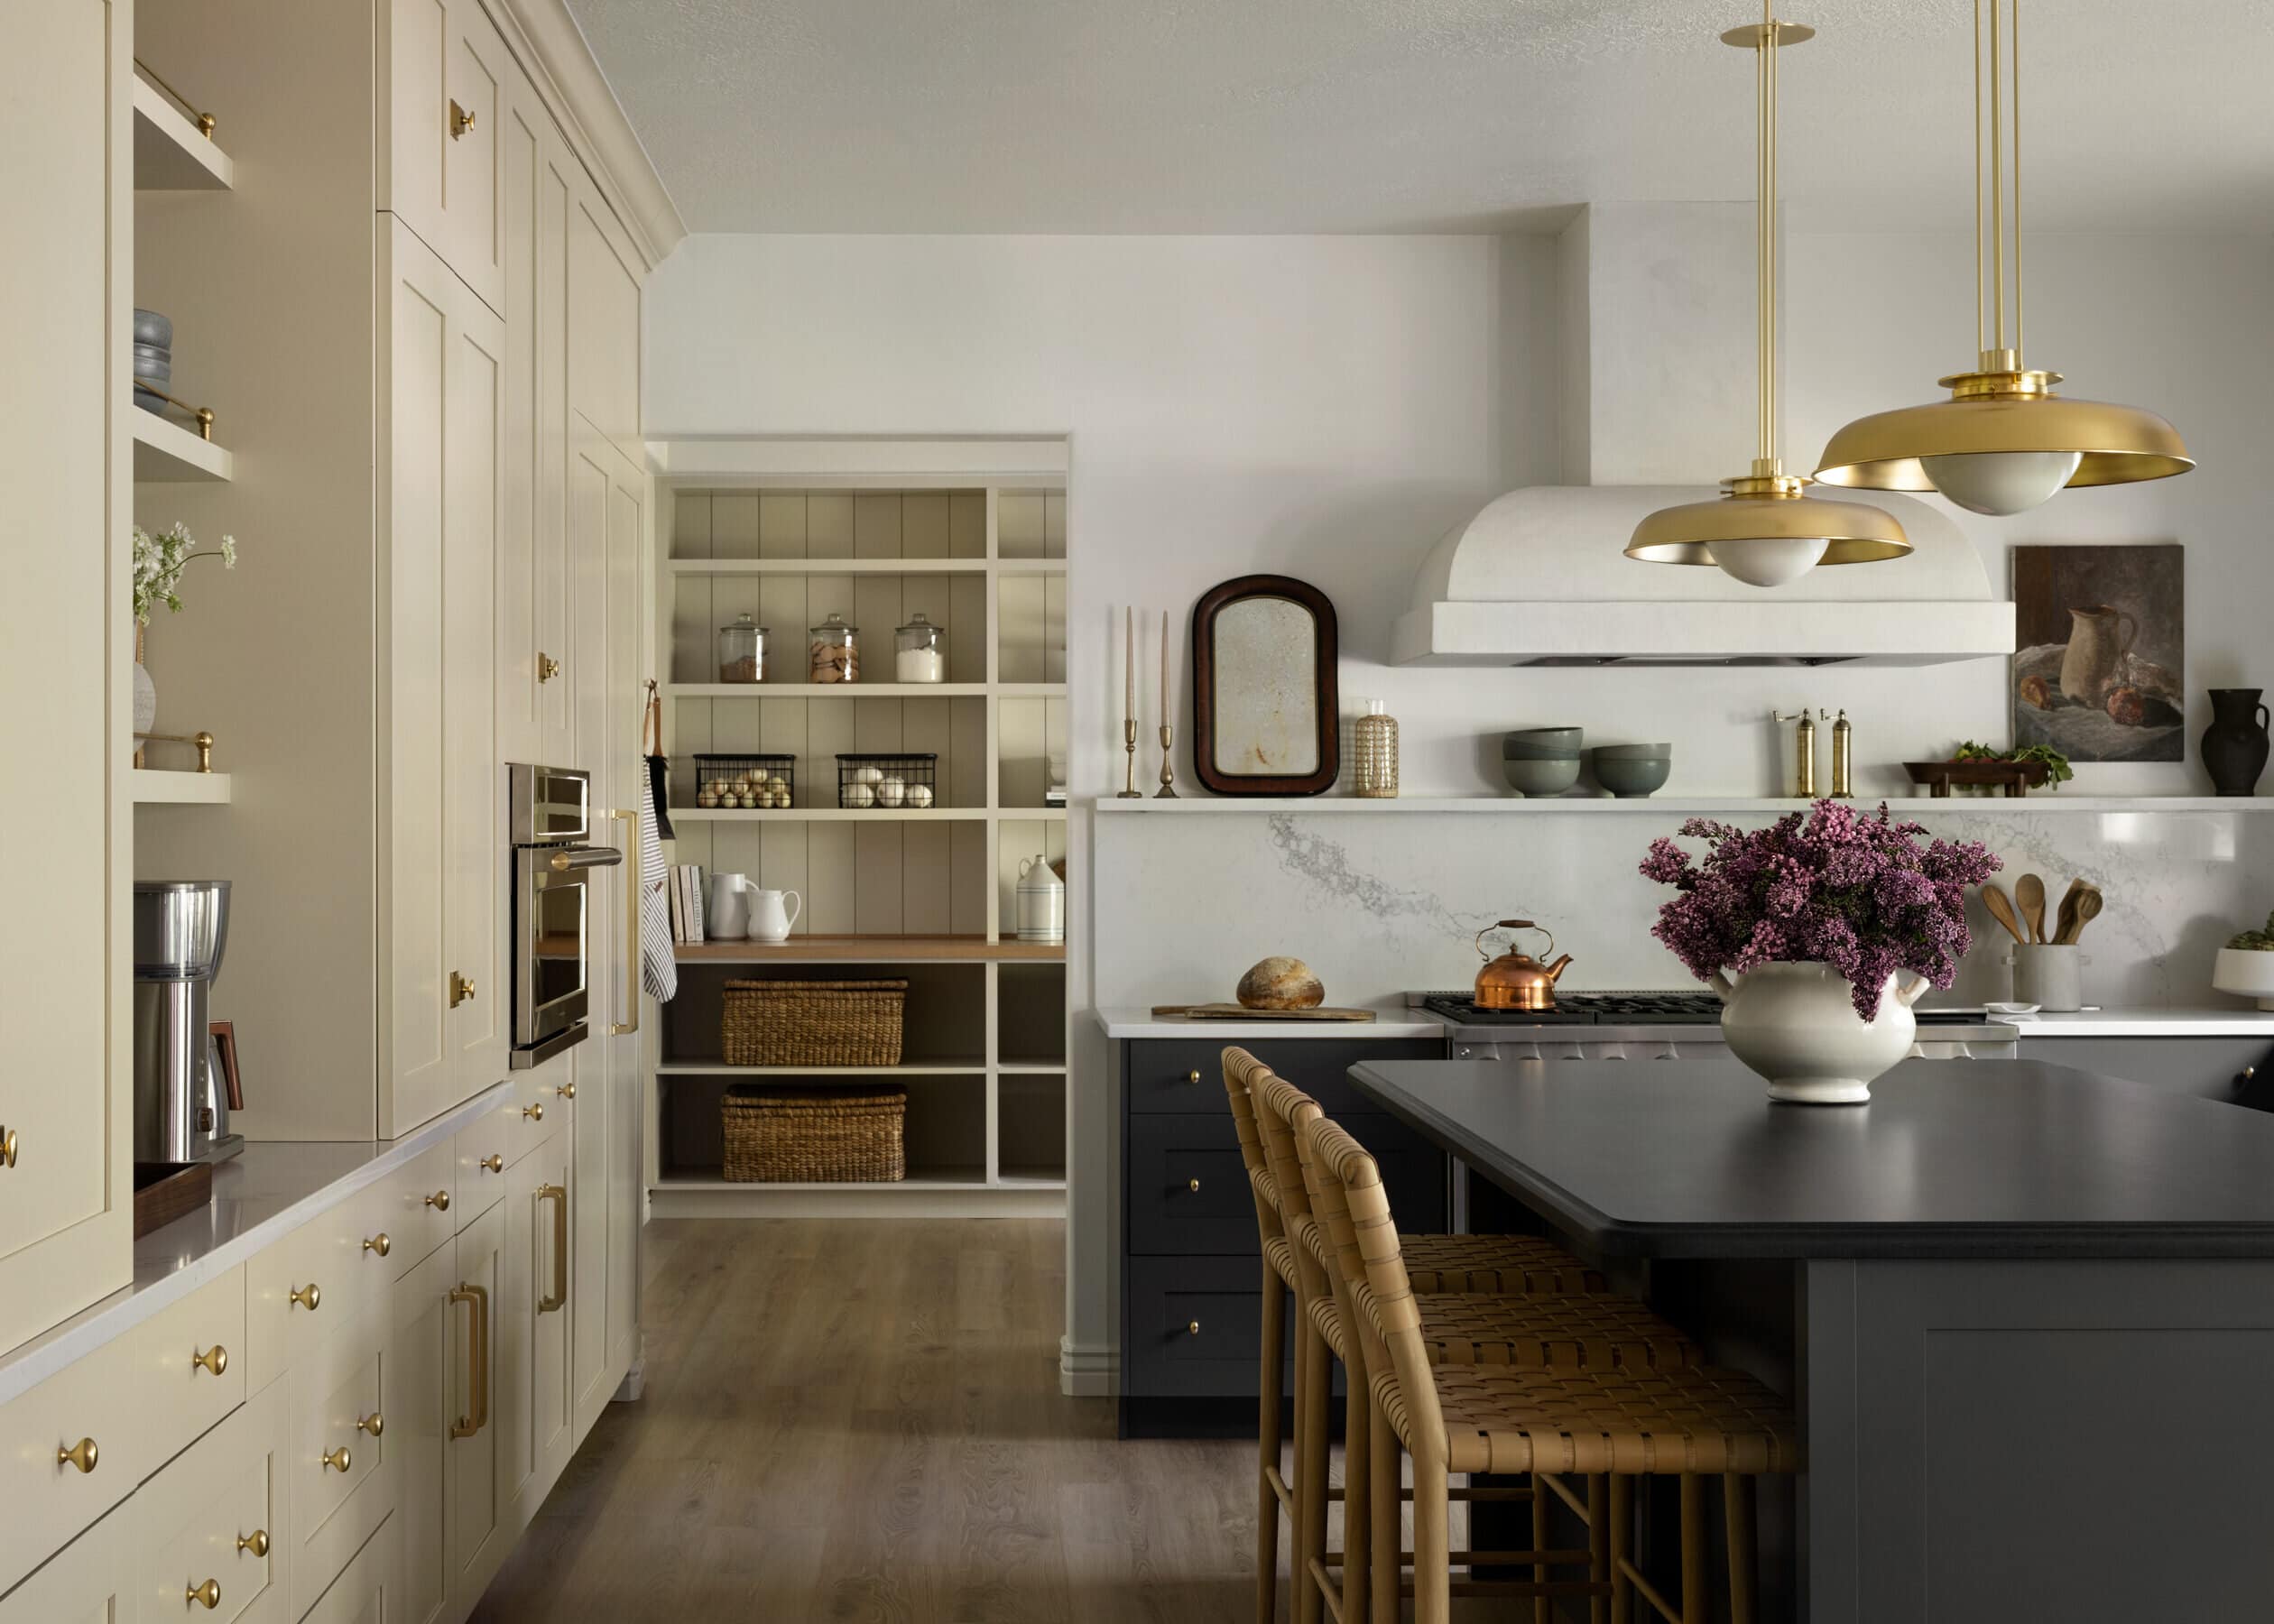
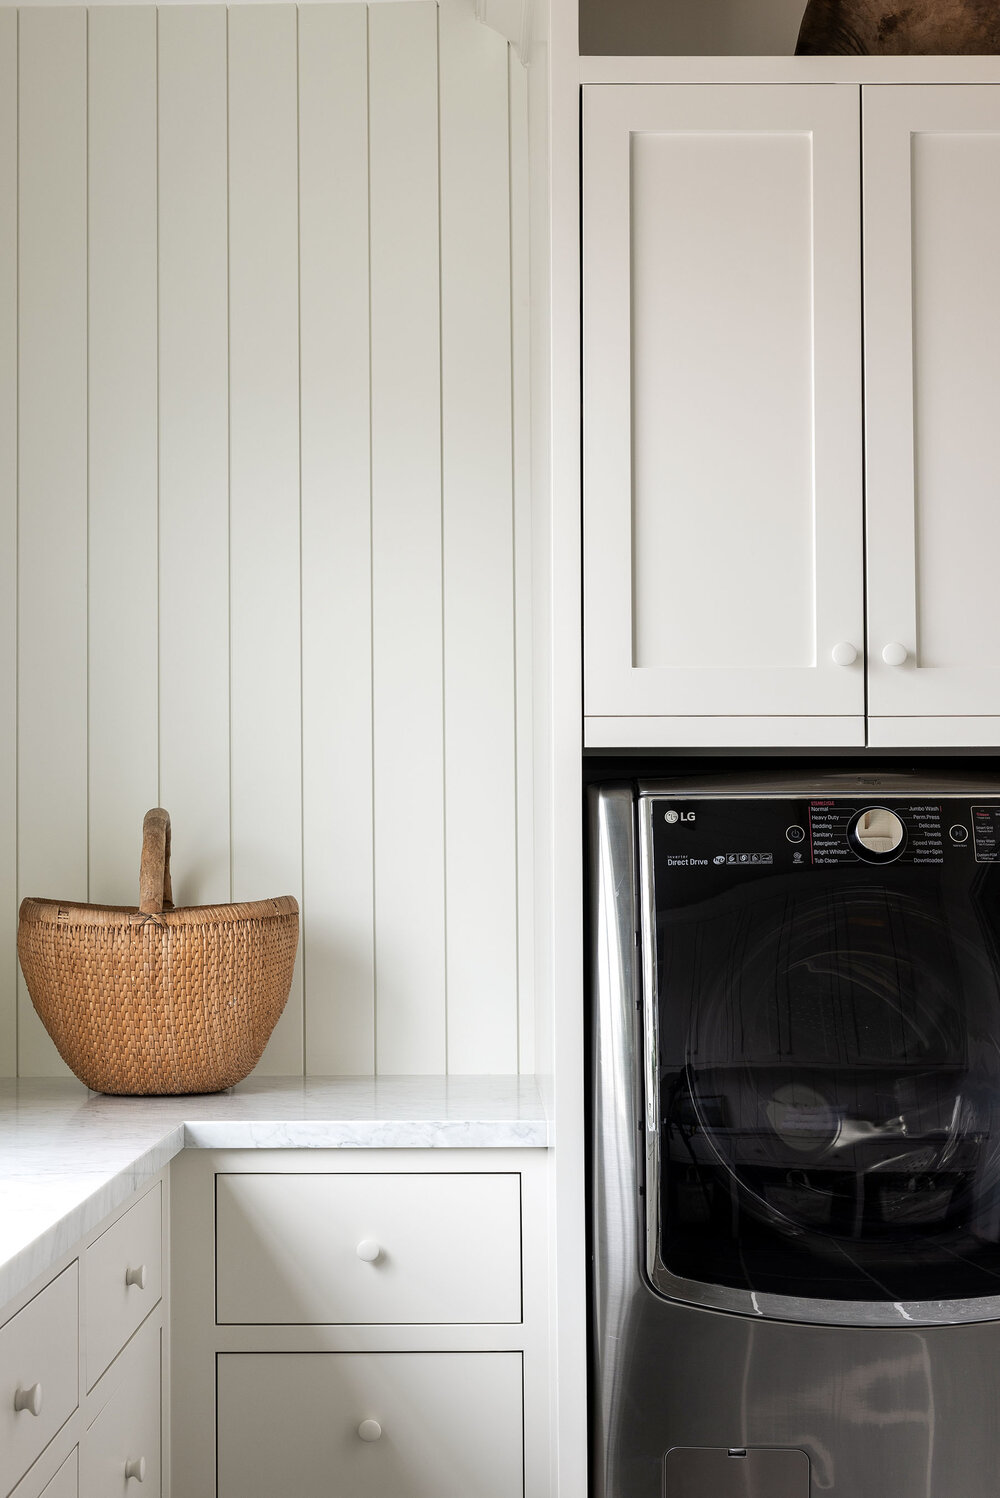
For example, in The McGee Home, we incorporated shiplap in multiple rooms by using the same material in different applications.
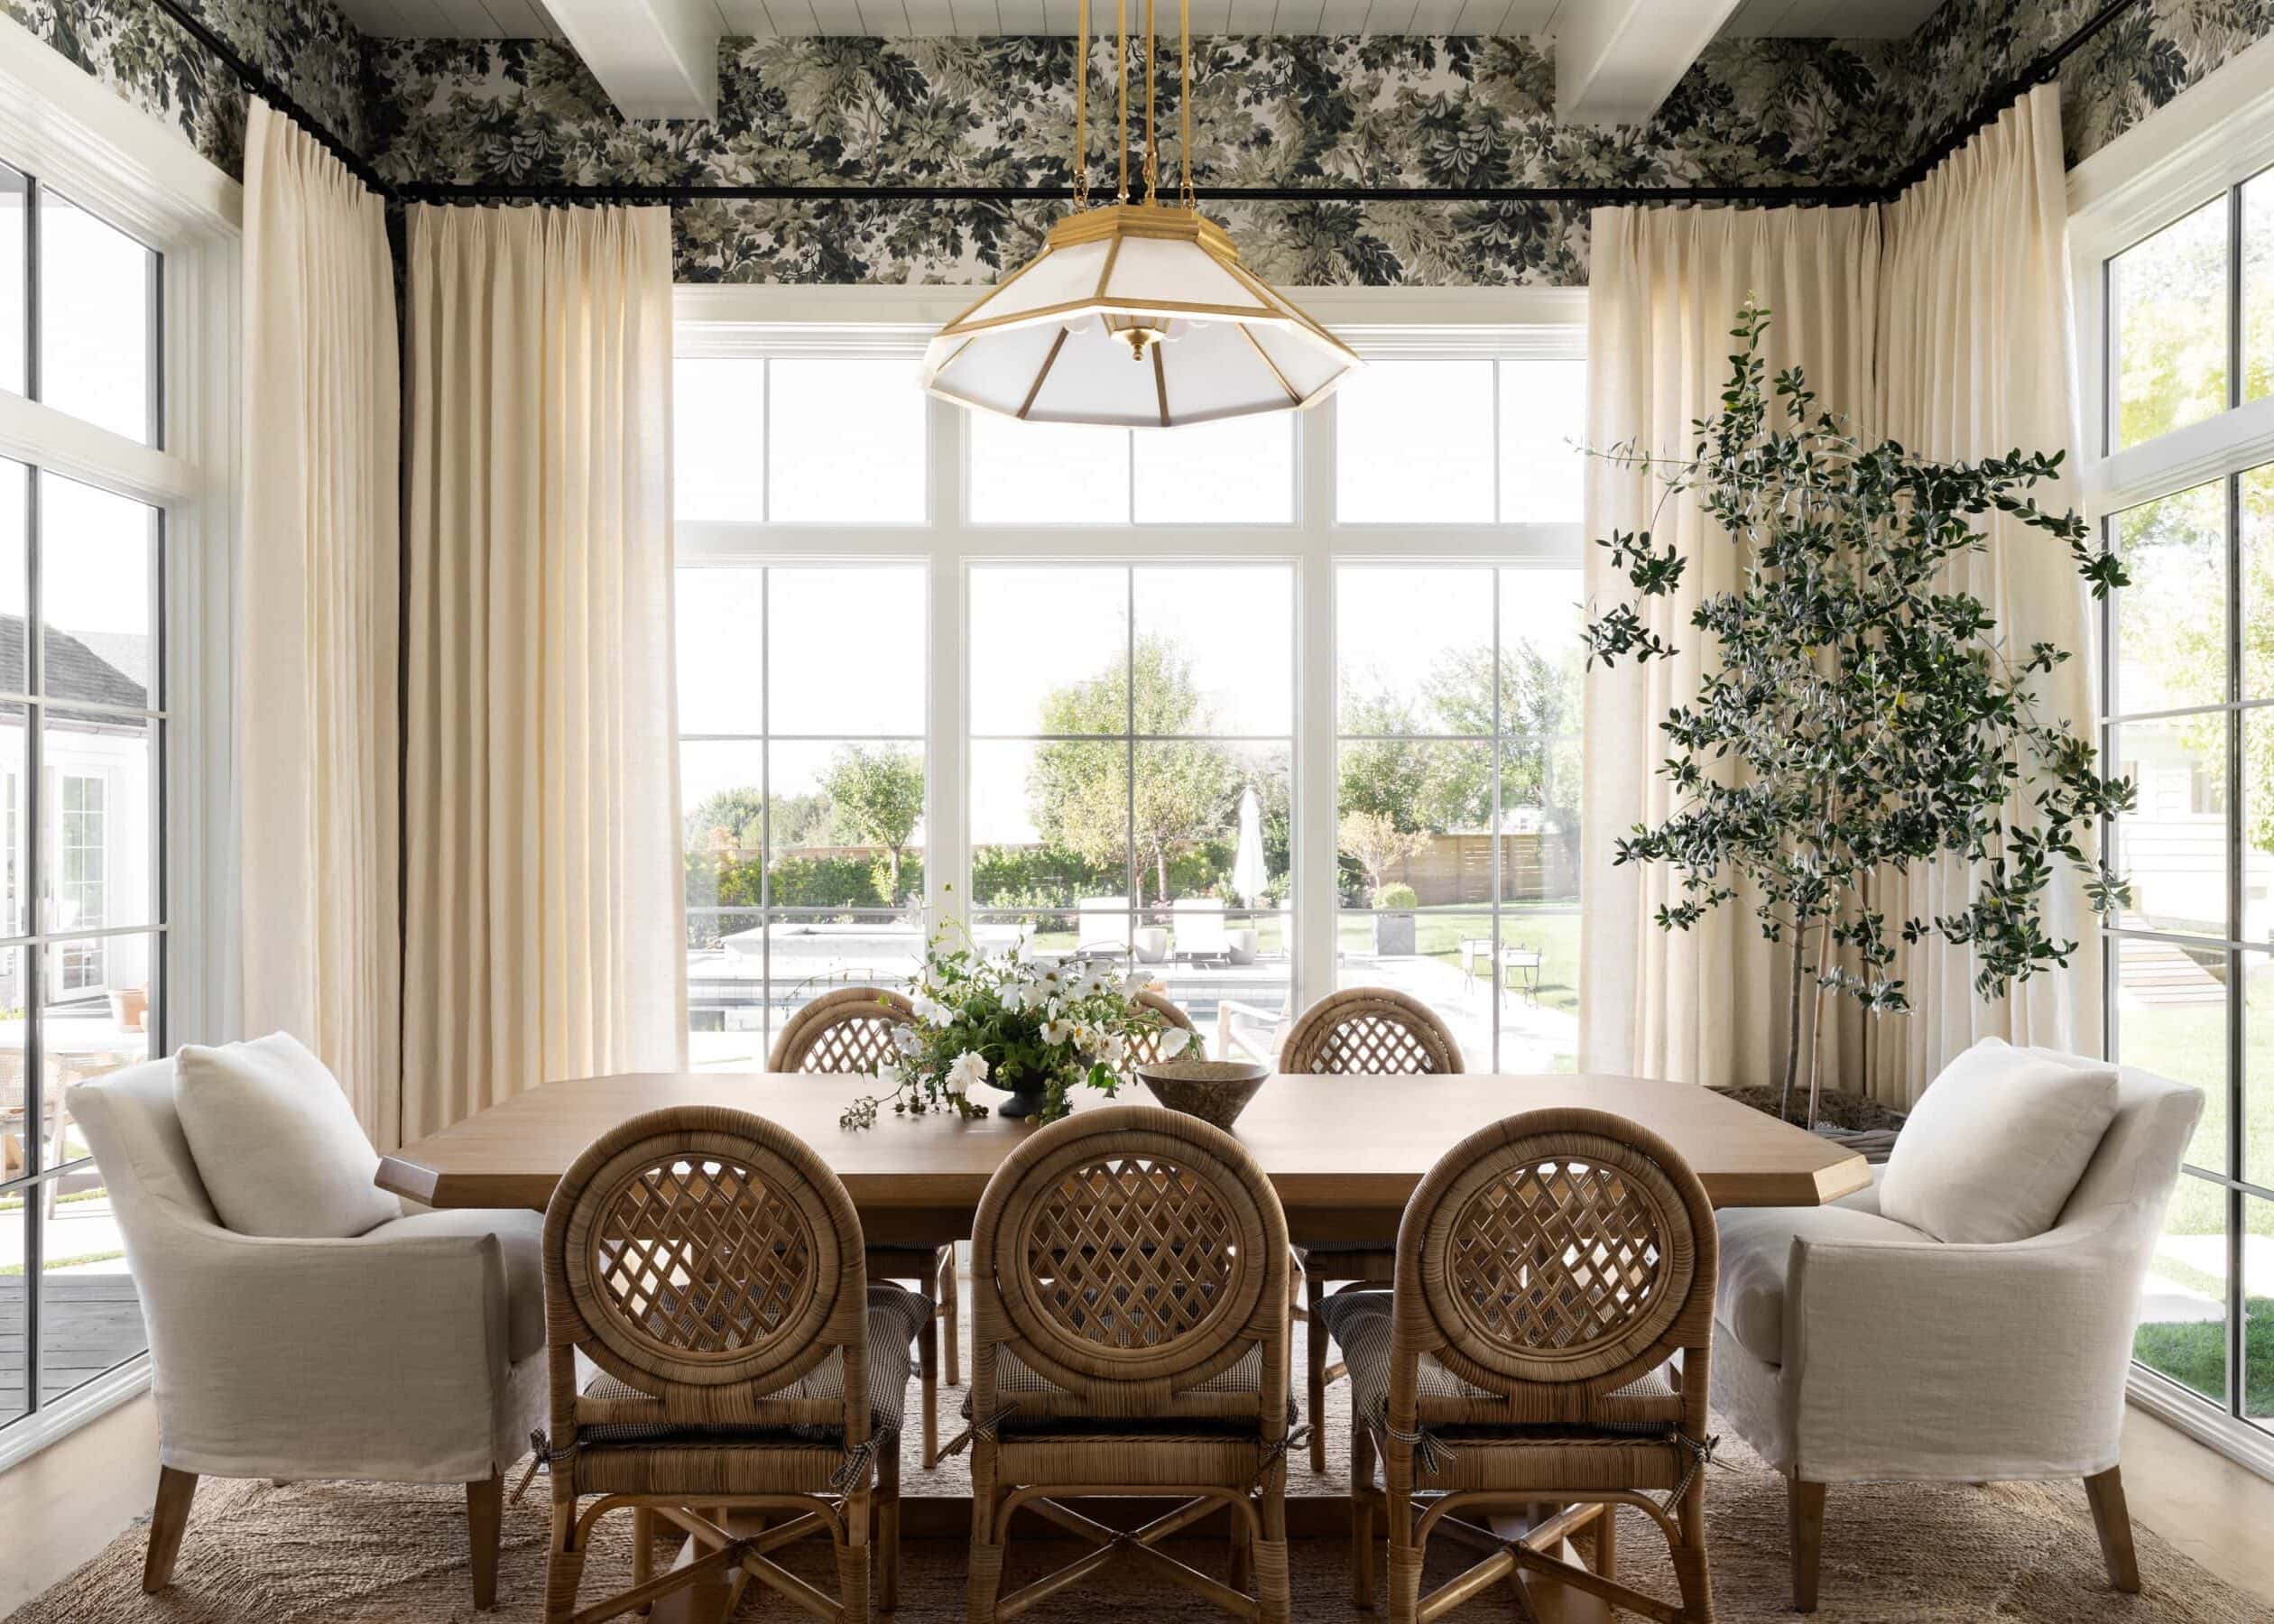
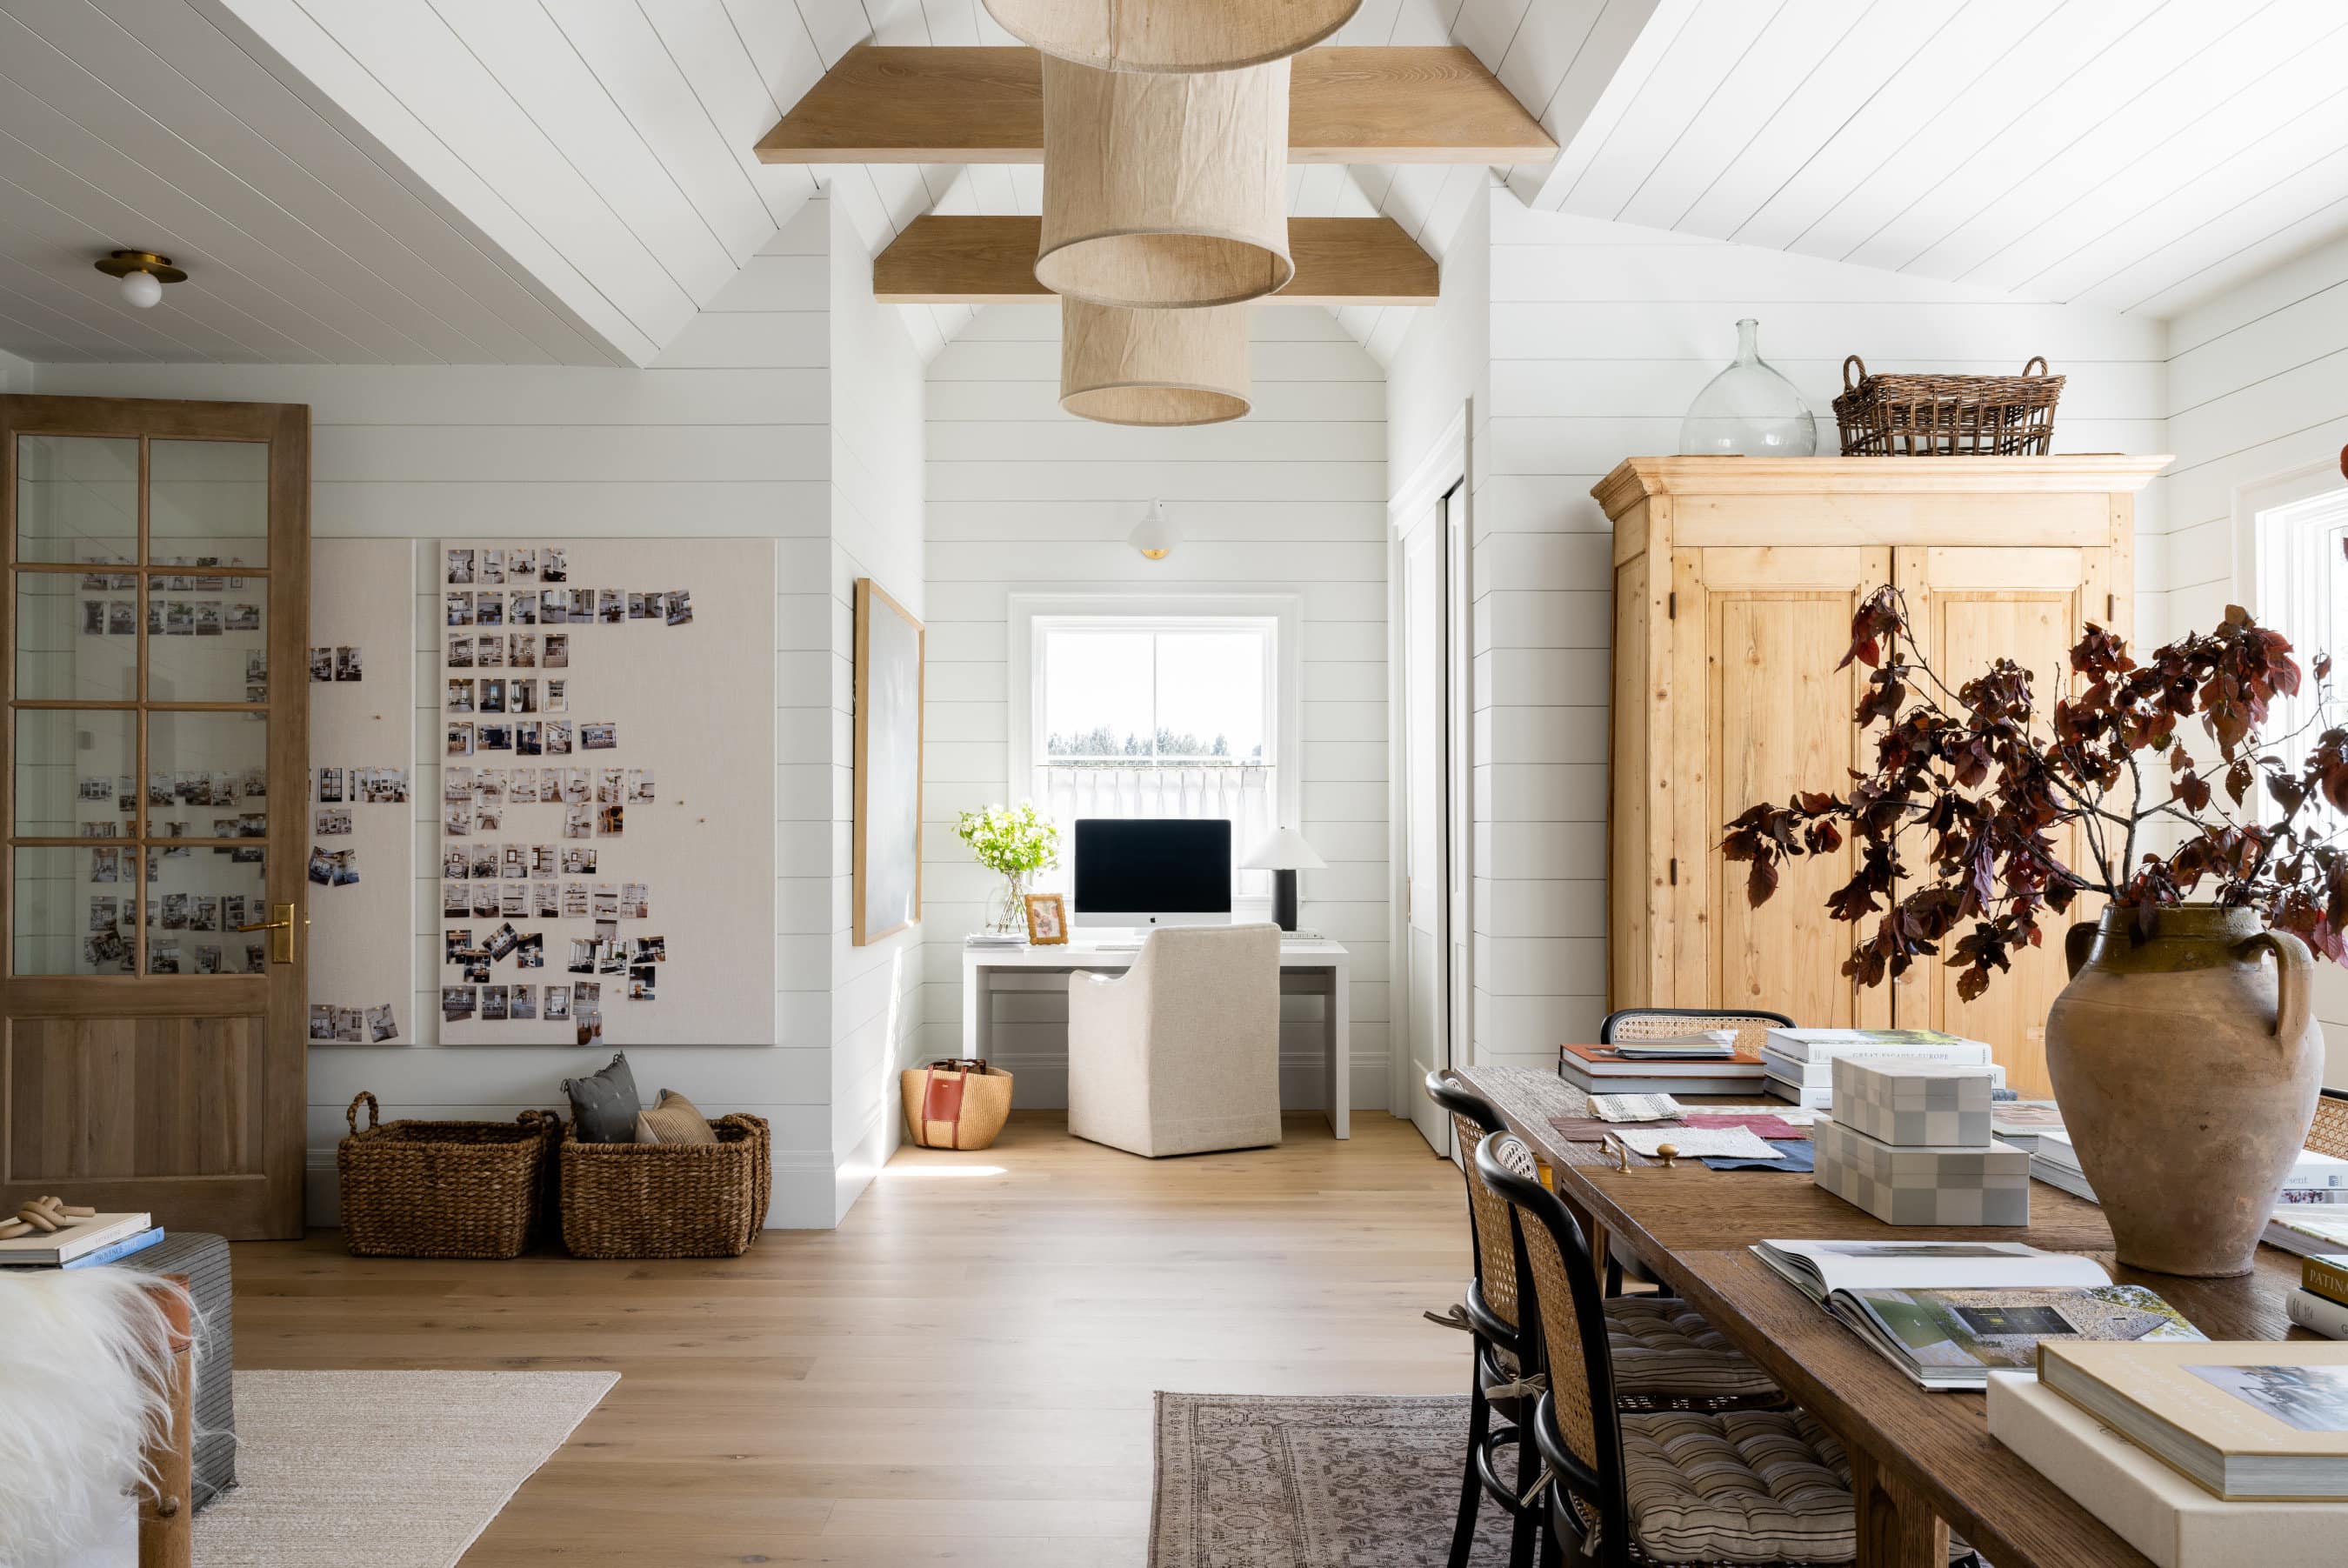
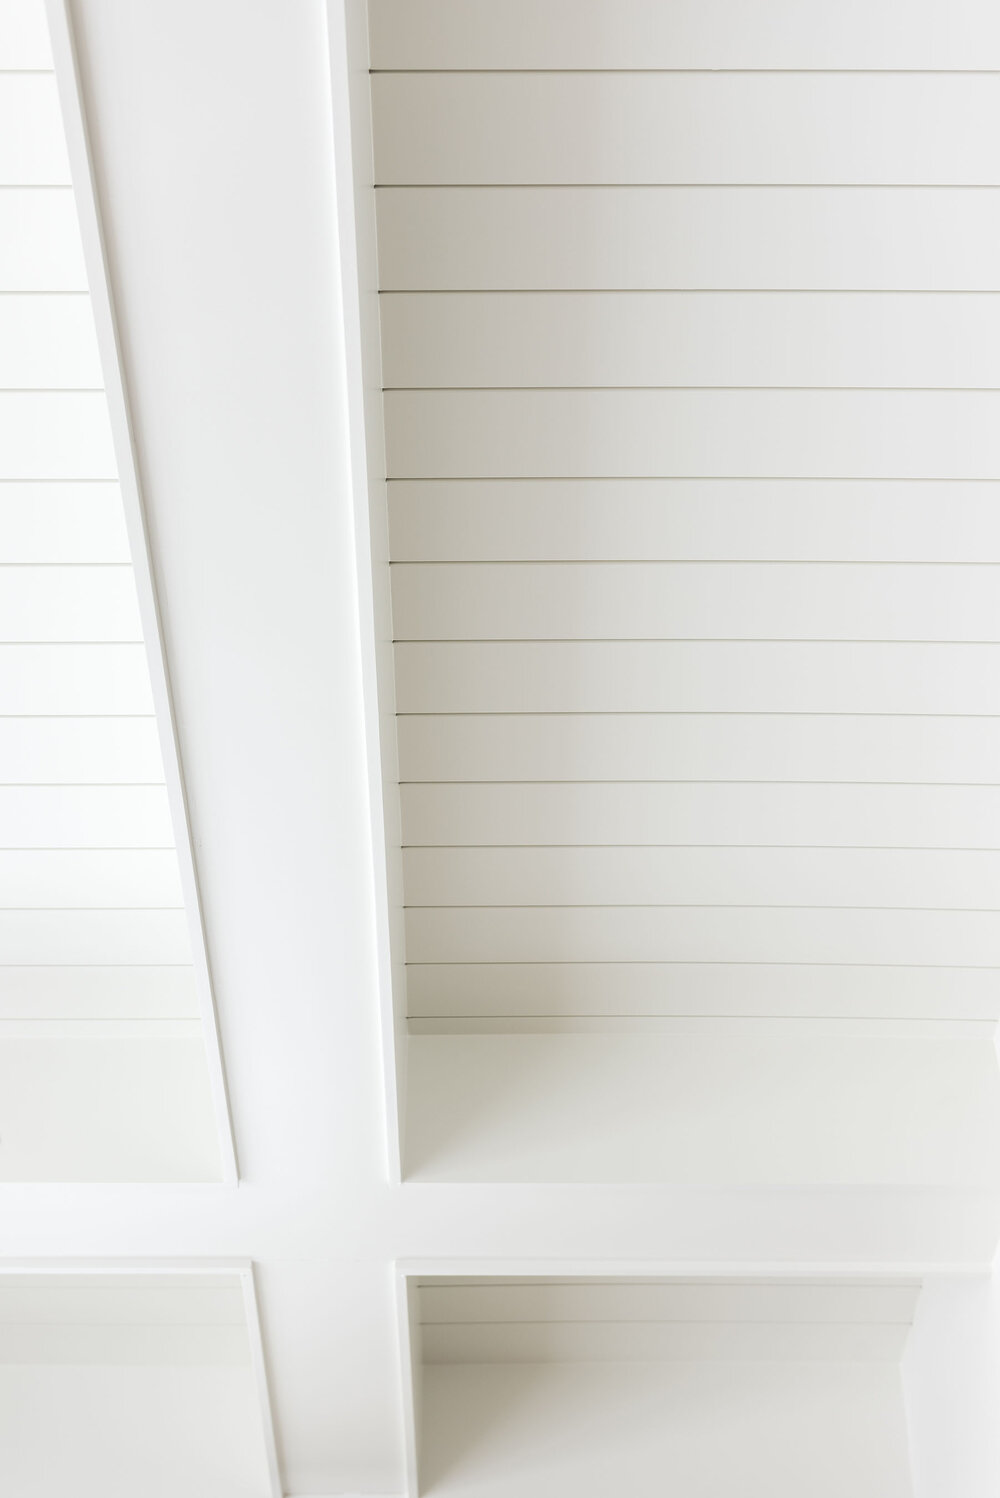
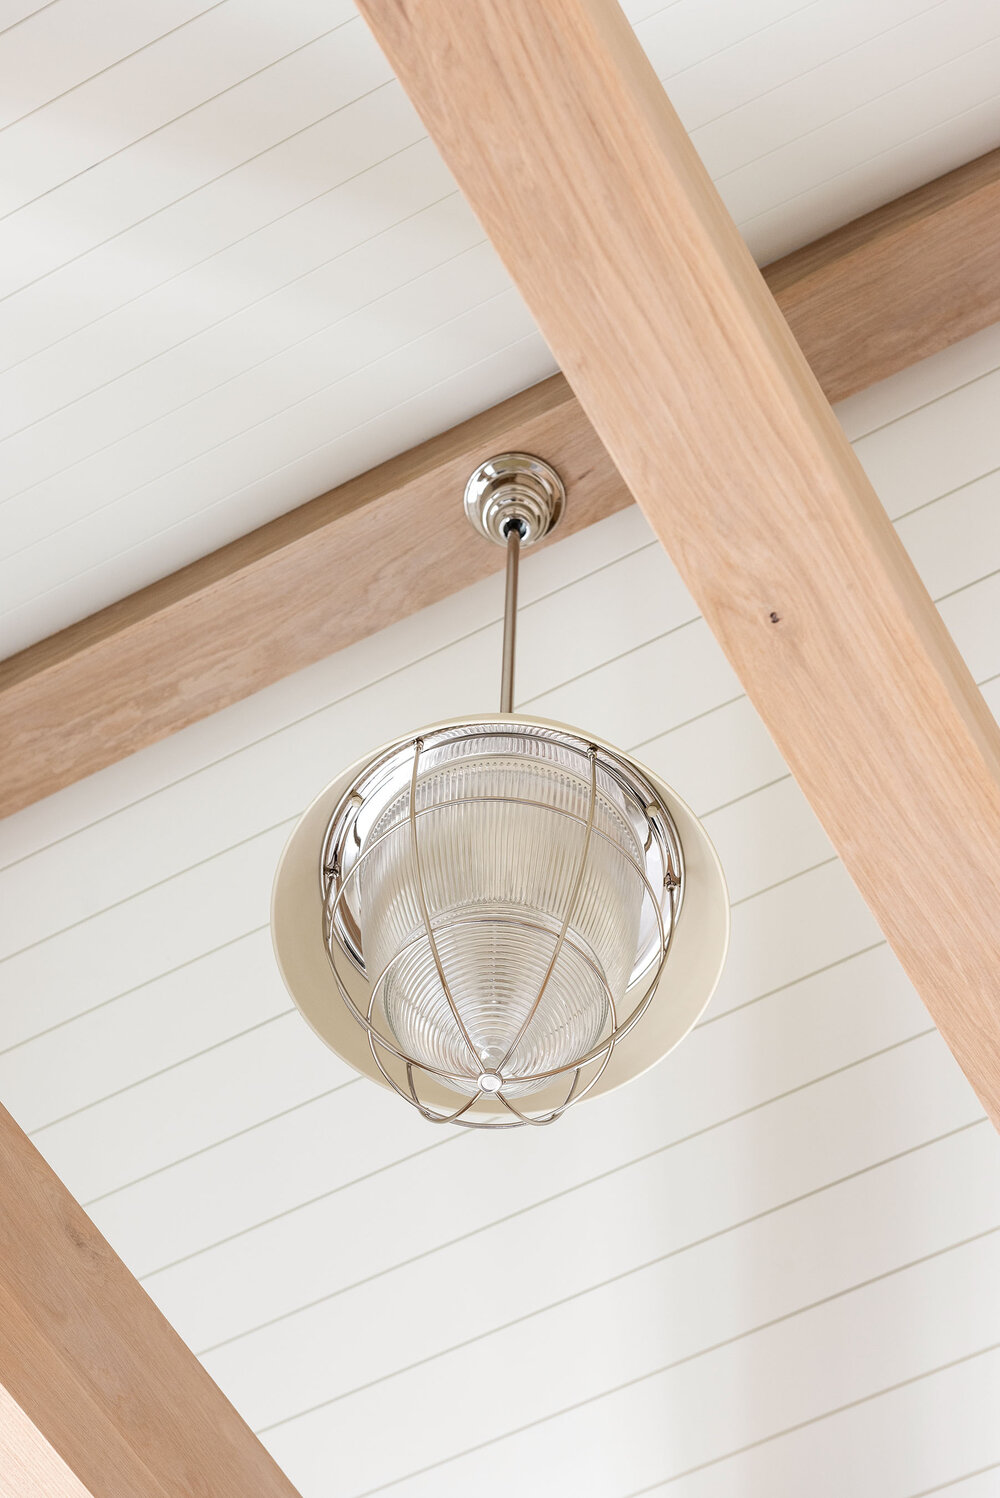
In Syd’s office and our dining room, we did horizontal shiplap on the ceilings, and in our mudroom, laundry room, and master bedroom, we did vertical shiplap on the ceilings, accented with coffered ceilings, and wood beams. Using these repeated materials and elements throughout the home created a flow that made everything feel unified.
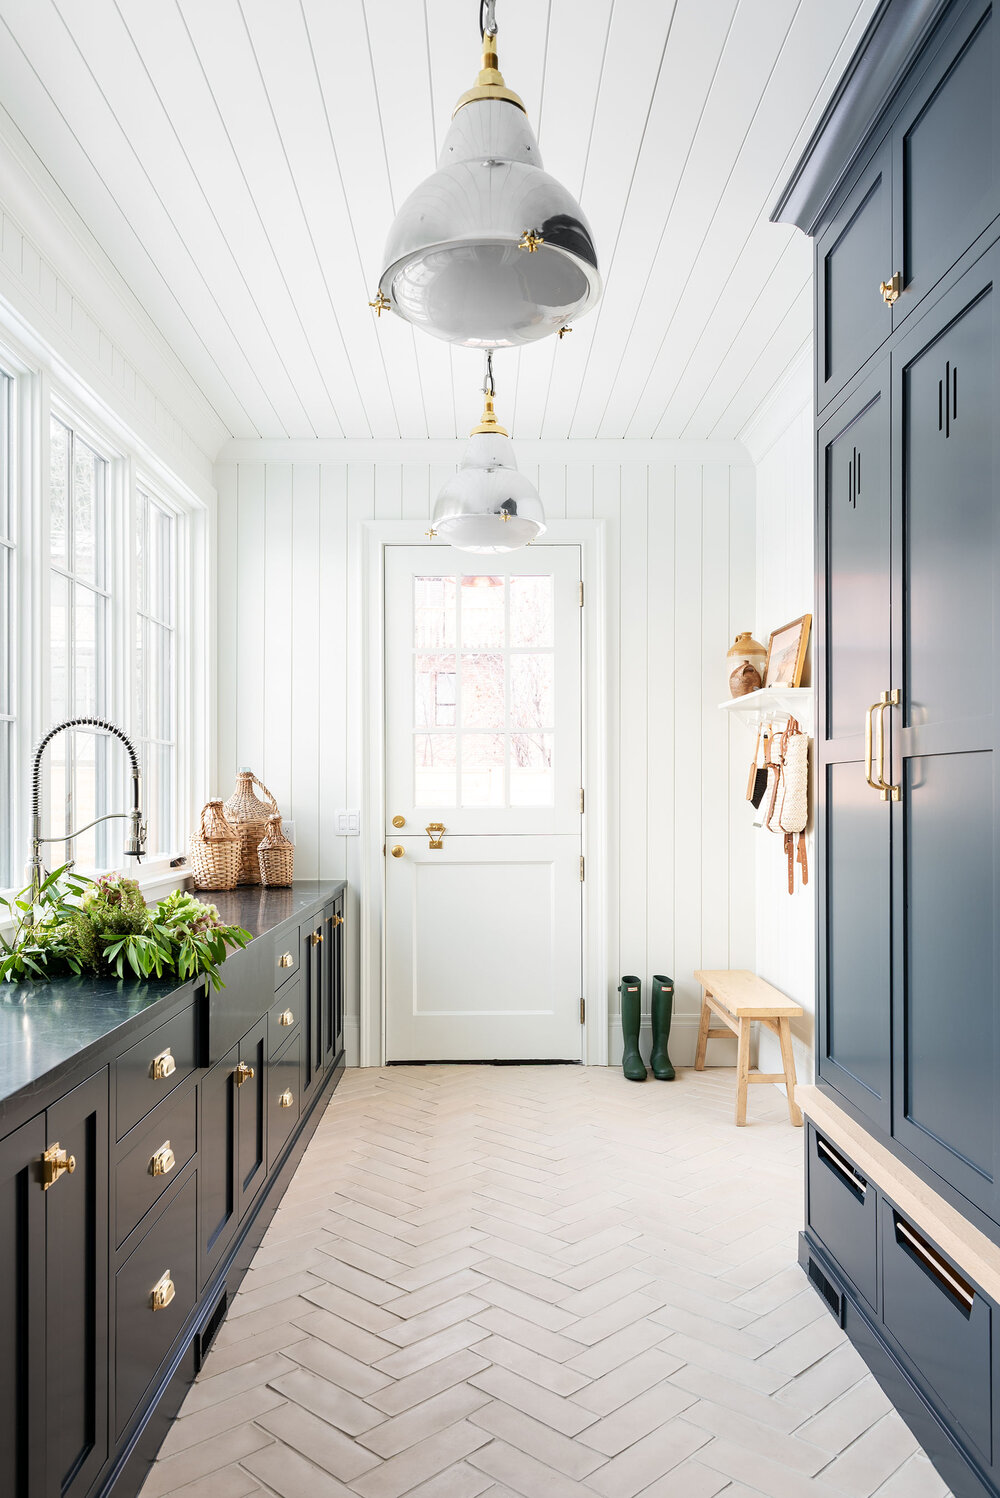
From The McGee Home Laundry Room (tour coming soon!)
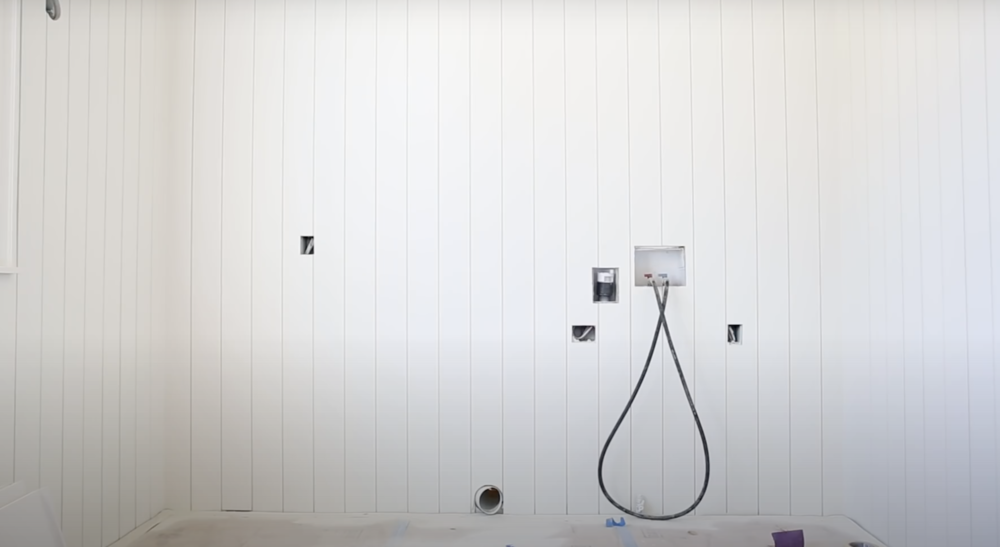
A shiplap application tip from our contractor at Killowen Construction: If you’re planning on doing vertical shiplap, you need to put a lot of backing in before you put it on the walls. Otherwise, you won’t have anything to nail the pieces into, so make sure you prepare in advance.
Watch our full home finishes webisode below:
What other questions do you have about wall treatments? Let us know in the comments below!
You May Also Like